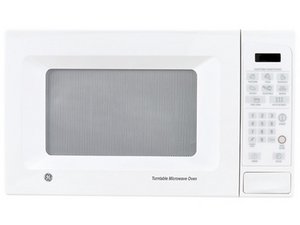
Hi @eso12
When working on microwave ovens, besides disconnecting the power to the oven, the HV capacitor inside the oven needs to be correctly discharged as soon as it can be accessed after the cover has been removed from the oven and before commencing any further work in the oven.
The HV capacitor can store >5000V DC for months, even if the power to the oven has been disconnected for this length of time. This amount of voltage can seriously injure you.
To correctly discharge the capacitor without damaging it, the best method is to make a 10MOhm, 10W resistor test lead i.e. alligator clip → 10M Ohm 10W resistor → length of suitable gauge wire → alligator clip and connect it between the +ve terminal of the HV capacitor and the oven chassis (bare metal point) and wait 5 minutes for the capacitor to discharge and then use a pair of heavy duty pliers to short out the capacitor terminals to make doubly sure that it is fully discharged.
Alternatively, for those that are too impatient and/or don't have a test lead, is to simply short out the HV capacitor depending on the capacitor terminals by using either a heavy duty set of pliers or a large screwdriver.
Safety Warning Do Not use nail scissors, lightweight screwdriver or other similar small metal tools to do this as most likely these will weld to the capacitor terminals with a blinding flash, as they cannot handle the discharge current. Either that or they will melt
Here's a link to the parts list for the oven that is useful.
Scroll through the diagrams to locate the wanted parts e.g. fuse (and door interlock switches if one is faulty) to find the part number and then search online for the wanted part number only to find suppliers that suit you best.
Here's the training bulletin for the model, that may help as it identifies each of the door interlock switches so you know which one to get if any are faulty as they are not all the same type of switch i.e. monitor door interlock is an N.C. type, primary and secondary interlocks are N.O. types
Here's an image that shows what can happen to the door interlock switch contacts if opening the door is usually done, over a period of time, to stop the oven from operating, rather than using the control panel buttons to do so (see 1st image on page)
Bu yanıt yardımcı oldu mu?
Oy verildi
Geri al
Puan
1
İptal
Bu yoruma uygun yeri bulmak için bu konuyu kaydırın. Ardından, taşımak için "Bu yazıya yorum ekle"ye tıklayın.


 11
11  398
398  1,5b
1,5b