Giriş
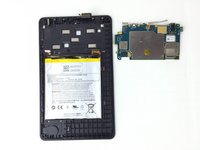
Use this guide to replace the rear-facing camera of the Amazon Fire 5th Generation.
Neye ihtiyacın var
-
-
While holding the device firmly, wedge the iFixit Opening Tool into the crease along the outer edge of the device (as shown in the image).
-
Slowly, grind the iFixit Opening Tool into the crease along the outer edges of the device until the entire back cover loosens.
-
Then, remove the back cover from the device.
-
-
Bu adımda kullanılan alet:Tweezers$4.99
-
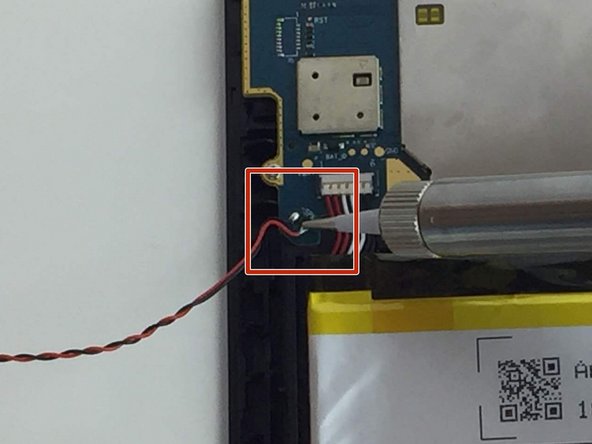
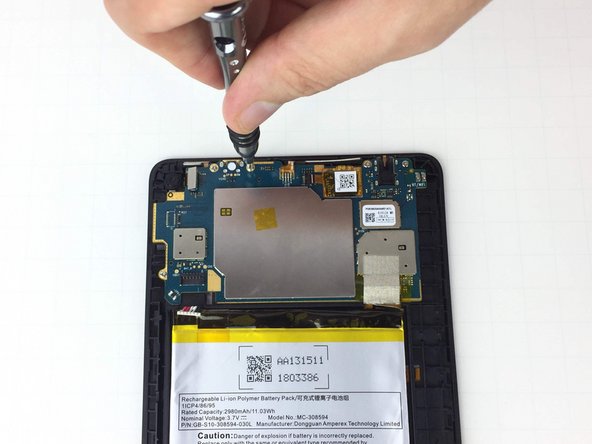
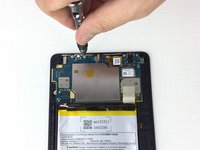
The battery connector is located in the upper left corner of the Amazon Fire battery pack.
-
To disconnect the battery connector, use angled ESD precision tweezers to lift the cables up and out of their socket.
-
-
-
-
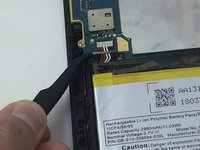
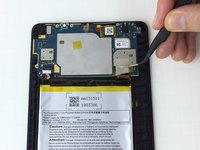
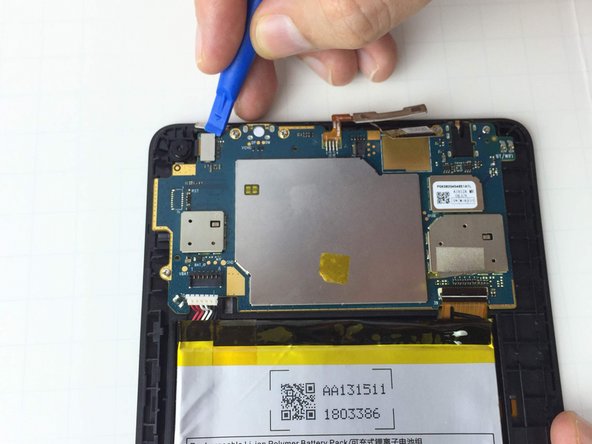
The LCD Digitizer on the Amazon Fire tablet has a locking cable connector that holds it in place on the motherboard.
-
To remove the cable, use the iFixit Opening Tool to unlock the LCD Digitizer cable connector.
-
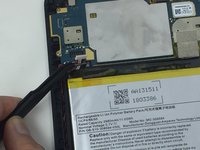
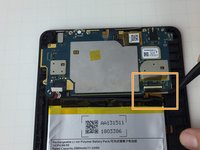
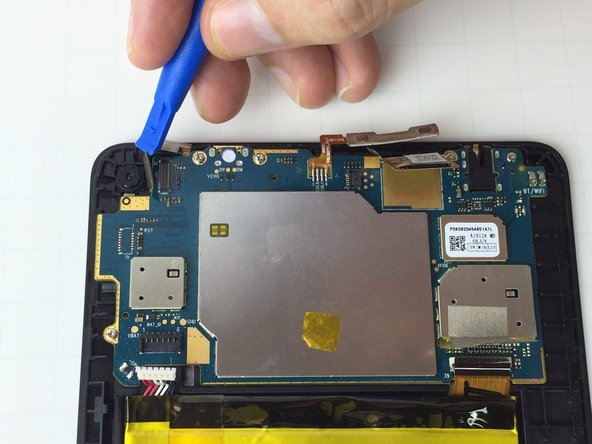
Once the wire connector is removed, use the iFixit Opening Tool to pry the entire LCD Digitizer away from the motherboard.
-
-
-
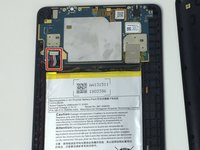
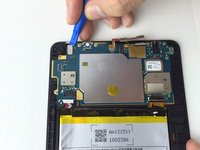
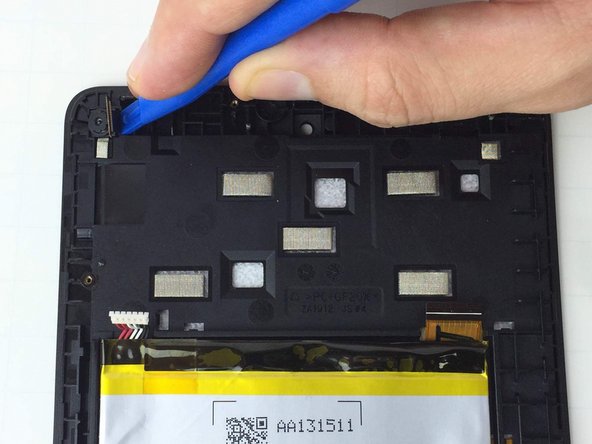
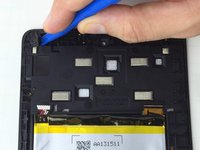
The rear facing camera is directly attached with adhesive to the device case.
-
In order to remove the camera, use a plastic opening tool to wedge underneath and lift it out of its place.
-


To reassemble your device, follow these instructions in reverse order.
To reassemble your device, follow these instructions in reverse order.
İptal et: Bu kılavuzu tamamlamadım.
Bir başkası bu kılavuzu tamamladı.
Ekip

USF Tampa, Team 1-2, Nance Spring 2016 USF Tampa, Team 1-2, Nance Spring 2016 üyesi
USFT-NANCE-S16S1G2
3 Üyeler
13 adet Kılavuz yazıldı