Giriş
Use this guide to replace the rear-facing camera of the Amazon Fire 5th Generation.
Neye ihtiyacın var
-
-
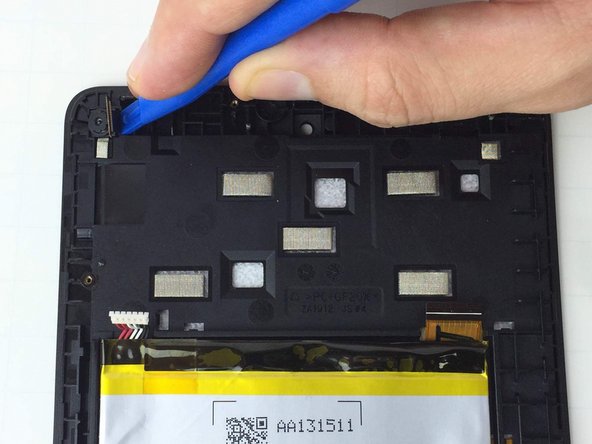
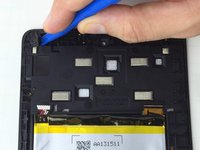
While holding the device firmly, wedge the iFixit Opening Tool into the crease along the outer edge of the device (as shown in the image).
-
Slowly, grind the iFixit Opening Tool into the crease along the outer edges of the device until the entire back cover loosens.
-
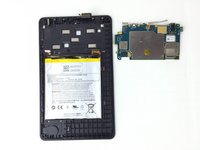
Then, remove the back cover from the device.
-
-
-
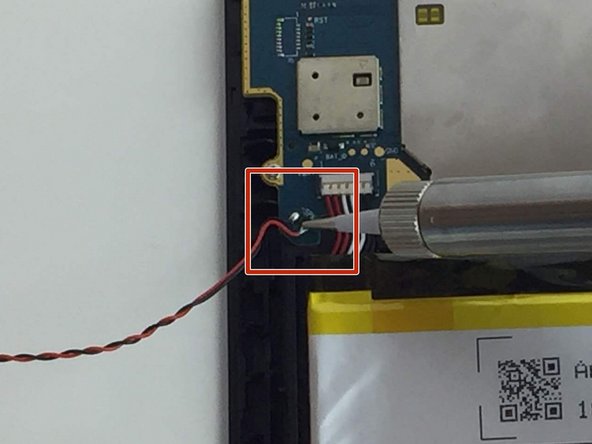
Desolder the speaker wires from the motherboard.
This step is completely unnecessary. The cords don't get in the way of the rest of the procedure. Feel free to disregard this step.
-
-
Bu adımda kullanılan alet:Tweezers$4.99
-
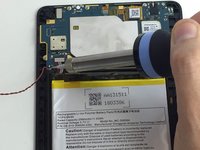
The battery connector is located in the upper left corner of the Amazon Fire battery pack.
-
To disconnect the battery connector, use angled ESD precision tweezers to lift the cables up and out of their socket.
-
-
-
-
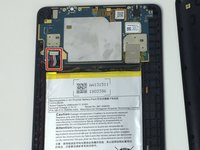
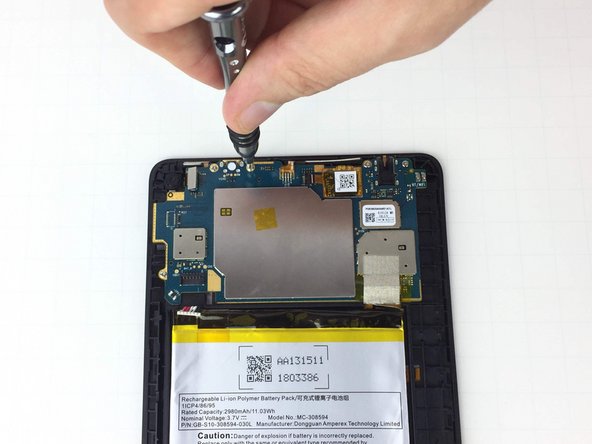
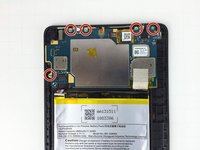
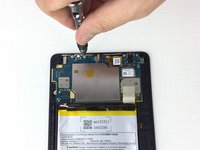
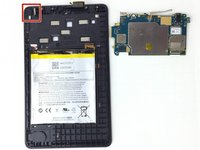
Use a PH0 size Phillips screwdriver head to unscrew the five 2 mm screws on the motherboard. These screws are circled with red in the given image.
-
-
-
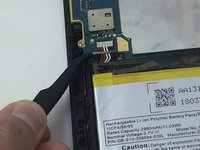
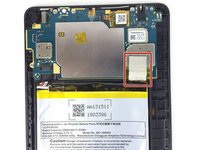
The LCD- Motherboard connector cable has a protective overlay that you must peel back with precision tweezers in order to expose the actual connector.
-
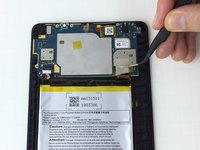
Gently pull down on the connector cable using precision tweezers in order to disconnect the cable.
Pull black tab at connector upwards first, then flex cable can be pulled easily.
-
-
-
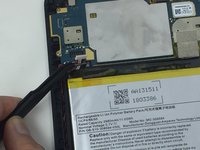
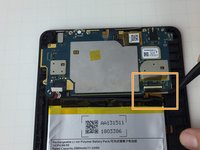
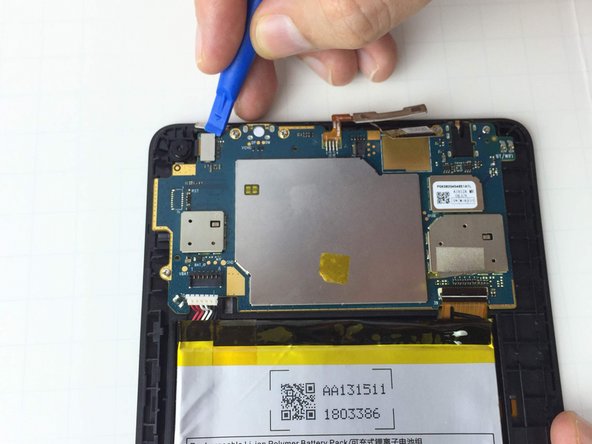
The LCD Digitizer on the Amazon Fire tablet has a locking cable connector that holds it in place on the motherboard.
-
To remove the cable, use the iFixit Opening Tool to unlock the LCD Digitizer cable connector.
-
Once the wire connector is removed, use the iFixit Opening Tool to pry the entire LCD Digitizer away from the motherboard.
-
-
-
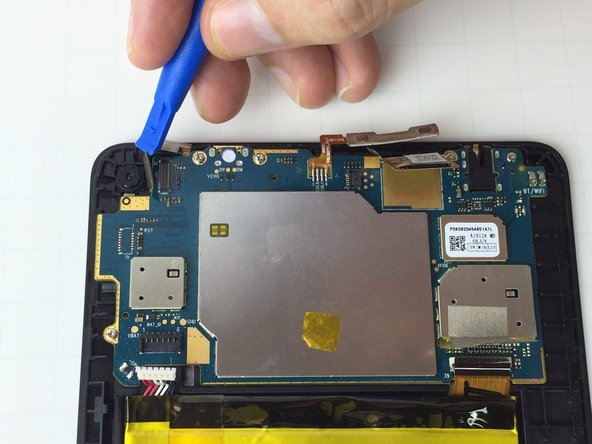
Position the iFixit Opening Tool beneath the motherboard and pull upwards to remove the motherboard from its case.
Thanks for the information, very useful. Does anyone know how the power button works? wiring? I am thinking of replacing it with a small push button. Mine broke. Thanks in advance, Jorge
-
-
-
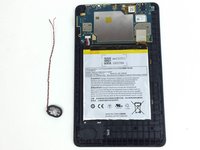
The rear facing camera is directly attached with adhesive to the device case.
-
In order to remove the camera, use a plastic opening tool to wedge underneath and lift it out of its place.
-


To reassemble your device, follow these instructions in reverse order.
To reassemble your device, follow these instructions in reverse order.
İptal et: Bu kılavuzu tamamlamadım.
Bir başkası bu kılavuzu tamamladı.
Ekip

USF Tampa, Team 1-2, Nance Spring 2016 USF Tampa, Team 1-2, Nance Spring 2016 üyesi
USFT-NANCE-S16S1G2
3 Üyeler
13 adet Kılavuz yazıldı