
Asus Eee PC 1005HA Screen Replacement
Giriş
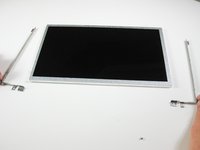
1. adıma gitUse this guide to replace the screen of the Replace the screen on your Asus Eee PC 1005HA laptop.
Neye ihtiyacın var
Parçalar

Aletler


Daha fazlasını göster…
-
Bu adımda kullanılan alet:Tweezers$4.99
-
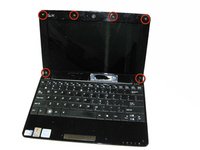
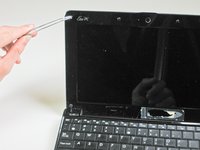
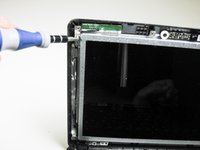
Using tweezers, remove the six screw covers on the screen bezel.
-
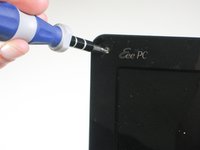
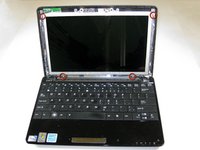
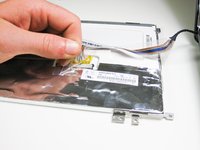
Remove the six 4.6 mm screws from the bezel.
-


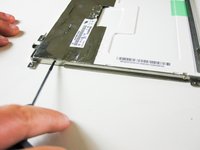
To reassemble your device, follow these instructions in reverse order.
To reassemble your device, follow these instructions in reverse order.
İptal et: Bu kılavuzu tamamlamadım.
13 farklı kişi bu kılavuzu tamamladı.
Ekip

Cal Poly, Team 11-22, Maness Winter 2012 Cal Poly, Team 11-22, Maness Winter 2012 üyesi
CPSU-MANESS-W12S11G22
3 Üyeler
12 adet Kılavuz yazıldı