
Canon EOS 300 Bottom Panel Replacement
Giriş
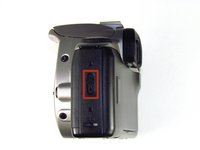
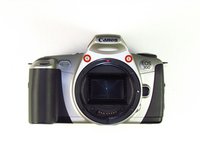
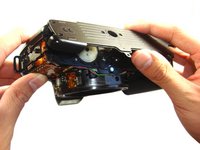
1. adıma gitThe bottom panel can be easily removed, and allows access for replacement on other parts of the camera.
Neye ihtiyacın var
Aletler

-
-
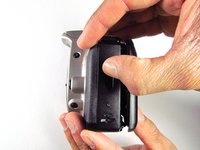
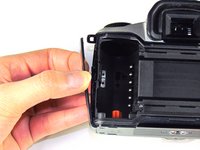
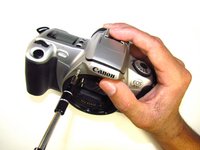
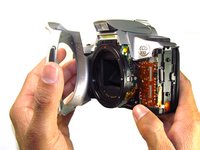
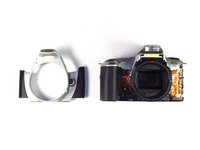
Remove the front panel by pulling away from the side with the lever.
-
-
-
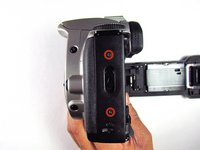
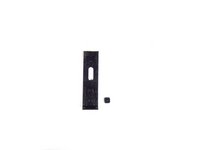
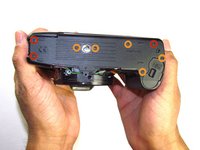
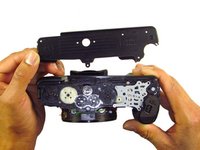
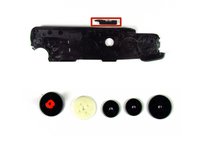
Remove three black 7.3mm Phillips #1 screws located on the corners of the camera.
-
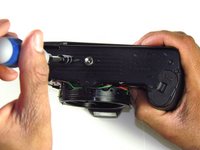
Remove five black 4.8mm Phillips #1 screws.
-


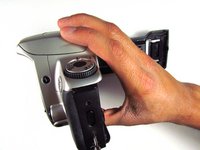


To reassemble your device, follow these instructions in reverse order.
To reassemble your device, follow these instructions in reverse order.
İptal et: Bu kılavuzu tamamlamadım.
Bir başkası bu kılavuzu tamamladı.
Ekip

Cal Poly, Team 6-20, Maness Winter 2014 Cal Poly, Team 6-20, Maness Winter 2014 üyesi
CPSU-MANESS-W14S6G20
4 Üyeler
32 adet Kılavuz yazıldı
1Rehber Yorum
muy buena la explicacion de como desmontar la maquina. Te has gadano los 30 puntos