
DBPOWER RD-810 Imager Replacement
Giriş
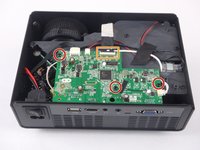
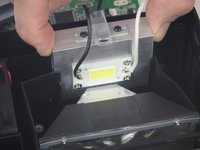
1. adıma gitThe imager creates the picture that the projector displays. Because any dust or dirt stuck to the imager could cause distortions, it is important to keep the imager clean. If the image is not being displayed or is blurry or distorted, the imager may need to be cleaned or replaced.
Neye ihtiyacın var
Aletler


-
-
Place the projector upside down to access the screws on the bottom.
-
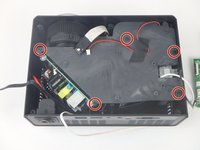
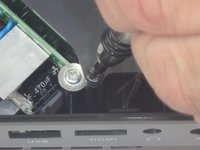
Remove the five 7mm long screws using a #3 Phillips screwdriver at least 2 inches long.
-
-
-
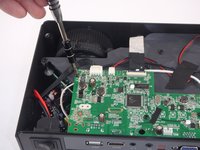
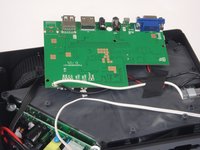
Remove the three 6mm PH2 phillips head screws.
-
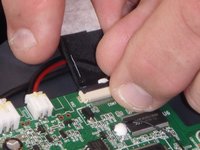
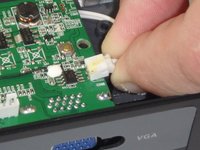
Disconnect the ribbon cable by flipping up the latch on the connector and then pull the ribbon out.
-


To reassemble your device, follow these instructions in reverse order.
To reassemble your device, follow these instructions in reverse order.
İptal et: Bu kılavuzu tamamlamadım.
2 farklı kişi bu kılavuzu tamamladı.
Ekip

USF Tampa, Team S5-G3, Eyestone Spring 2018 USF Tampa, Team S5-G3, Eyestone Spring 2018 üyesi
USFT-EYESTONE-S18S5G3
3 Üyeler
9 adet Kılavuz yazıldı