
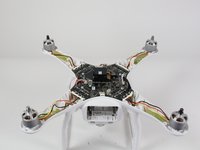
DJI Phantom 3 Advanced Motor Replacement
Giriş
1. adıma gitThis guide will show you how to replace each motor. The screws that hold each motor in place will have to be removed and the wires that attach to each motor will have to be desoldered.
Neye ihtiyacın var
Parçalar


Aletler


Daha fazlasını göster…
-
-
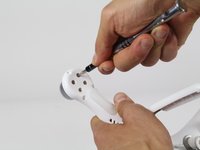
With the battery facing you, locate the two tabs on the top and bottom of the battery as shown.
-
-
-
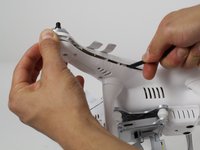
Slowly remove the upper half of the plastic case about halfway. There is a ribbon cable that's connects the cover and the control board.
-
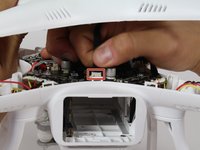
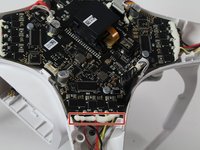
Follow the ribbon cable to the control board and locate the connector that connects the cable to the control board.
-
Press the tab on the side of the connector and pull up on the cable.
-
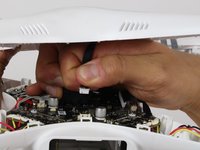
Continue to remove the shell the rest of the way.
-
-
-
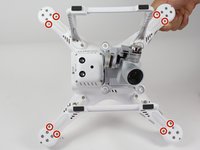
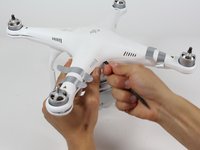
Turn the drone upside down with the motors facing the table.
-
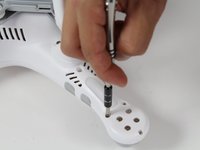
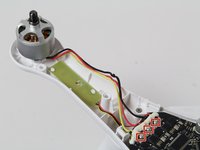
Unscrew the four 5.5mm long 3mm screws directly under the motor using a 2.0mm hex bit screwdriver.
-
-
-
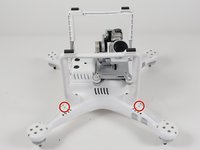
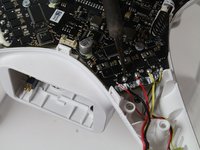
Trace the black, yellow, and red wires from the motor to the flight controlle .
-
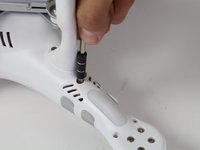
Desolder the three wires where they connect to the flight controller. Check out this desoldering guide to learn how to desolder: Desoldering Guide.
-
Take out the motor and repeat for the other motors if needed.
-


To reassemble your device, follow these instructions in reverse order.
To reassemble your device, follow these instructions in reverse order.
İptal et: Bu kılavuzu tamamlamadım.
8 farklı kişi bu kılavuzu tamamladı.
Ekip

Cal Poly, Team 10-2, Livingston Fall 2016 Cal Poly, Team 10-2, Livingston Fall 2016 üyesi
CPSU-LIVINGSTON-F16S10G2
3 Üyeler
12 adet Kılavuz yazıldı