
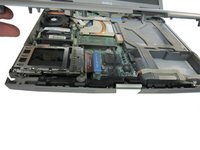
Dell Latitude D610 Fan Replacement
Giriş
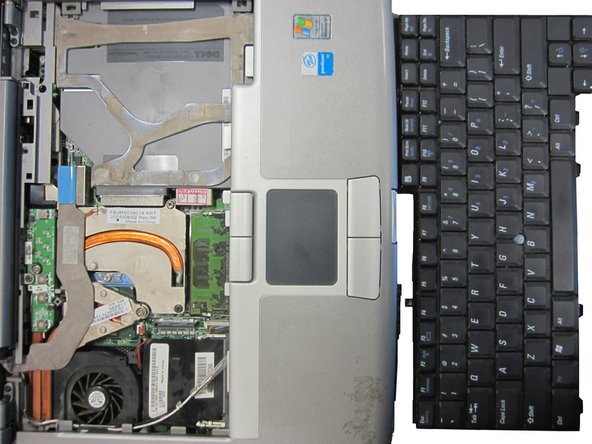
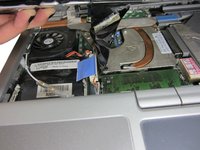
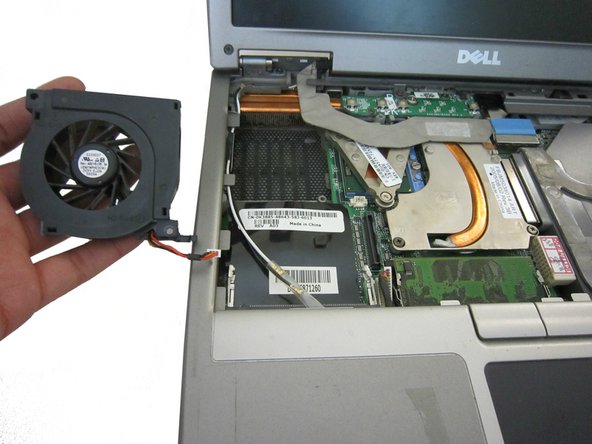
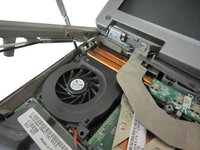
1. adıma gitReplacing a defective fan will stop your computer from overheating, preventing damage and increasing the life of your computer.
Neye ihtiyacın var
Parçalar
Aletler

Daha fazlasını göster…
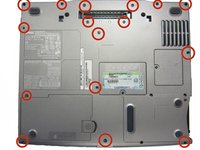
-
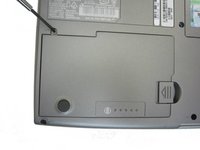
-
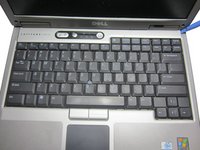
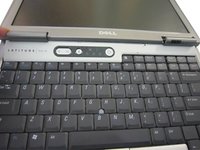
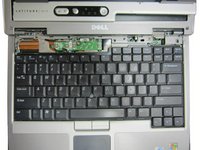
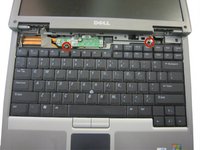
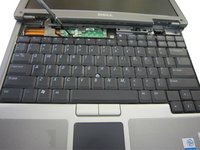
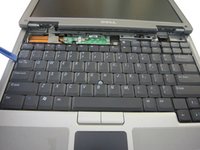
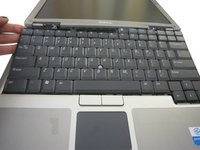
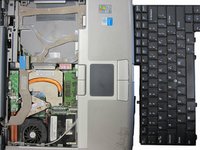
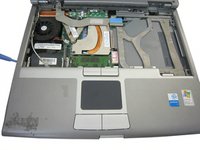
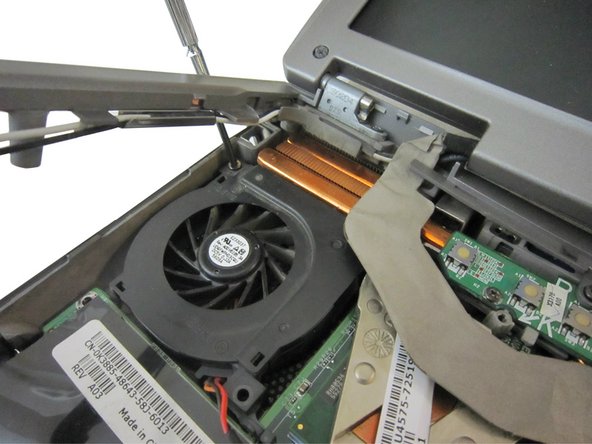
Use an opening tool or flat tool to remove the plastic cover above the keyboard.
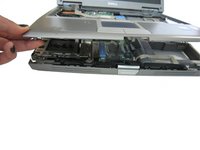
-


To reassemble your device, follow these instructions in reverse order.
To reassemble your device, follow these instructions in reverse order.
İptal et: Bu kılavuzu tamamlamadım.
2 farklı kişi bu kılavuzu tamamladı.
Ekip

Cal Poly, Team 6-24, Maness Winter 2014 Cal Poly, Team 6-24, Maness Winter 2014 üyesi
CPSU-MANESS-W14S6G24
4 Üyeler
5 adet Kılavuz yazıldı