
Dell Latitude E5500 Thermal Compound Replacement
Giriş
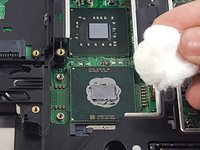
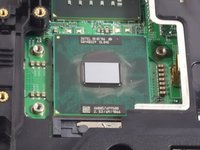
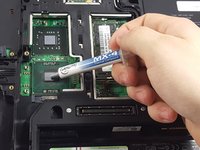
1. adıma gitIf the user would like to reapply faulty or low quality thermal compound, this guide will give step by step information on how to achieve this.
Neye ihtiyacın var
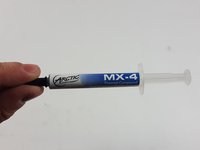
Parçalar

Aletler


Daha fazlasını göster…
-
-
Unscrew the single 3.5mm Phillips #1 screw that holds on the bottom plate of the device.
-
-
-
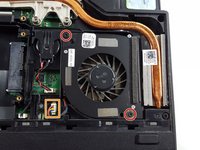
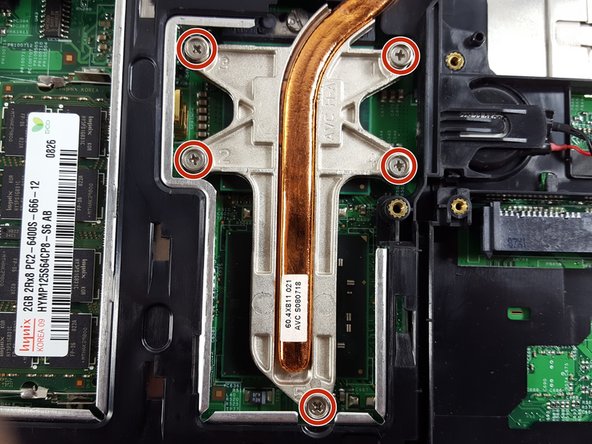
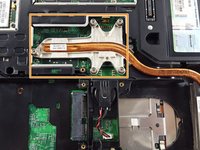
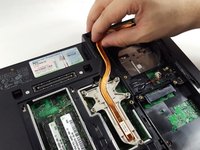
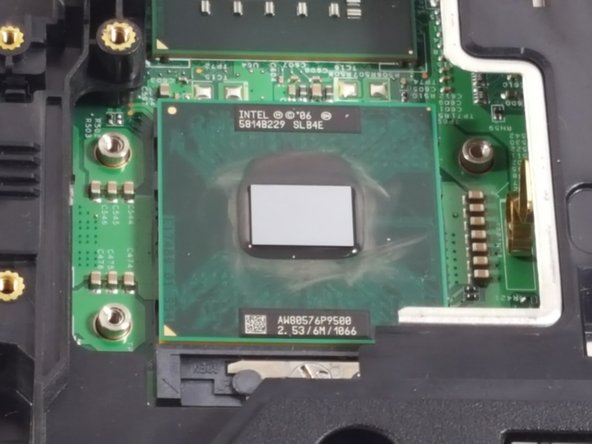
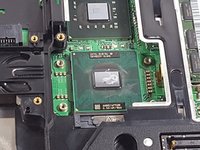
The system's heatsink is the copper pipe and large metal assembly held down by five screws.
-
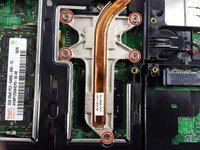
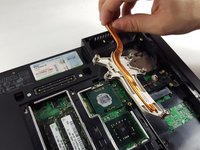
Remove the five Phillips #1 screws in the order numbered on the metal assembly.
-


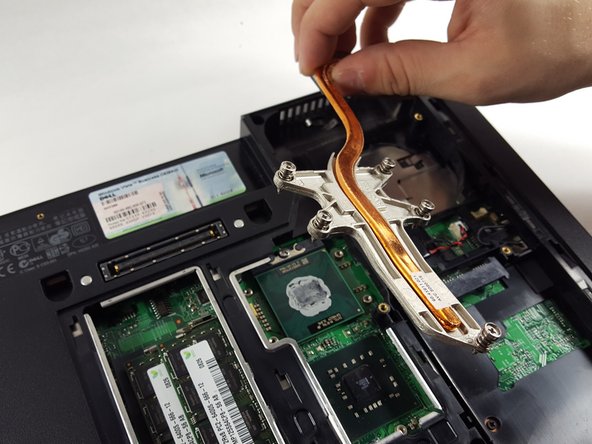


To reassemble your device, follow steps 1-7 in reverse order.
To reassemble your device, follow steps 1-7 in reverse order.
İptal et: Bu kılavuzu tamamlamadım.
4 farklı kişi bu kılavuzu tamamladı.
Ekip

UMass Dartmouth, Team 2-4, Isaacson Fall 2016 UMass Dartmouth, Team 2-4, Isaacson Fall 2016 üyesi
UMASSD-ISAACSON-F16S2G4
3 Üyeler
5 adet Kılavuz yazıldı
Bir Yorum
Great post and i followed the mentioned steps. Now, my cpu heat rate low down to 20%. thanks for such a wonderful article. Happy Fathers Day to all of you.