Bu kılavuzda güncel değişiklikler var. En son onaylanmamış sürüme geçin.
Neye ihtiyacın var
-
-
With the appropriate tools on hand, you want to look for the charging port.
-
Once you have located your charging port, to the right of it you will be able to insert the prying tool into the crack between the case and the display border.
-
Now continue to pry the case with the same technique all around.
-
After prying all around the device, you will be able to separate the back cover from the display , which holds all the components.
-
-
-
-
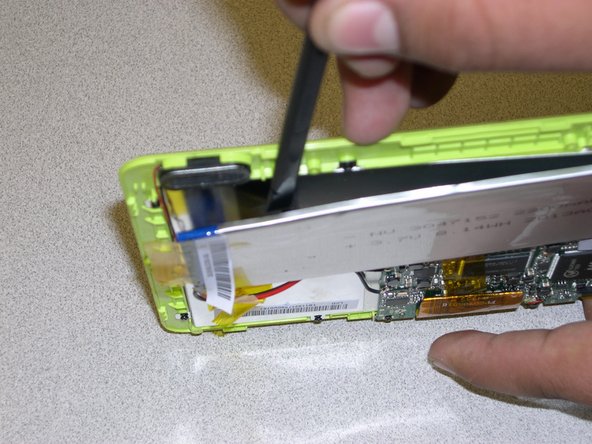
You want to leave the tape attached to either the circuit board, or the battery its self.
-
Now use your spudger as a prying tool to insert underneath the battery and separate it from the back of the display.
-
Once you have entirely separated the battery from the back of the display, it will still be attached to the circuit board by the power cables.
-
To remove the cables from the circuit board, a soldering tool will be required. You will also need to solder the new battery cables back onto the circuit board.
-


To reassemble your device, follow these instructions in reverse order.
To reassemble your device, follow these instructions in reverse order.
İptal et: Bu kılavuzu tamamlamadım.
Bir başkası bu kılavuzu tamamladı.
Ekip

Gateway, Team 1-6, Johnson Fall 2014 Gateway, Team 1-6, Johnson Fall 2014 üyesi
GCC-JOHNSON-F14S1G6
2 Üyeler
4 adet Kılavuz yazıldı