Giriş
If your Dirt Devil Gator (Model Number: BD10100) isn’t powering on or remaining charged, you may need to replace the charger port. Follow this guide to replace the charger port on your device.
However before using this guide, you may not need to fully replace the charger port! A dead battery is a simple problem with a quick fix to get you started vacuuming again quickly!
The charger port on the Dirt Devil Gator allows the device to have power and maintain charge. But a destroyed/malfunctioning charger port will not charge the device, resulting in a possible replacement needing to occur.
Step 5 requires you to remove the charger port from the motor. From there you must desolder and cut wires to replace the old charger port with the new one. Follow this guide to solder and desolder connections properly!
Before beginning, make sure to power off your device completely and disconnect from any external power source.
Neye ihtiyacın var
-
-
-
Press the button on the middle of the vacuum by pushing down on it and pulling the device apart.
 FixBot'a Sor
-
-
-
Separate the front and back half of the vacuum.
-
Pull on the back of the vacuum, there should not be too much resistance when pulling it out.
-
-
-
-
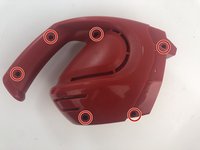
Unscrew each individual 13 mm screws with a micro screwdriver from the vacuum.
-
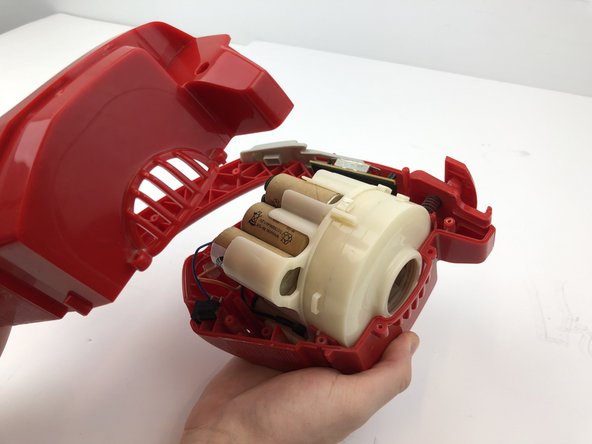
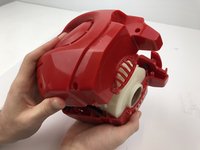
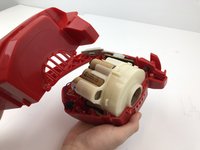
After unscrewing all of the screws, firmly pull on the side of the vacuum to separate the exterior.
-
-
-
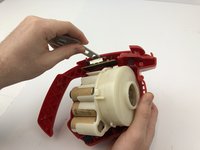
Pull out the grey switch and circuit board from its slot in the red case.
-
Remove all of the wires from the vacuum to where only the battery and wires are left.
-
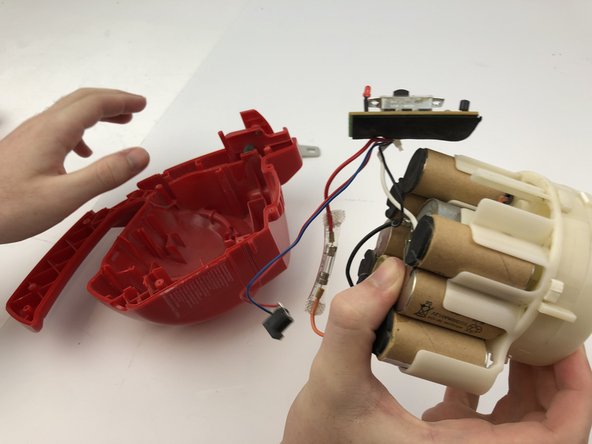
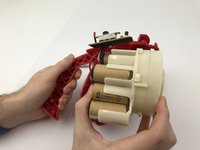
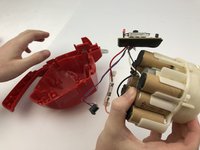
Firmly pull out the battery and motor assembly. The circuit board and wires will remain attached.
-
-
-
Desolder the two wires from the old charging port, and resolder them to the new charging port in the same orientation.
-
-





To reassemble your device, follow these instructions in reverse order.
İptal et: Bu kılavuzu tamamlamadım.
Bir başkası bu kılavuzu tamamladı.

Ekip

Embry-Riddle Aeronautical University, Team S5-G4, Watkins Spring 2020 Embry-Riddle Aeronautical University, Team S5-G4, Watkins Spring 2020 üyesi
ERAU-WATKINS-S20S5G4
4 Üyeler
10 adet Kılavuz yazıldı
