
Garmin Rino 700 Motherboard Replacement

Giriş
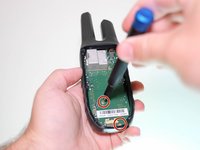
1. adıma gitIf you’re having trouble hearing audio or using the volume buttons on your Garmin Rino 700, there might be a problem with your motherboard either through a connection error or possibly damage. This guide will teach you how to replace the motherboard to get these features working again. For this replacement all you need is a TR6 Torx Security screwdriver and a spudger. There are no hazards to this guide. Going forward, you can see how to prevent these issues on our troubleshooting page: Garmin Rino 700 Troubleshooting
Neye ihtiyacın var
Aletler


Daha fazlasını göster…
-
-
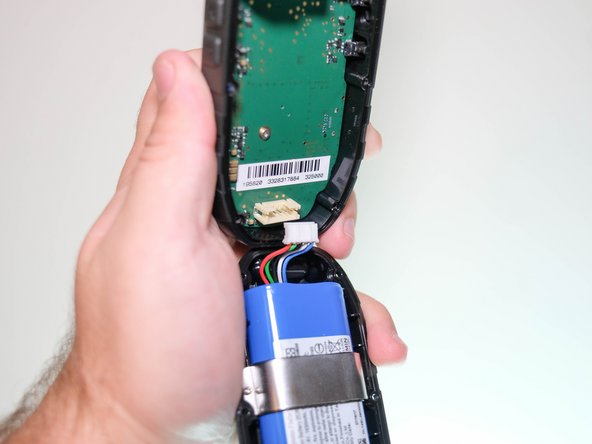
Flip the Garmin Rino 700 over so that the underside is facing up.
-
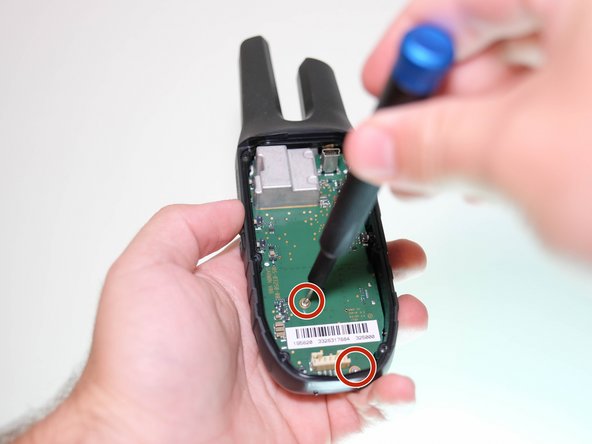
Using the TR6 Torx Security screwdriver, remove the six 9.5 mm screws on the backside of the device.
-
-
-
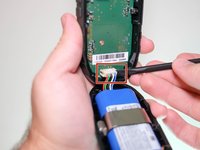
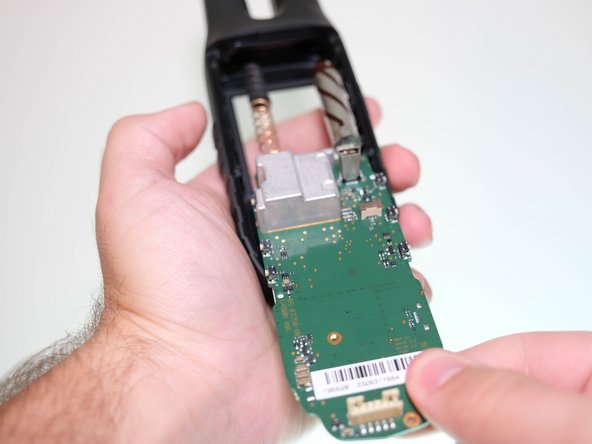
Using the T5 Torx screwdriver, remove the two 6.4 mm screws on the motherboard.
-


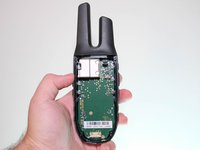


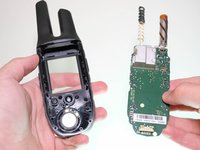
To reassemble your device, follow these instructions in reverse order.
To reassemble your device, follow these instructions in reverse order.

Ekip

Clemson, Team 5-5, Hunter Fall 2021 Clemson, Team 5-5, Hunter Fall 2021 üyesi
CLEM-HUNTER-F21S5G5
4 Üyeler
5 adet Kılavuz yazıldı