Ana içeriğe geç
HP Officejet Pro 8620 Display Replacement

HP Officejet Pro 8620 Display Replacement

Dallas Rocha

Dallas Rocha ve 3 diğer katkıda bulunanlar

En son May 10, 2023 tarihinde güncellendi

10 dakika
Orta

Follow this guide to remove a faulty display in your HP Officejet Pro 8620. If the touch-screen display is unresponsive, has image burn in, or stuck pixels you will need to replace the display.

Neye ihtiyacın var

Aletler

Daha fazlasını göster…

  1. HP Officejet Pro 8620 Display Replacement, Display: adım 1, 2 resimden 1. HP Officejet Pro 8620 Display Replacement, Display: adım 1, 2 resimden 2.
    • Place the printer on its back and rotate the display clockwise to gain access to the underside of the display.

  2. HP Officejet Pro 8620 Display Replacement: adım 2, 3 resimden 1. HP Officejet Pro 8620 Display Replacement: adım 2, 3 resimden 2. HP Officejet Pro 8620 Display Replacement: adım 2, 3 resimden 3.
    • Locate the control arm on the underside of the display. You will need to detach this to access the screws.

    • Place a finger behind the control arm.

    • Separate the display unit from the control arm by pulling down with your finger and using your other hand to push the display unit up.

    • Removing the control arm takes a moderate amount of force.

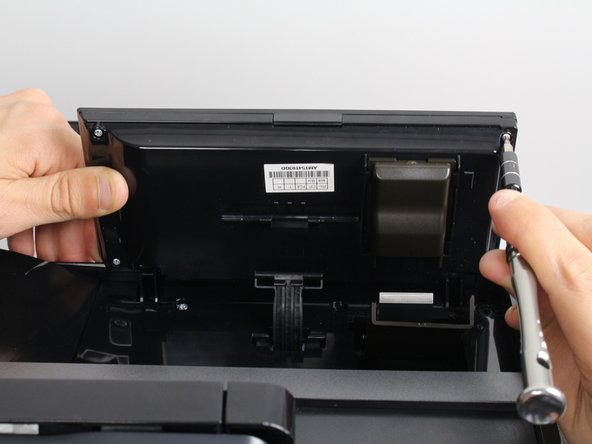
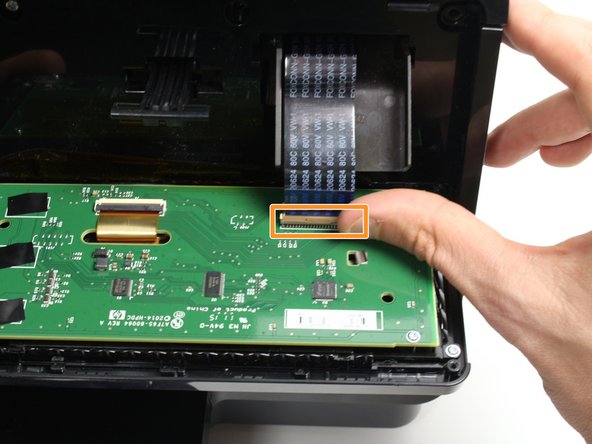
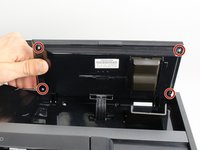
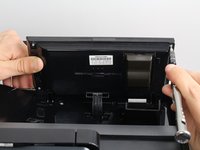
  3. HP Officejet Pro 8620 Display Replacement: adım 3, 3 resimden 1. HP Officejet Pro 8620 Display Replacement: adım 3, 3 resimden 2. HP Officejet Pro 8620 Display Replacement: adım 3, 3 resimden 3.
    • Remove the four 11mm T9-Torx screws on the underside of the display unit by rotating the screwdriver counter clockwise.

    • Open the display unit to expose the circuit board by separating the back and front panels.

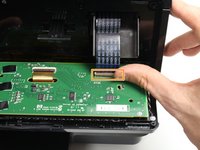
    • Remove the ribbon cable by gently releasing the plastic locking mechanism and pulling the cable away from the circuit board.

  4. HP Officejet Pro 8620 Display Replacement: adım 4, 2 resimden 1. HP Officejet Pro 8620 Display Replacement: adım 4, 2 resimden 2.
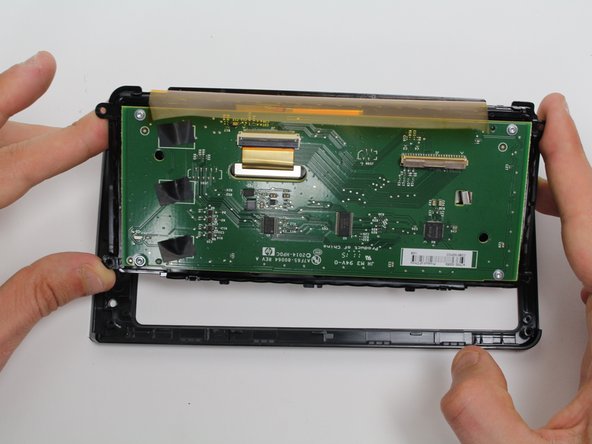
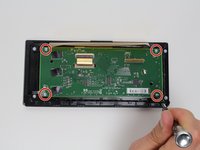
    • Remove the four 7mm T9-Torx screws from the circuit board that are holding the screen in place using a T9-Torx screwdriver and turning counter clockwise.

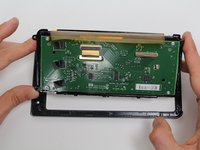
    • Lift the circuit board/screen panel from the black frame.

Sonuç

To reassemble your device, follow these instructions in reverse order.

4 farklı kişi bu kılavuzu tamamladı.

Dallas Rocha

Üyelik tarihi: 01/24/18

243 İtibar

1 Kılavuz yazıldı

Ekip

Cal Poly, Team S19-G2, Livingston Winter 2018 Cal Poly, Team S19-G2, Livingston Winter 2018 üyesi

CPSU-LIVINGSTON-W18S19G2

3 Üyeler

8 adet Kılavuz yazıldı

0Kılavuz Yorumları

Yorum Ekle

İstatistikleri Görüntüle:

Son 24 Saat: 2

Son 7 gün: 6

Son 30 gün: 57

Her zaman: 5,217