Ana içeriğe geç
HP Pavilion 15-ab243cl Hard Drive Replacement

HP Pavilion 15-ab243cl Hard Drive Replacement

Alexander Bicigo

Alexander Bicigo ve 2 diğer katkıda bulunanlar

En son May 28, 2018 tarihinde güncellendi

15 - 45 dakika
Orta

This guide will show you how to open your device and remove the hard drive. Whether you have a failed hard drive or simply want to upgrade to more capacity this guide will take you through the necessary steps involved in replacement.

Neye ihtiyacın var

Aletler

Daha fazlasını göster…

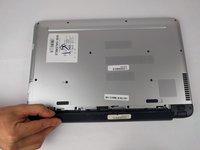
  1. HP Pavilion 15-ab243cl Hard Drive Replacement, Battery: adım 1, 2 resimden 1. HP Pavilion 15-ab243cl Hard Drive Replacement, Battery: adım 1, 2 resimden 2.
    • Slide the battery lock tab toward the center of the battery to the unlock position.

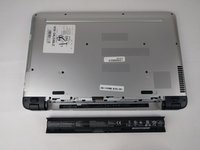
  2. HP Pavilion 15-ab243cl Hard Drive Replacement: adım 2, 3 resimden 1. HP Pavilion 15-ab243cl Hard Drive Replacement: adım 2, 3 resimden 2. HP Pavilion 15-ab243cl Hard Drive Replacement: adım 2, 3 resimden 3.
    • Slide the battery release switch to the right until the battery pops out.

  3. HP Pavilion 15-ab243cl Hard Drive Replacement: adım 3, 2 resimden 1. HP Pavilion 15-ab243cl Hard Drive Replacement: adım 3, 2 resimden 2.
    • Grabbing the top edge of the battery, rotate it toward you and then lift upward to relieve the battery from its slot.

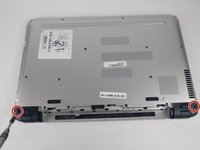
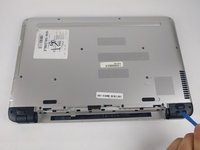
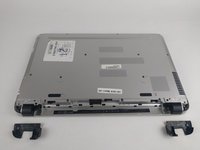
  4. HP Pavilion 15-ab243cl Hard Drive Replacement, Laptop Case: adım 4, 3 resimden 1. HP Pavilion 15-ab243cl Hard Drive Replacement, Laptop Case: adım 4, 3 resimden 2. HP Pavilion 15-ab243cl Hard Drive Replacement, Laptop Case: adım 4, 3 resimden 3.
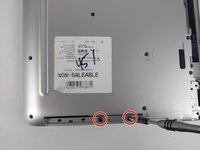
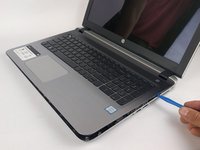
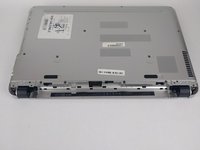
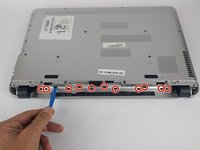
    • With the battery removed, remove both black plastic covers with a plastic opening tool. Unscrew both 7.5 mm screws from the tabs, using a PH1 screw driver. Using a plastic opening tool, pry off both covers.

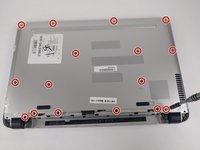
  5. HP Pavilion 15-ab243cl Hard Drive Replacement: adım 5, 3 resimden 1. HP Pavilion 15-ab243cl Hard Drive Replacement: adım 5, 3 resimden 2. HP Pavilion 15-ab243cl Hard Drive Replacement: adım 5, 3 resimden 3.
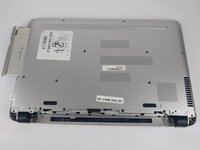
    • Remove all 16 of the 3.5 mm screws with a PH1 screwdriver and pry/slide the CD drive out of laptop.

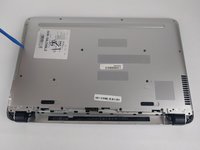
  6. HP Pavilion 15-ab243cl Hard Drive Replacement: adım 6, 2 resimden 1. HP Pavilion 15-ab243cl Hard Drive Replacement: adım 6, 2 resimden 2.
    • With the CD drive removed, unscrew the two 2mm silver screws with a PH00.

    • These can strip easily, so take your time removing.

  7. HP Pavilion 15-ab243cl Hard Drive Replacement: adım 7, 3 resimden 1. HP Pavilion 15-ab243cl Hard Drive Replacement: adım 7, 3 resimden 2. HP Pavilion 15-ab243cl Hard Drive Replacement: adım 7, 3 resimden 3.
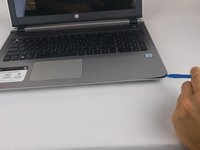
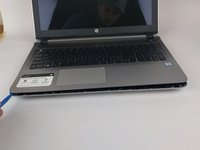
    • Using a plastic opening tool, begin to pry edge of case away from the laptop. Work around the edges until all sides, except back, are open.

  8. HP Pavilion 15-ab243cl Hard Drive Replacement: adım 8, 3 resimden 1. HP Pavilion 15-ab243cl Hard Drive Replacement: adım 8, 3 resimden 2. HP Pavilion 15-ab243cl Hard Drive Replacement: adım 8, 3 resimden 3.
    • On the back side of the laptop, where the battery is, there are 12 black plastic clips. Use a plastic opening tool and pry all of these clips, unlatching them from the case.

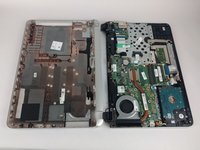
    • Once clips are free, open the laptop. Rotating the case off, around the hinges, works best to remove the case.

  9. HP Pavilion 15-ab243cl Hard Drive Replacement, Hard Drive: adım 9, 3 resimden 1. HP Pavilion 15-ab243cl Hard Drive Replacement, Hard Drive: adım 9, 3 resimden 2. HP Pavilion 15-ab243cl Hard Drive Replacement, Hard Drive: adım 9, 3 resimden 3.
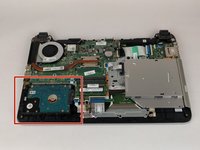
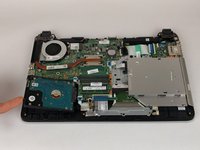
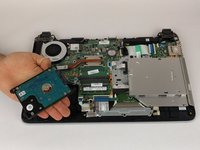
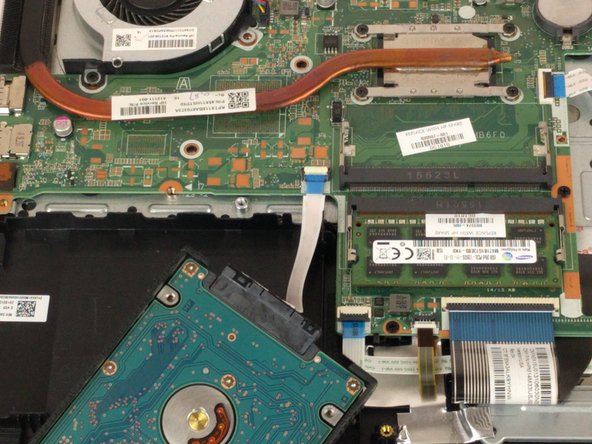
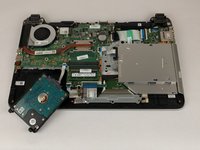
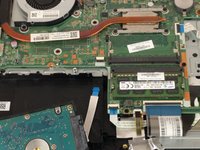
    • Locate the hard drive and lift up to give better access to the connector.

  10. HP Pavilion 15-ab243cl Hard Drive Replacement: adım 10, 3 resimden 1. HP Pavilion 15-ab243cl Hard Drive Replacement: adım 10, 3 resimden 2. HP Pavilion 15-ab243cl Hard Drive Replacement: adım 10, 3 resimden 3.
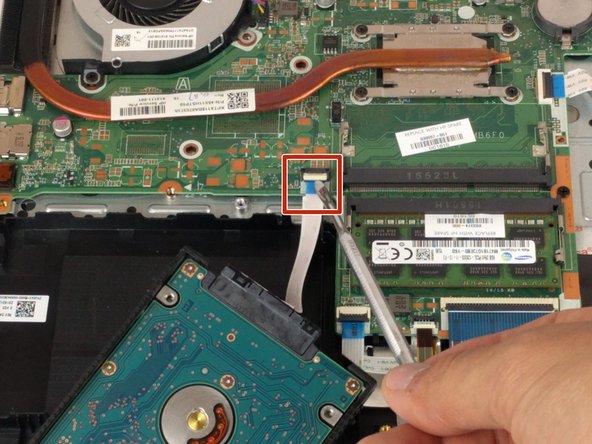
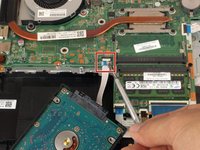
    • Using a plastic opening tool or spudger, pry open the white tab to release connector.

  11. HP Pavilion 15-ab243cl Hard Drive Replacement: adım 11, 2 resimden 1. HP Pavilion 15-ab243cl Hard Drive Replacement: adım 11, 2 resimden 2.
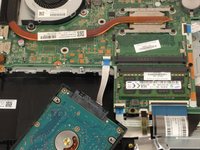
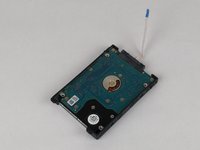
    • Hard drive is good to go and can now be removed.

Sonuç

To reassemble your device, follow these instructions in reverse order.

3 farklı kişi bu kılavuzu tamamladı.

Alexander Bicigo

Üyelik tarihi: 02/14/18

942 İtibar

6 adet Kılavuz yazıldı

Ekip

USF Tampa, Team S6-G3, Eyestone Spring 2018 USF Tampa, Team S6-G3, Eyestone Spring 2018 üyesi

USFT-EYESTONE-S18S6G3

3 Üyeler

7 adet Kılavuz yazıldı

0Kılavuz Yorumları

Yorum Ekle

İstatistikleri Görüntüle:

Son 24 Saat: 0

Son 7 gün: 1

Son 30 gün: 38

Her zaman: 1,729