Ana içeriğe geç
Insignia NS-D160A14 A/V Board Replacement

Insignia NS-D160A14 A/V Board Replacement

Cglocke

Cglocke ve 5 diğer katkıda bulunanlar

En son August 12, 2016 tarihinde güncellendi

5 dakika
Kolay
Öne Çıkan Öğrenci Kılavuzu

The Insignia NS-D160A14 A/V board has the A/V jacks built in. Reasons to replace this part might include the DVD player not displaying correctly on your television or a no audio error. This guide will show the user how to disassemble the DVD player, disconnect the A/V board, and then remove the A/V board.

Neye ihtiyacın var

iFixit bu bağlantılar üzerinden satın aldığınızda komisyon kazanır.
  1. Insignia NS-D160A14 A/V Board Replacement, Outer Case: adım 1, 1 resimden 1.
    • Unplug the power cord before proceeding to open the DVD player's enclosure.

    • Remove the two 7mm Phillips #2 screws from the back of the DVD player.

  2. Insignia NS-D160A14 A/V Board Replacement: adım 2, 1 resimden 1.
    • Carefully lift the outer case up, starting from the back.

    • Removing the outer case may require some force, and you will need to get the case into an angled position compared to the rest of the DVD player before it can be completely separated.

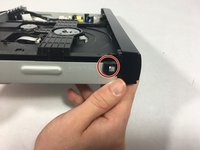
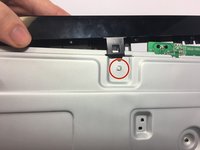
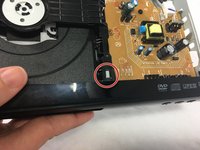
  3. Insignia NS-D160A14 A/V Board Replacement, Front Panel: adım 3, 3 resimden 1. Insignia NS-D160A14 A/V Board Replacement, Front Panel: adım 3, 3 resimden 2. Insignia NS-D160A14 A/V Board Replacement, Front Panel: adım 3, 3 resimden 3.
    • Unhook the 4 hooks on the main casing.

    • There is one hook on the top of the casing, one on the bottom, and one on each side.

    • These hooks are brittle and can easily break.

  4. Insignia NS-D160A14 A/V Board Replacement, Motherboard: adım 4, 1 resimden 1.
    • Remove the central 7 mm screw holding the motherboard in place.

    • Be sure to ground yourself before manipulating the motherboard. A static shock could render one or more components on the motherboard useless.

  5. Insignia NS-D160A14 A/V Board Replacement: adım 5, 1 resimden 1.
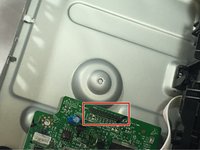
    • Disconnect the white power cord connector from the motherboard.

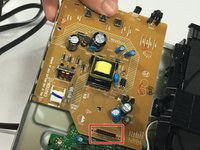
  6. Insignia NS-D160A14 A/V Board Replacement: adım 6, 2 resimden 1. Insignia NS-D160A14 A/V Board Replacement: adım 6, 2 resimden 2.
    • Keeping the 8-pin connector as straight as possible, lift the motherboard out of case.

    • You may need to bend the side of the case slightly to give the motherboard room to be lifted out.

  7. Insignia NS-D160A14 A/V Board Replacement, A/V Board: adım 7, 2 resimden 1. Insignia NS-D160A14 A/V Board Replacement, A/V Board: adım 7, 2 resimden 2.
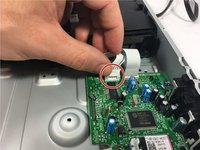
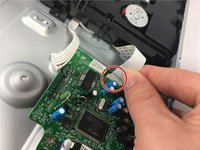
    • Remove the two white cables connected to the A/V board from the optical drive using your fingers.

    • Be careful when removing the cables on the A/V board. Don't apply too much pressure, or the wires could be damaged.

  8. Insignia NS-D160A14 A/V Board Replacement: adım 8, 2 resimden 1. Insignia NS-D160A14 A/V Board Replacement: adım 8, 2 resimden 2.
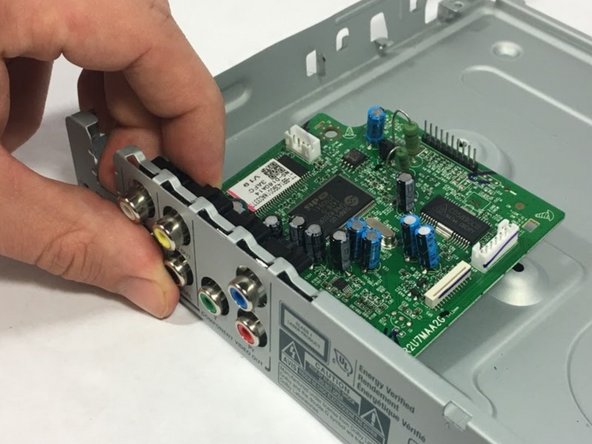
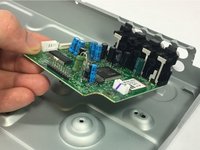
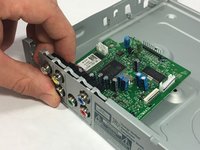
    • Lift the A/V board upwards until you feel it come free from the indentations in the housing.

    • Gently push on the A/V jacks with your thumb from the outside as you lift the board out.

Sonuç

To reassemble your device, follow these instructions in reverse order.

Cglocke

Üyelik tarihi: 07/21/16

176 İtibar

1 Kılavuz yazıldı

Ekip

0 Yorum

Yorum Ekle

İstatistikleri Görüntüle:

Son 24 Saat: 0

Son 7 gün: 9

Son 30 gün: 10

Her zaman: 526