Ana içeriğe geç
JYX-S55 Motherboard Replacement

JYX-S55 Motherboard Replacement

Sarah Iceman

Sarah Iceman ve 2 diğer katkıda bulunanlar

En son March 7, 2024 tarihinde güncellendi

30 dakika - 1 saat
Orta

If your JYX-S55 speaker isn't turning on despite charging, or if multiple features of the device are not working, use this guide to replace the motherboard.

The motherboard allows the device to turn on and enable different features.

Before using this guide, inspect the charging cable of the device and attempt to turn the device on using other charging cables that fit into the USB-C charging port located on the top panel of the device. Additionally, check to see how many features are not functioning. This will confirm whether or not the motherboard is faulty within the device.

To reduce risk while completing the replacement, make sure the battery is completely discharged by leaving the device on until it turns off. This will signal the battery is not carrying any charge, and it is safer to replace any component of the device. Keep the device off and unplugged from all external power sources at all times while replacing any component.

  1. JYX-S55 Motherboard Replacement, Motherboard: adım 1, 1 resimden 1.
    Bu adımda kullanılan alet:
    Flathead 3/32" or 2.5 mm Screwdriver
    $5.49
    • Remove the six screws around the perimeter of the top panel of the machine using a 2.5 mm flathead screwdriver.

  2. JYX-S55 Motherboard Replacement: adım 2, 1 resimden 1.
    • Grip the top panel with your thumb at the bottom and fingers around the top. Lift the panel until it comes loose.

  3. JYX-S55 Motherboard Replacement: adım 3, 1 resimden 1.
    • Move the top panel backwards and away from you. Let the panel hang down behind the machine, as this will allow you to have access to the components within the machine.

  4. JYX-S55 Motherboard Replacement: adım 4, 1 resimden 1.
    • Remove the screws on the left and right side of the motherboard using a JIS #1 screwdriver.

    • It's important to keep these screws separate from the ones unscrewed from the top of the panel. This is so both sets of screws won't get mixed up.

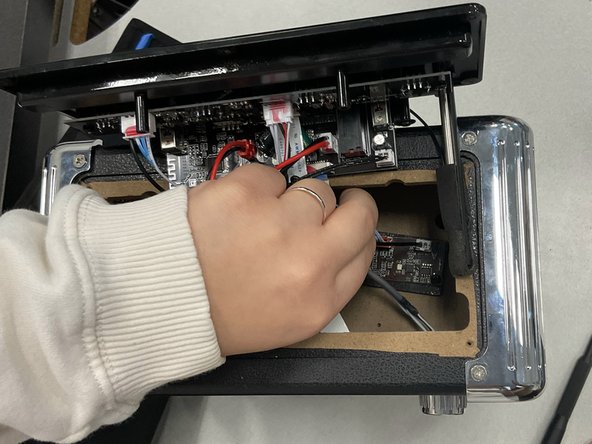
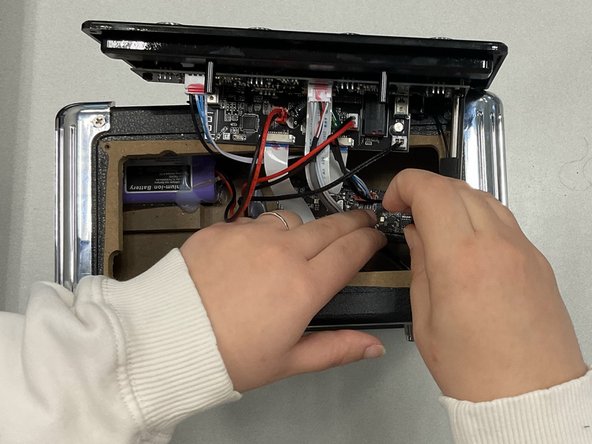
  5. JYX-S55 Motherboard Replacement: adım 5, 3 resimden 1. JYX-S55 Motherboard Replacement: adım 5, 3 resimden 2. JYX-S55 Motherboard Replacement: adım 5, 3 resimden 3.
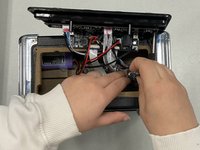
    • Detach the red and white bricks plugged into the motherboard.

    • This should allow the motherboard to be completely unattached from the device, and ready to handle.

    • Swap the current motherboard with the new replacement part. Then, plug the white brick into the port on the right of the replacement motherboard, and the red brick back in to the center port.

Sonuç

To reassemble your device, follow these instructions in reverse order.

2 farklı kişi bu kılavuzu tamamladı.

Sarah Iceman

Üyelik tarihi: 02/24/23

445 İtibar

2 adet Kılavuz yazıldı

Ekip

Marist, Team 1-5, Chaterdon Spring 2023 Marist, Team 1-5, Chaterdon Spring 2023 üyesi

MARS-CHATERDON-S23S1G5

3 Üyeler

4 adet Kılavuz yazıldı

0Kılavuz Yorumları

Yorum Ekle

İstatistikleri Görüntüle:

Son 24 Saat: 1

Son 7 gün: 8

Son 30 gün: 55

Her zaman: 921