Giriş
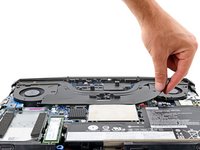
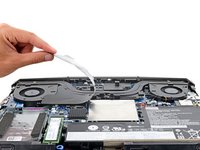
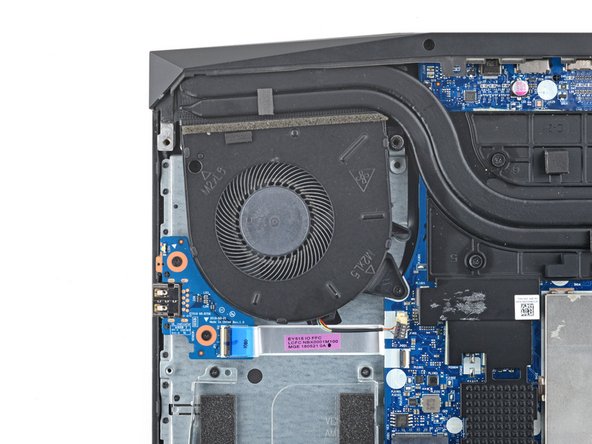
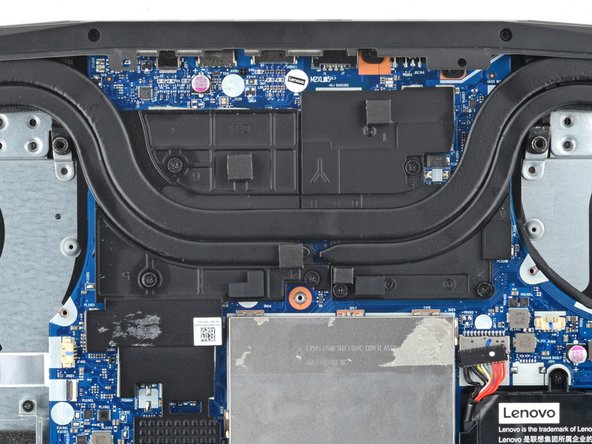
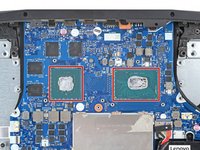
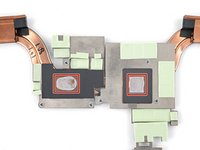
Use this guide to replace the heatsink in your Lenovo Legion Y7000P laptop.
Neye ihtiyacın var
-
-
Unplug all cables and fully shut down your laptop.
-
-
-
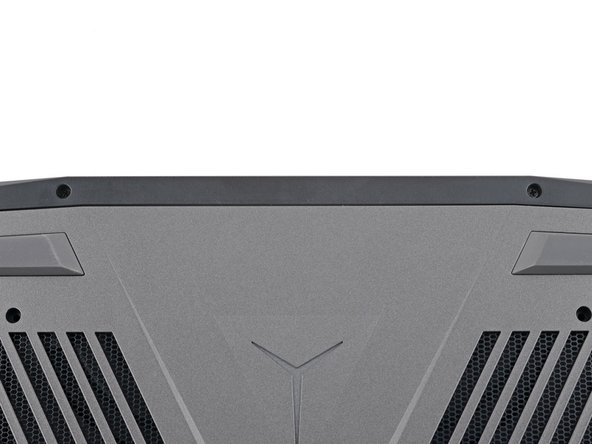
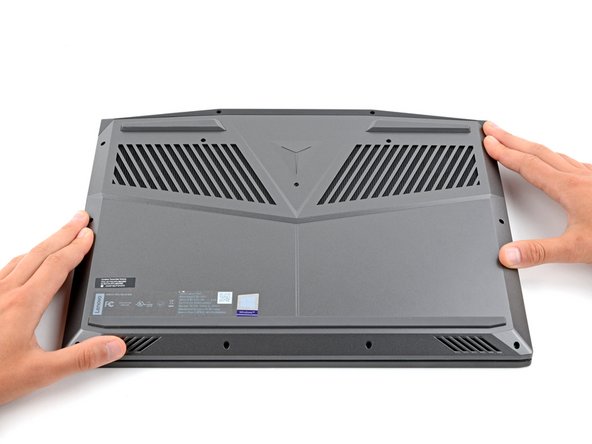
Use a Phillips screwdriver to remove the 11 screws securing the back cover:
-
Five 11.5 mm‑long screws
-
Six 4.7 mm-long screws
-
-
-
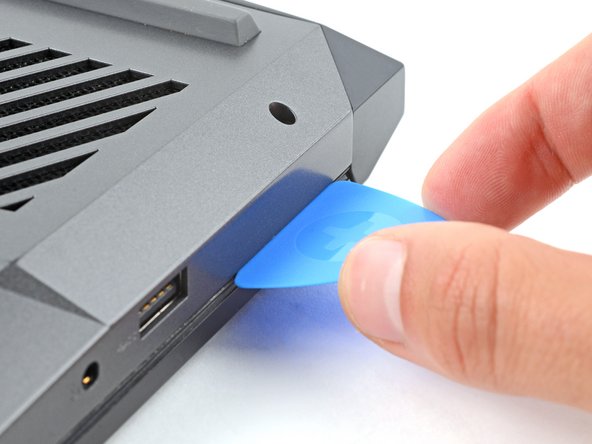
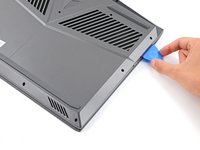
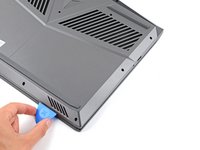
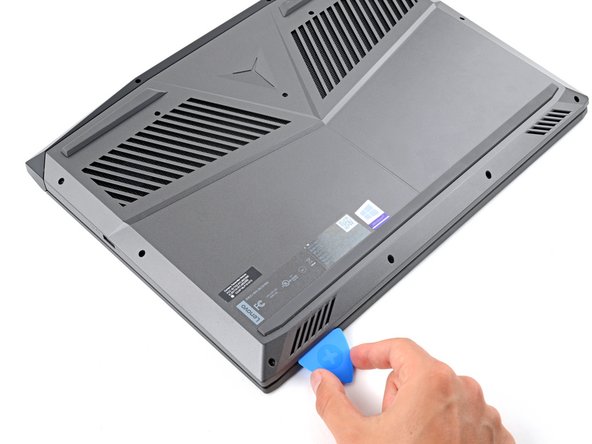
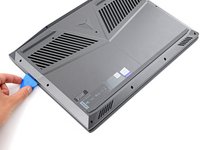
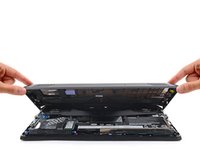
Insert the flat side of an opening pick between the top right corner of the back cover and frame.
-
-
-
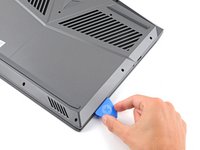
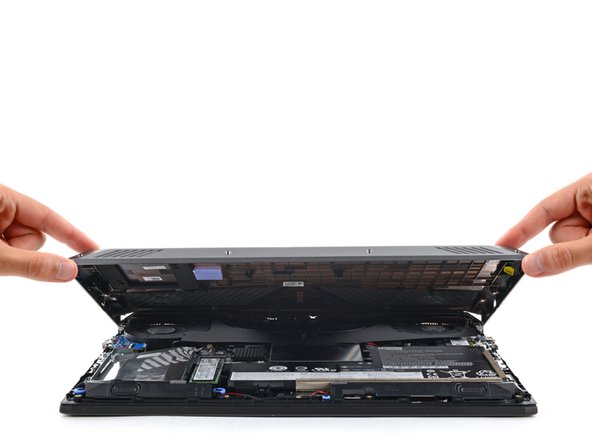
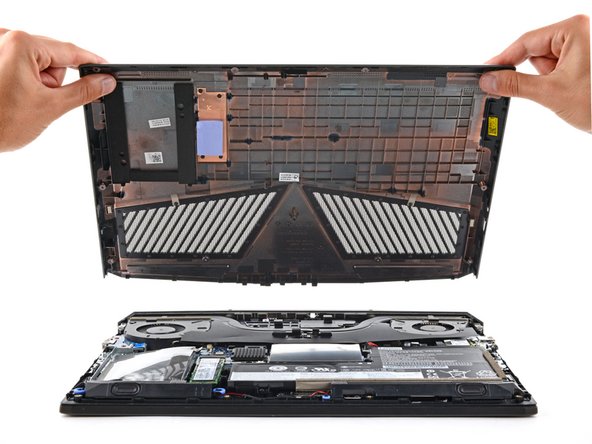
Slide the opening pick down the right edge and around the bottom right corner to release the clips.
-
-
-
-
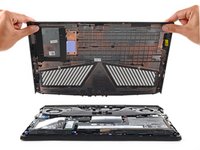
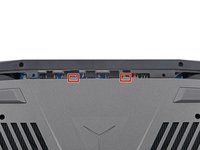
Slide the two tabs near the center of the back cover's top edge under the hinge cover.
-
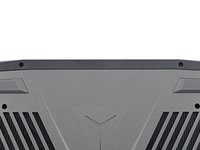
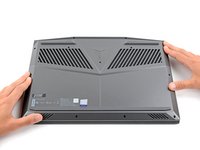
Press down firmly around the perimeter of the back cover to engage all the clips.
-
-
-
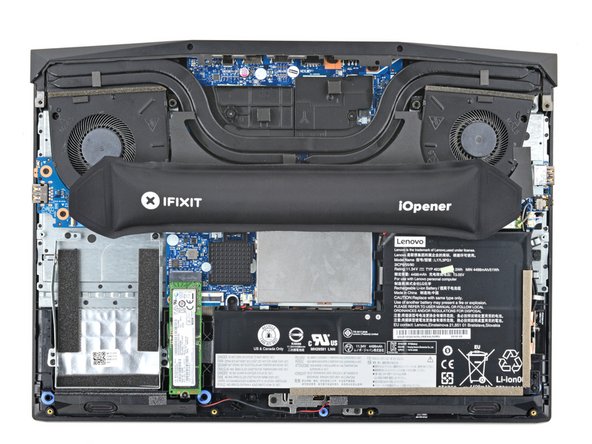
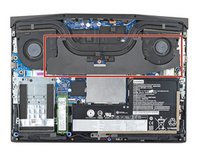
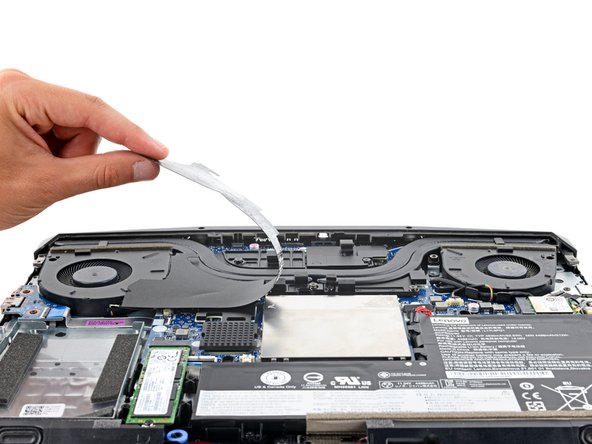
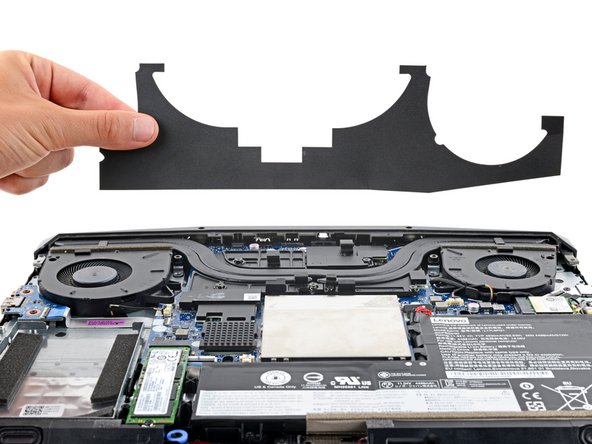
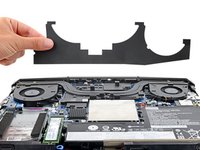
A stiff, black cover runs across the heatsink and fans.
-
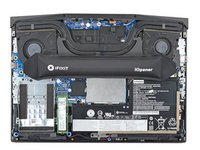
Heat an iOpener and apply it to the cover for two minutes.
-
-
-
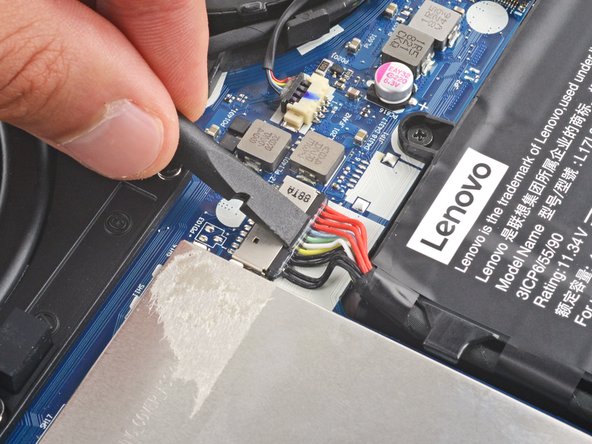
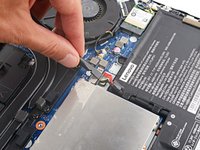
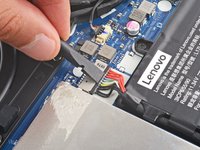
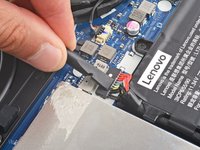
Use the flat end of a spudger to push the battery connector straight out of its socket.
-
-
-
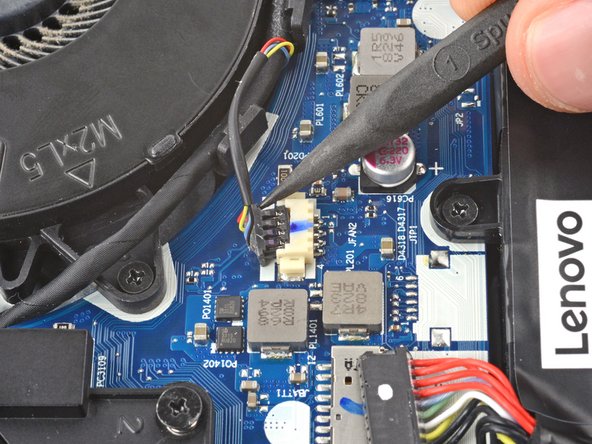
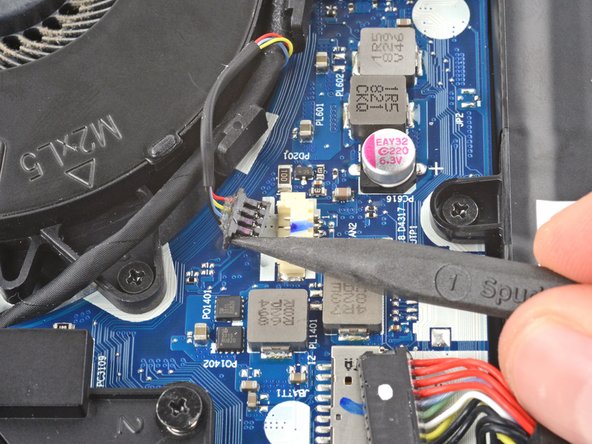
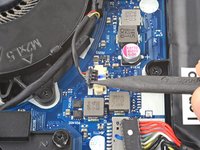
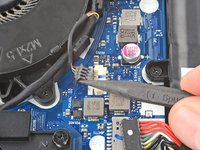
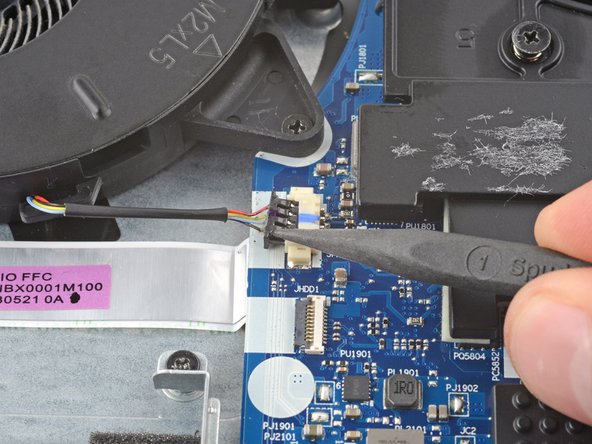
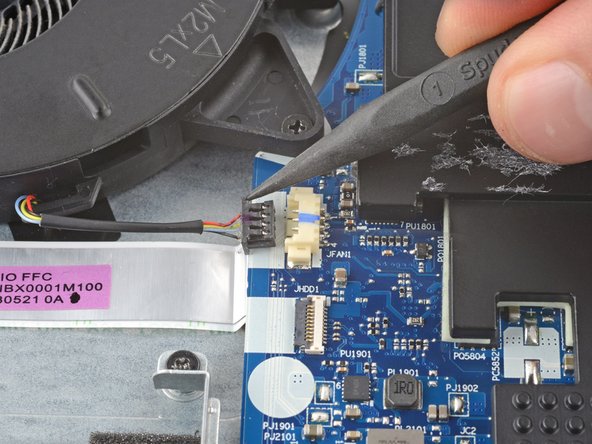
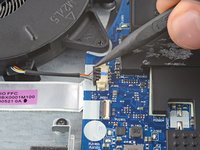
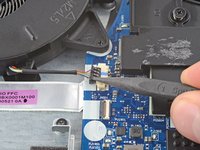
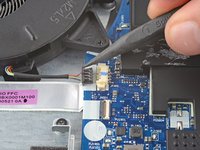
Use the point of a spudger to push on alternating sides of the left fan cable connector to "walk" it out of its socket.
-
-
-
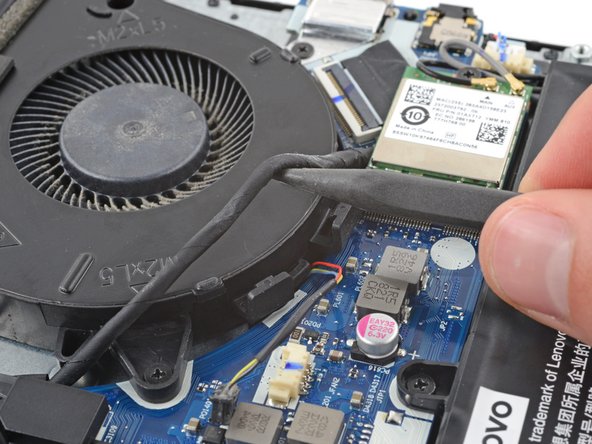
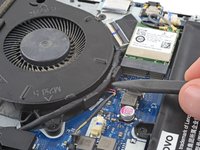
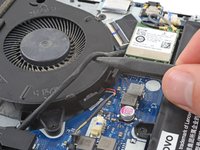
Use the point of a spudger to guide the display cable out of the clips on the bottom edge of the left fan.
-
-
-
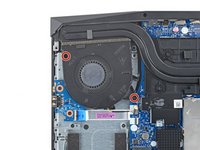
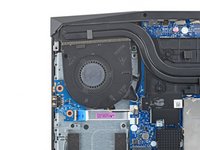
Use a Phillips screwdriver to remove the two 5.7 mm‑long screws securing the left fan.
-
-
-
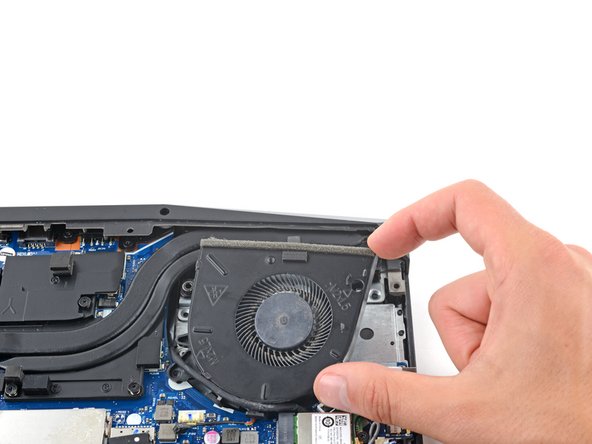
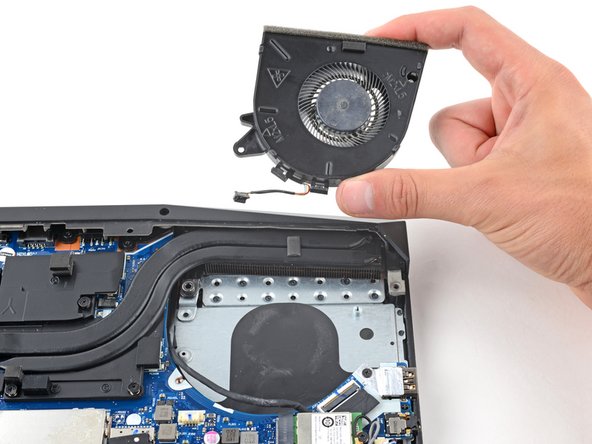
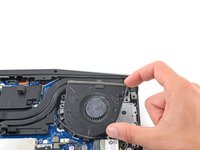
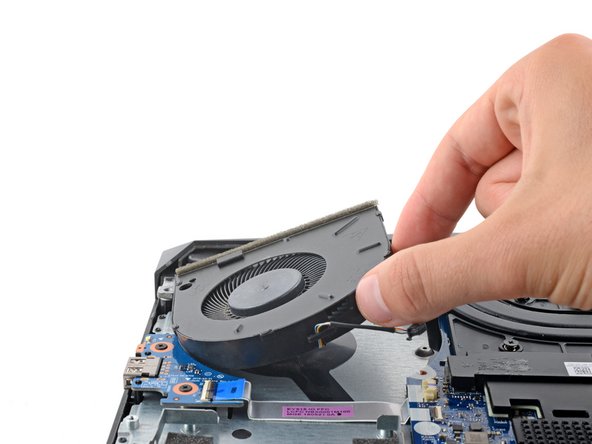
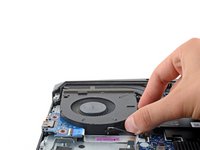
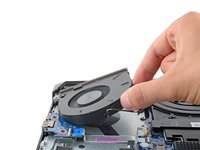
Lift the top edge of the left fan.
-
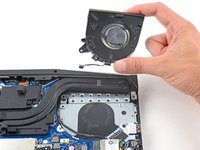
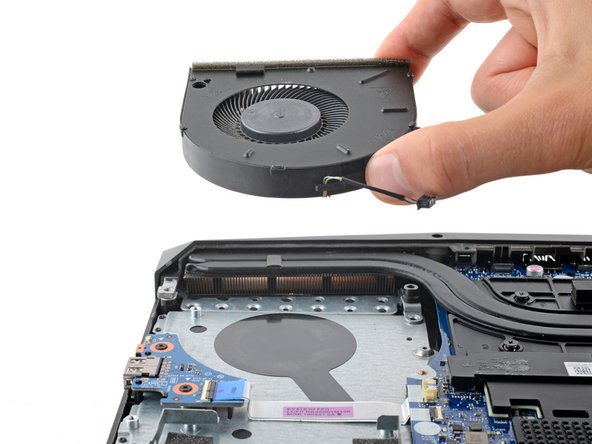
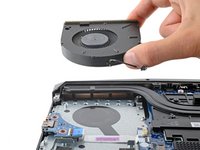
Slide the left fan cable out from under the display cable and remove the fan.
-
-
-
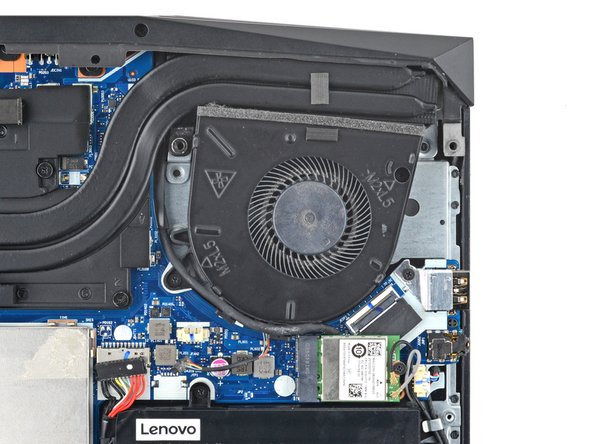
Use the point of a spudger to push on alternating sides of the right fan cable connector to "walk" it out of its socket.
-
-
-
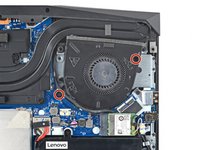
Use a Phillips screwdriver to remove the two 5.7 mm‑long screws securing the right fan.
-
-
-
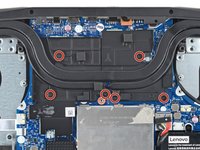
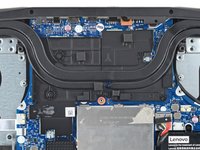
Use a Phillips screwdriver to loosen the six captive screws securing the heatsink.
-
-
-
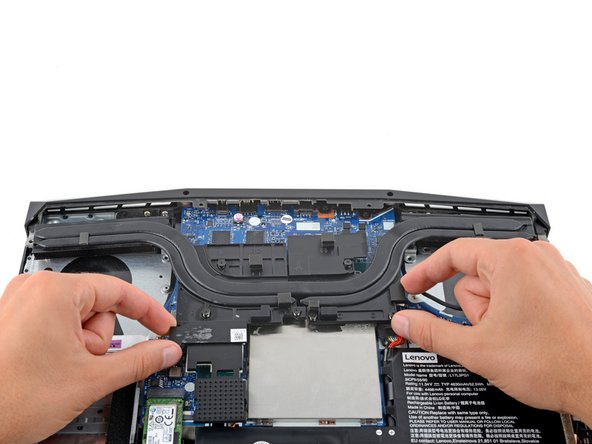
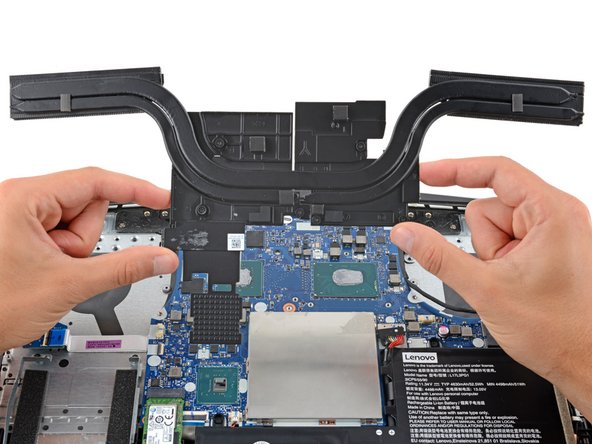
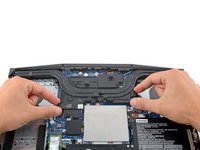
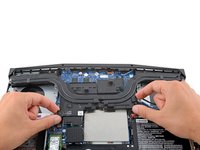
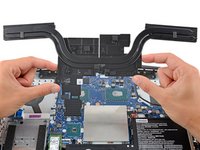
Grip the bottom corners of the heatsink and pull it away from the hinge to free the top edge.
-
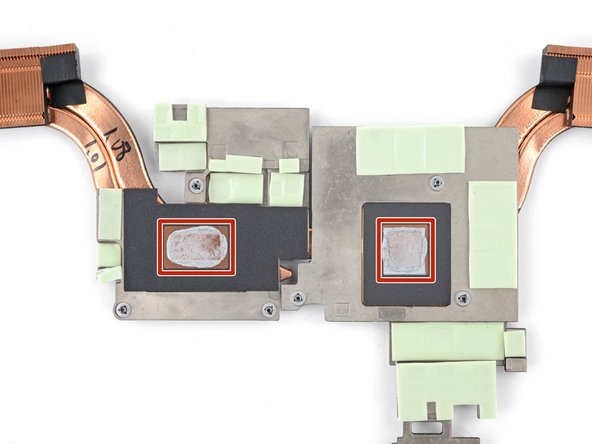
Remove the heatsink.
-
To reassemble your device, follow these instructions in reverse order.
Check your repair by running hardware tests with Lenovo Diagnostics.
Take your e-waste to an R2 or e-Stewards certified recycler.
Repair didn’t go as planned? Try some basic troubleshooting, or ask our Answers community for help.


