
Lenovo Yoga Tab 3 8 LCD Replacement
Giriş
1. adıma gitIf you are following this guide, that means your screen of LCD is broken, cracked, or causing graphical issues on your Lenovo Yoga Tab 3 8. Before starting to work on your device, it is advised to back up any important files just in case something happens. You will want to make sure you have the device powered off to prevent harming yourself or damaging your hardware. To make reassembly easier, be sure to avoid misplacing the small screws by keeping track of them as you go. Be cautions as you remove the LCD, especially if it was previously cracked. The screen could shatter which will make removal more dangerous and difficult. It is recommended that you wear heavy duty gloves and safety glasses to avoid injury.
Neye ihtiyacın var


Videoya Genel Bakış
-
Bu adımda kullanılan alet:Tweezers$4.99
-
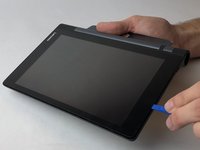
Open the kickstand by pressing the release button in the center.
-
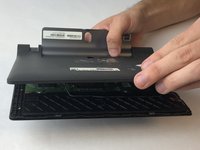
Remove the identification sticker with a pair of tweezers to allow access to the two 2mm screws underneath.
-
-
-
Remove the three 2mm screws under the kickstand with a PH00 screwdriver.
-
-
-
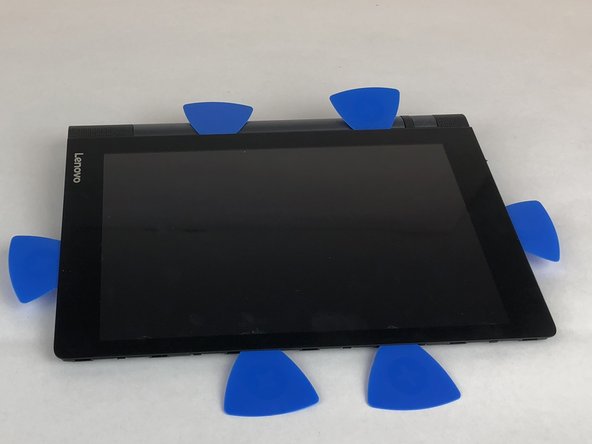
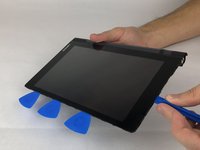
Starting along the edge opposite of the hinge, insert a plastic opening tool between the screen and the backing to begin separating the small clips holding the backing on.
-
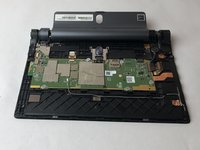
Work along the edge and then up the sides, separating the clips with the plastic opening tool.
this step is not clear. Where are the clips ? The screen looks inset. How to insert the tool ?
-
-
Bu adımda kullanılan alet:Tweezers$4.99
-
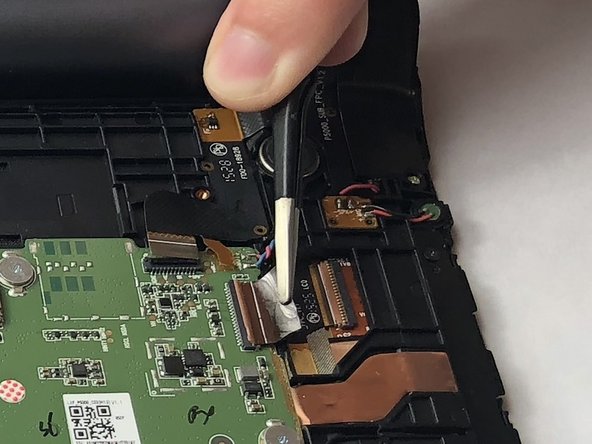
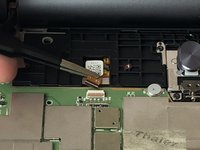
With the device oriented screen side down and hinge opposite of you, locate the LCD connection on the motherboard. It is the small copper and white connector to the left of the kickstand lock. Disengage the lock on the connector by flipping it up with a pair of tweezers. Use the tweezers to then pull the wire out of the connector.
-
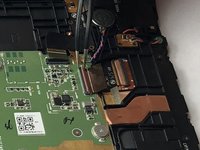
On the right edge of the motherboard, locate the large brown and black LCD connection. Disengage the lock and pull the wire out of the connector with the tweezers.
-
-
-
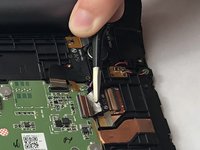
Lift the LCD out with your fingers, being careful that the wires do not catch.
Hi there…
Tq for your guide i had changed the screen.
But after that i hv another problem, the tablet itself easier to get hot and the battery drain faster. may i kno what i had miss?
-


To reassemble your device, follow these instructions in reverse order.
To reassemble your device, follow these instructions in reverse order.
İptal et: Bu kılavuzu tamamlamadım.
7 farklı kişi bu kılavuzu tamamladı.
Ekip

USF Tampa, Team S16-G2, Eyestone Fall 2017 USF Tampa, Team S16-G2, Eyestone Fall 2017 üyesi
USFT-EYESTONE-F17S16G2
4 Üyeler
16 adet Kılavuz yazıldı
3 Yorum
Do I need to add glue when reinstalling the lcd?
Yes but very little and I prefer to use araldite Or fevibond
While repairing I forgot to keep the black ribbon located at the right corner of the motherboard what should I do