Giriş
If the toggle switches on your Logitech G X56 HOTAS Throttle are unresponsive, stuck, or intermittently malfunctioning, the issue may stem from a faulty switch board. This guide will walk you through the process of replacing the switch board to restore full input functionality. Please note that this repair requires soldering, as the switches are directly connected to the board. Make sure you are comfortable with basic soldering techniques before beginning.
If you're unfamiliar with soldering, review the How To Solder and Desolder Connections guide and take appropriate safety precautions before beginning.
Neye ihtiyacın var
-
-
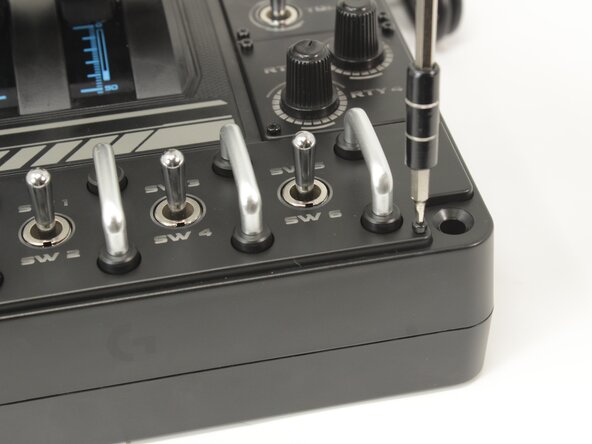
Remove the eight 8.6 mm long 1.5 mm hex screws from the label plate.
 FixBot'a Sor
-
-
-
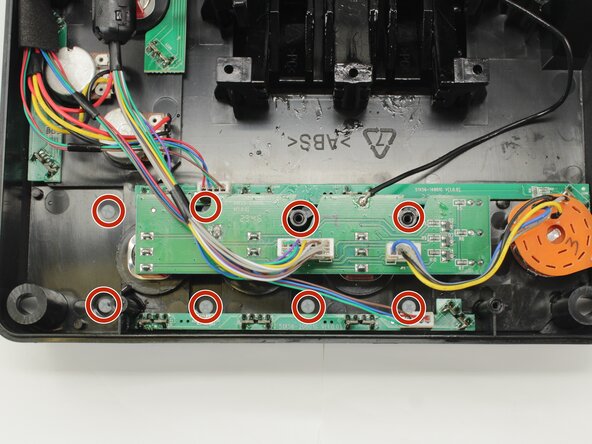
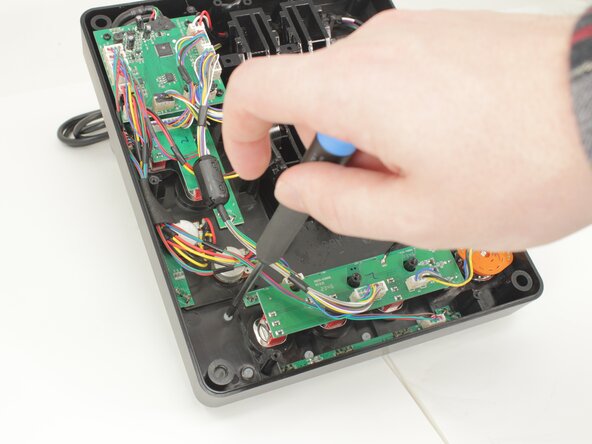
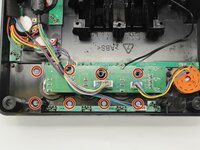
Remove the eight 12.5 mm long Phillips #1 screws from the underside of the label plate.
-
-
-
-
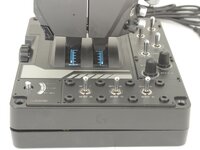
Place the throttle right side up again, using the bottom panel as a coaster.
-
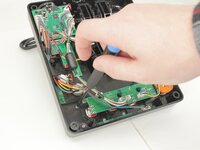
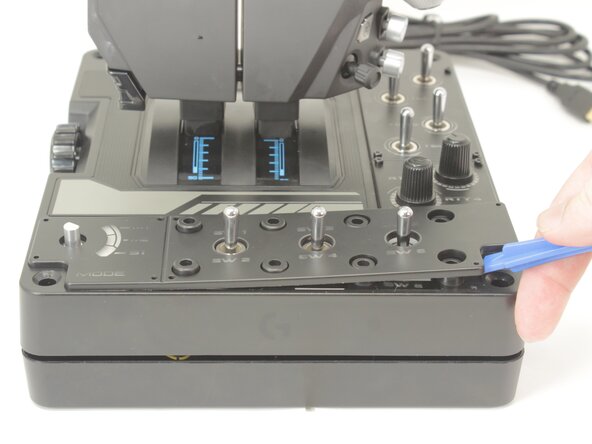
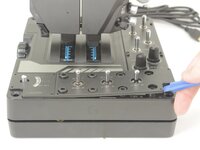
Gently pry the label plate from the body of the throttle.
-





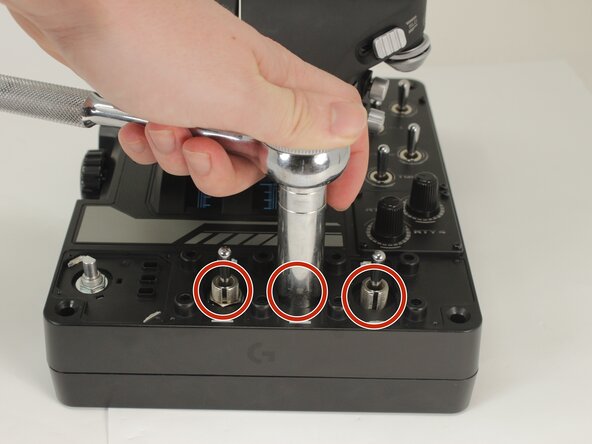
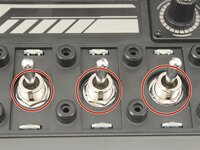


To reassemble your device, follow the above steps in reverse order.
Take your e-waste to an R2 or e-Stewards certified recycler.
Repair didn’t go as planned? Try some basic troubleshooting or ask our Answers community for help.
İptal et: Bu kılavuzu tamamlamadım.
2 farklı kişi bu kılavuzu tamamladı.

Ekip

University of Memphis, Team 3-5, Sneed Spring 2025 University of Memphis, Team 3-5, Sneed Spring 2025 üyesi
UM-SNEED-S25S3G5
4 Üyeler
7 adet Kılavuz yazıldı
