Ana içeriğe geç

Logitech G733 Wireless Headset Battery Replacement

Neye ihtiyacın var

  1. Logitech G733 Wireless Headset Battery Replacement, Prepare your headset for disassembly: adım 1, 3 resimden 1. Logitech G733 Wireless Headset Battery Replacement, Prepare your headset for disassembly: adım 1, 3 resimden 2. Logitech G733 Wireless Headset Battery Replacement, Prepare your headset for disassembly: adım 1, 3 resimden 3.
    • Power off your headset and unplug all cables.

    • During your repair, it can be helpful to lay your headset on a soft cloth to stabilize it and prevent damage.

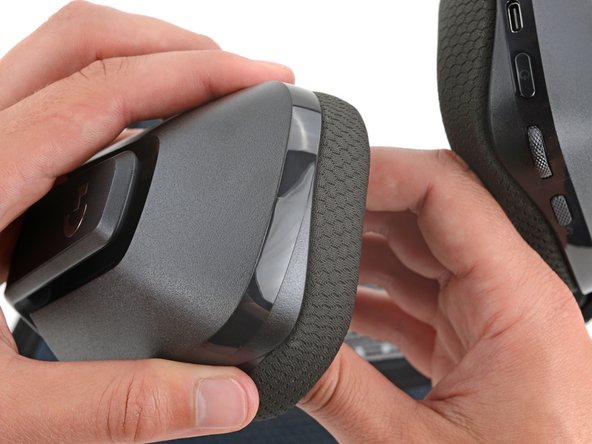
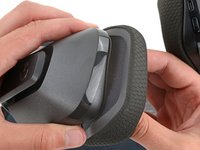
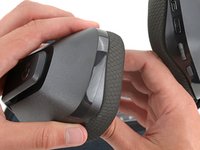
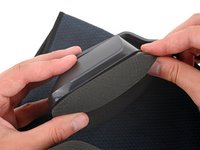
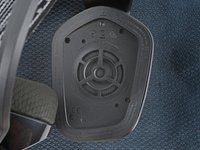
  2. Logitech G733 Wireless Headset Battery Replacement, Remove the right ear pad: adım 2, 3 resimden 1. Logitech G733 Wireless Headset Battery Replacement, Remove the right ear pad: adım 2, 3 resimden 2. Logitech G733 Wireless Headset Battery Replacement, Remove the right ear pad: adım 2, 3 resimden 3.
    • With one hand, firmly hold the right ear cup steady.

    • With your free hand, slowly pull the right ear pad away from the cup until it slides completely off its plastic lip.

  3. Logitech G733 Wireless Headset Battery Replacement, Reassembly information: adım 3, 3 resimden 1. Logitech G733 Wireless Headset Battery Replacement, Reassembly information: adım 3, 3 resimden 2. Logitech G733 Wireless Headset Battery Replacement, Reassembly information: adım 3, 3 resimden 3.
    • Putting the ear pad on the cup can be tricky. Be patient and work slowly—it may take a couple tries.

    • To put the ear pad onto its cup:

    • With one hand, firmly hold the right ear cup steady.

    • With your free hand, put your fingers into the right ear pad and extend them outwards to stretch the pad.

    • Place the pad over the bottom of the cup so the fabric flap slides over the cup's plastic lip.

    • Hold the top of the pad firmly in place and thread the rest of the fabric flap over the lip, working your way around the entire cup. Gently stretch the pad as necessary.

    • To prevent the fabric from sliding off its lip, use one hand to secure the section of the pad that's already been put back on.

    • Check the entire perimeter of the cup to make sure the ear pad is fully on. If any of the fabric flap is sticking out, try to push it over the lip or remove the ear pad and try again.

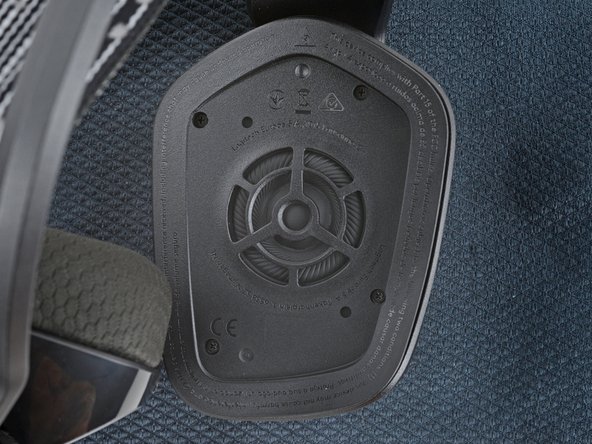
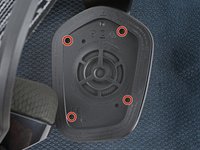
  4. Logitech G733 Wireless Headset Battery Replacement, Remove the right speaker housing screws: adım 4, 2 resimden 1. Logitech G733 Wireless Headset Battery Replacement, Remove the right speaker housing screws: adım 4, 2 resimden 2.
    • Use a Phillips screwdriver to remove the four 2.8 mm‑long screws securing the right speaker housing.

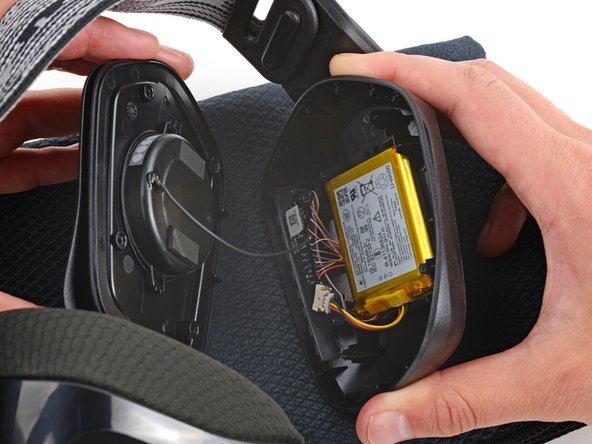
  5. Logitech G733 Wireless Headset Battery Replacement, Move the speaker housing: adım 5, 3 resimden 1. Logitech G733 Wireless Headset Battery Replacement, Move the speaker housing: adım 5, 3 resimden 2. Logitech G733 Wireless Headset Battery Replacement, Move the speaker housing: adım 5, 3 resimden 3.
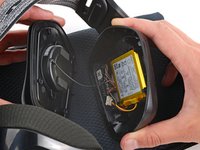
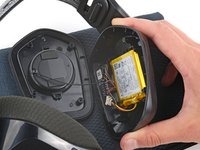
    • Don't try to fully remove the speaker housing, as a delicate cable connects it to the ear cup.

    • Gently remove the speaker housing and set it next to the ear cup, making sure the cable isn't strained.

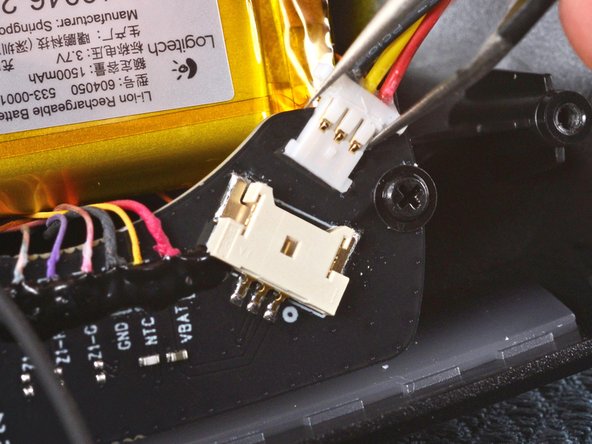
  6. Logitech G733 Wireless Headset Battery Replacement, Disconnect the battery: adım 6, 3 resimden 1. Logitech G733 Wireless Headset Battery Replacement, Disconnect the battery: adım 6, 3 resimden 2. Logitech G733 Wireless Headset Battery Replacement, Disconnect the battery: adım 6, 3 resimden 3.
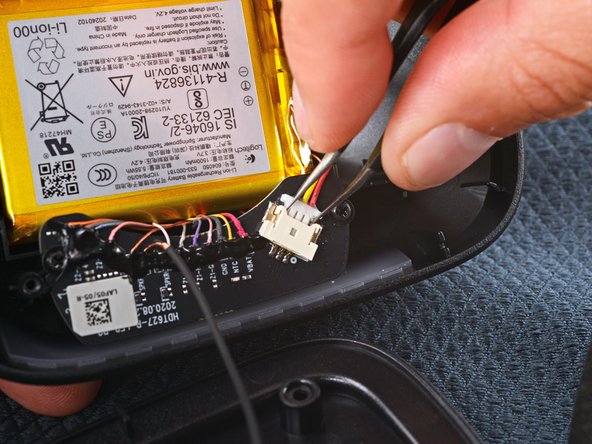
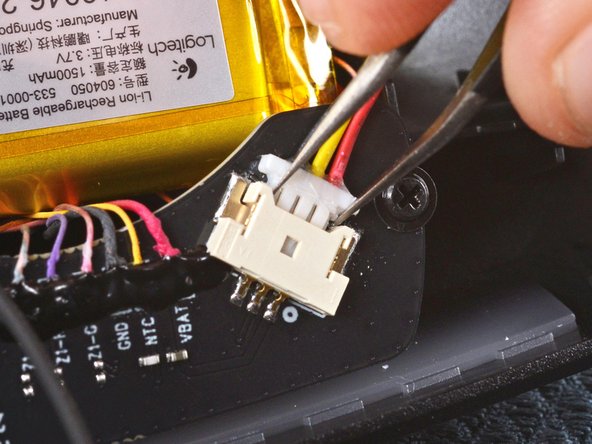
    • Be very careful not to puncture the battery during this step, as it can catch fire or leak dangerous chemicals.

    • Use a pair of angled tweezers to pull the battery connector straight out of its socket.

    • If you're having trouble, try rocking the connector side-to-side to help loosen it.

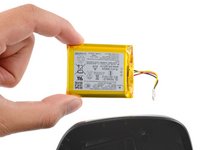
  7. Logitech G733 Wireless Headset Battery Replacement, Remove the battery: adım 7, 3 resimden 1. Logitech G733 Wireless Headset Battery Replacement, Remove the battery: adım 7, 3 resimden 2. Logitech G733 Wireless Headset Battery Replacement, Remove the battery: adım 7, 3 resimden 3.
    Bu adımda kullanılan alet:
    Tesa 61395 Tape
    $2.99
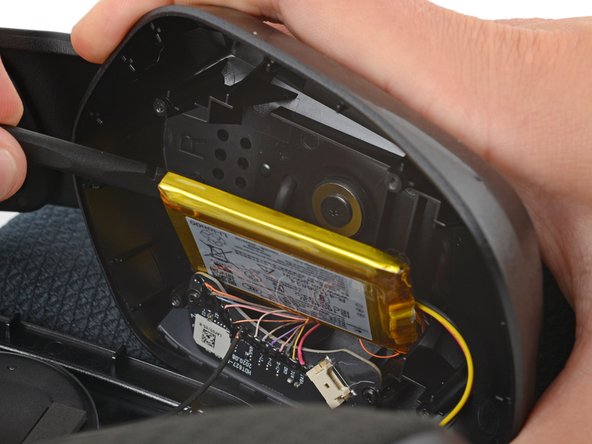
    • Be very careful not to puncture or crease the battery during this step, as it can leak chemicals or catch fire.

    • Use a spudger to slowly pry up the top edge of the battery until its adhesive separates.

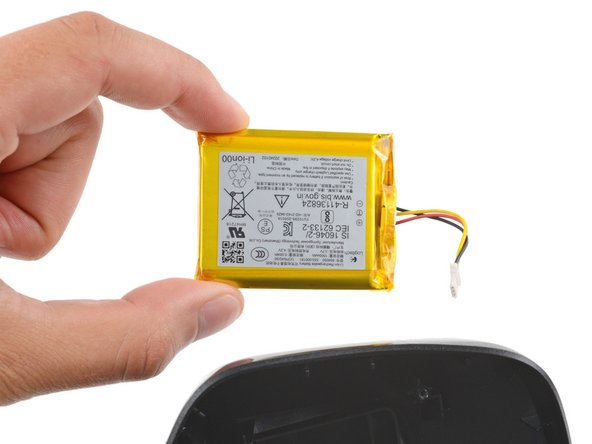
    • Remove the battery.

    • During reassembly:

    • When installing a new battery, make sure the end with cables is near the bottom of the ear cup so the connector can reach its socket.

    • If your replacement battery comes with adhesive pre-installed, remove the plastic liner and press the battery into place.

    • If your replacement battery doesn't come with adhesive pre-installed, use strips of double-sided tape to secure it in the recess.

Sonuç

To reassemble your device, follow these instructions in reverse order.

For optimal performance, calibrate your newly installed battery after completing this guide.

Take your e-waste to an R2 or e-Stewards certified recycler.

Repair didn’t go as planned? Try some basic troubleshooting, or ask our Answers community for help.

2 farklı kişi bu kılavuzu tamamladı.

Spencer Day

Üyelik tarihi: 09/14/22

96.165 İtibar

662 adet Kılavuz yazıldı

Ekip

iFixit iFixit üyesi

Staff

120 Üyeler

19.669 adet Kılavuz yazıldı

0Kılavuz Yorumları

Yorum Ekle

İstatistikleri Görüntüle:

Son 24 Saat: 22

Son 7 gün: 170

Son 30 gün: 813

Her zaman: 3,127