
Logitech MX Revolution battery Replacement
Giriş
1. adıma gitThis page will guide you to the following steps:
- Removing 4 screws which hold the mouse shield together
- Replacing the Li-ion battery
Also you can watch a video of Logitech MX Revolution being disassembled.
Credit: BlaisePhoto.fr and Logi Nu
Neye ihtiyacın var


-
-
Remove the mouse feet carefully with a flathead screw driver.
-
Also you can buy new mouse feet on ebay if you break them.
-
Unscrew each screw a little at a time alternating between all 4 so that the base comes off all at once.
-
-
-
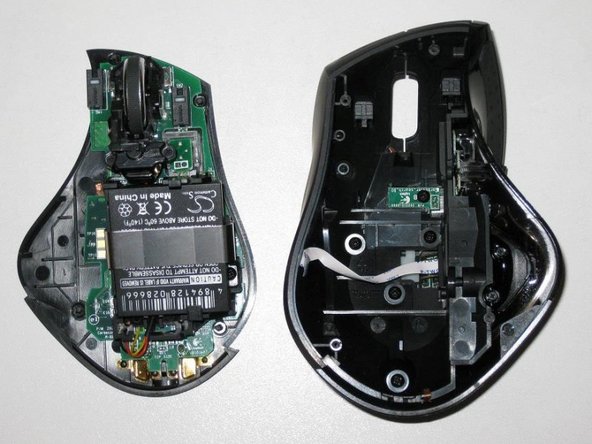
Remove the ribbon cable GENTLY use your flat head screwdriver to pry up each side of the black clip evenly until the ribbon releases.
-
At this point, the mouse shield should be free from the mouse board.
-
If you have an older model mouse, follow steps 4 to 7.
-
If you have a newer model mouse, jump to steps 8.
-


To reassemble your device, follow these instructions in reverse order.
To reassemble your device, follow these instructions in reverse order.
İptal et: Bu kılavuzu tamamlamadım.
27 farklı kişi bu kılavuzu tamamladı.
3 Yorum
Only one correction.
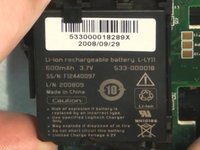
Either way you can order the new LY battery, since it's manufacturing date is newer and there's been some fix in it.
You just use a toothpick to take down both old and new switches, and mount the old switch on new battery. Takes 10 min and steady hands.
I just did it, and the things working....
Thanks for the guide.
I would not just order the LY battery. This depends on your manufacturing year. The LY battery has wires soldered onto it, but the old model does not have wires soldered onto it because there are contact points on the battery holder (like an old cell phone battery). Just open your mouse to be sure. Old model uses the L-L11 battery.
One tip: for the old model you don’t need to unscrew/remove the battery holder. Just take the battery out.
agrior -
Pro Tip on reassembly: attach the ribbon cable from the upper shell before reinstalling the battery cage. The battery cage makes it extremely difficult to slide the ribbon back into the slot.
If you work carefully, it may be possible to skip disconnecting the ribbon and battery cage altogether.