Giriş
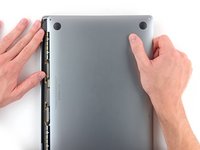
This serves as the starting point for every repair on your MacBook Pro. You'll need a P5 Pentalobe screwdriver to remove the lower case and get into the device.
For your safety, discharge your MacBook Pro's battery before you begin this procedure. A charged lithium-ion battery can create a dangerous and uncontrollable fire if accidentally punctured.
Neye ihtiyacın var
-
Bu adımda kullanılan alet:Magnetic Project Mat$19.95
-
If your MacBook is running Big Sur v11.1 or later, disabling Auto Boot may not work. You can proceed normally, but make sure to disconnect the battery as soon as you're inside.
-
Use a P5 Pentalobe driver to remove the six screws securing the lower case:
-
Two 6.8 mm screws
-
Two 5.3 mm screws
-
Two 3.4 mm screws
-
-
-
-
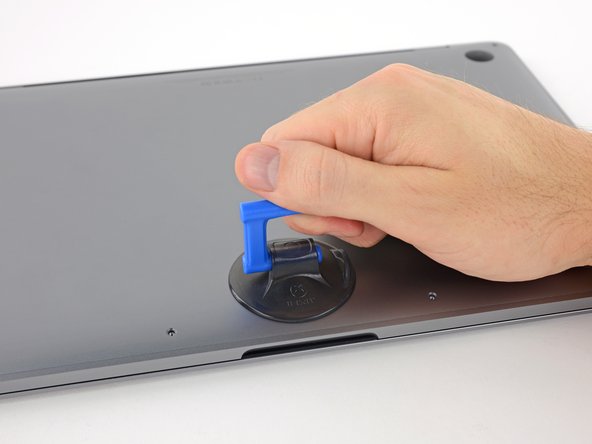
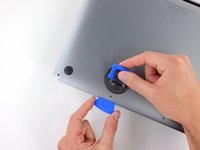
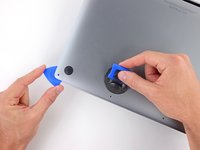
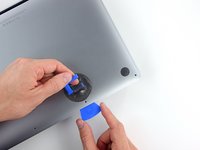
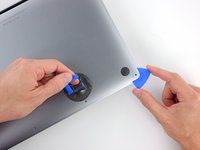
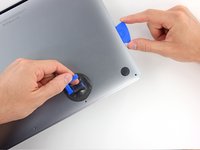
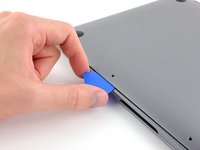
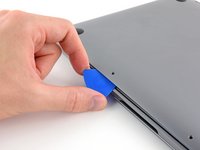
Insert your opening pick once again under the front edge of the lower case, near one of the two centermost screw holes.
-
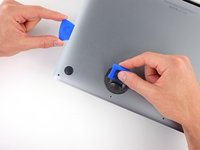
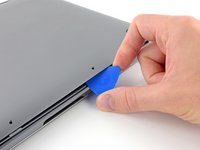
Give the pick a firm twist to pop free the third clip securing the lower case to the chassis.
-
Repeat this procedure near the other of the two centermost screw holes, popping the fourth clip free.
-
-
-
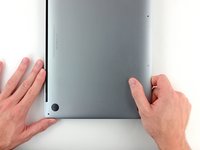
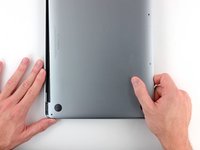
Remove the lower case.
-
Set it in place and align the sliding clips near the display hinge. Press down and slide the cover toward the hinge. It should stop sliding as the clips engage.
-
When the sliding clips are fully engaged and the lower case looks correctly aligned, press down firmly on the lower case to engage the four hidden clips underneath. You should feel and hear them snap into place.
-
To reassemble your device, follow these instructions in reverse order.
To reassemble your device, follow these instructions in reverse order.
İptal et: Bu kılavuzu tamamlamadım.
14 farklı kişi bu kılavuzu tamamladı.
3 Guide Comments
Grazie un infinito numero di volte
La professionalità e la generosità sono veri punti di forza del sito e dei suoi operatori; grazie per renderci autonomi e senza aggravi onerosi verso una delle piu ricche multinazionali


