Giriş
Use this guide to replace the entire display assembly on your MacBook Pro, in order to fix a cracked or faulty screen. This assembly also includes the integrated ribbon cables that are known to fail as part of the “FlexGate” defect, so replacing it will also resolve the “stage lights” effect and other issues resulting from ribbon cable damage.
For your safety, discharge your MacBook Pro's battery below 25% before you begin. A charged lithium-ion battery can create a dangerous and uncontrollable fire if accidentally punctured.
Neye ihtiyacın var
-
-
Power on your Mac and launch Terminal.
-
Copy and paste the following command (or type it exactly) into Terminal:
-
sudo nvram AutoBoot=%00
-
Press [return]. If prompted, enter your administrator password and press [return] again. Note: Your return key may also be labeled ⏎ or "enter."
-
sudo nvram AutoBoot=%03
-
-
Bu adımda kullanılan alet:Magnetic Project Mat$19.95
-
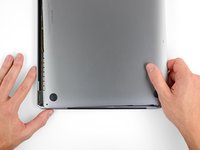
Close the display and flip the entire laptop upside-down.
-
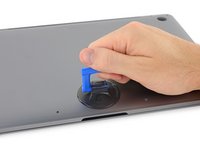
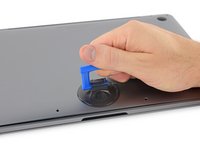
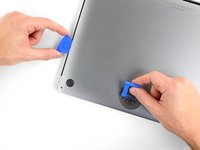
Use a P5 Pentalobe driver to remove six screws securing the lower case, of the following lengths:
-
Four 4.7 mm screws
-
Two 6.6 mm screws
-
-
-
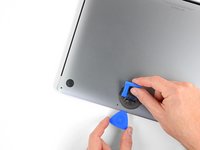
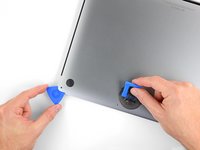
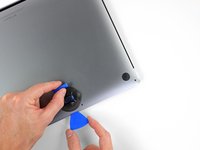
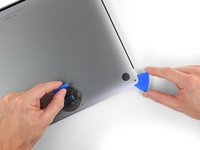
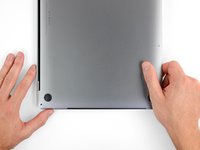
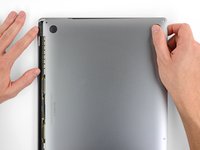
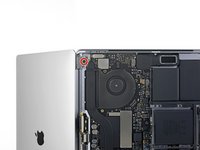
Remove the lower case.
-
Set it in place and align the sliding clips near the display hinge. Press down and slide the cover toward the hinge. It should stop sliding as the clips engage.
-
When the sliding clips are fully engaged and the lower case looks correctly aligned, press down firmly on the lower case to engage the four hidden clips. You should feel and hear them click into place.
-
-
-
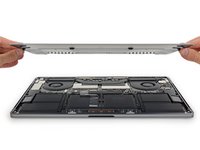
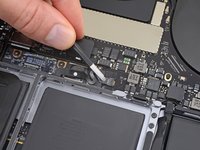
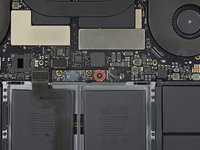
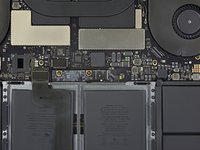
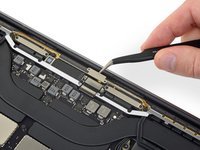
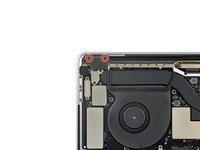
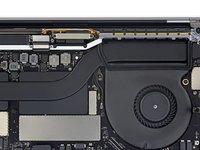
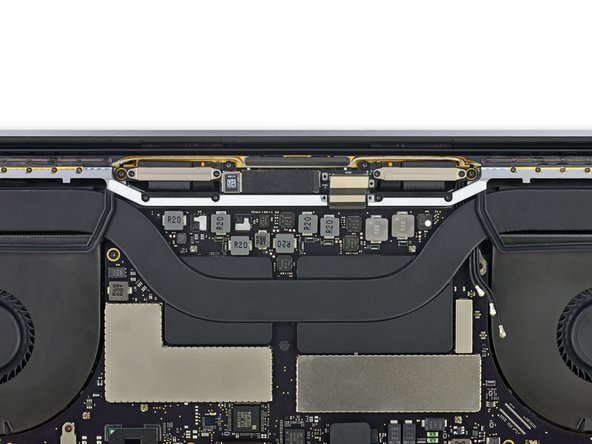
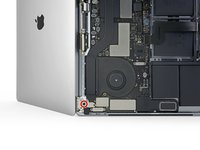
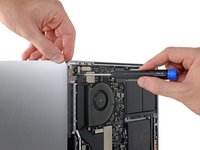
Peel up and remove the large rectangular battery board cover, on the edge of the logic board nearest the battery.
-
If the cover doesn't peel up easily, apply mild heat with an iOpener, hair dryer, or heat gun to soften the adhesive underneath, and try again.
-
-
-
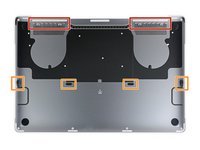
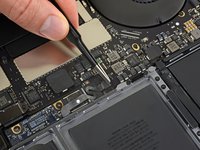
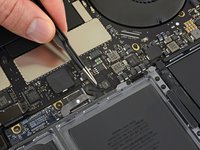
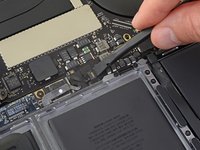
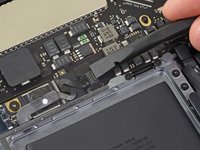
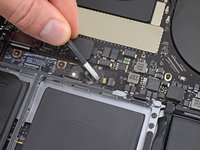
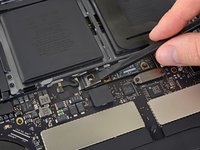
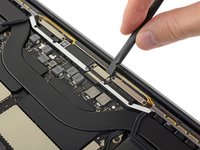
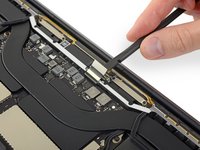
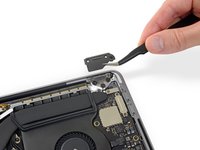
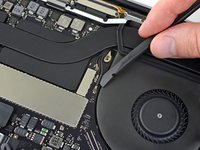
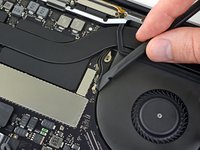
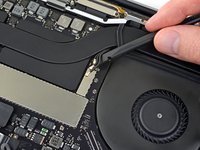
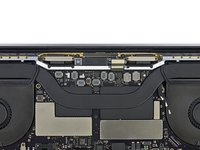
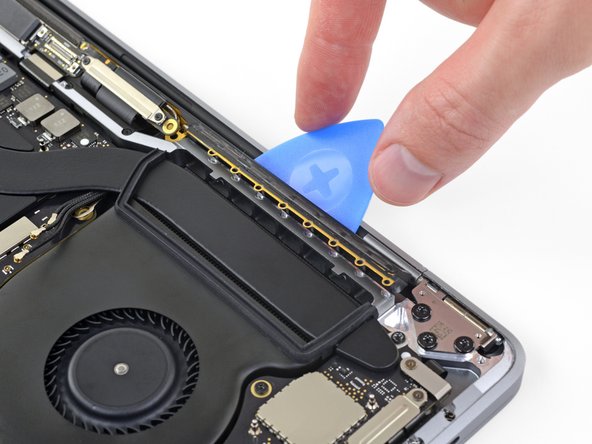
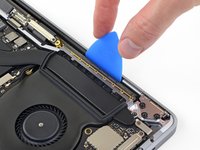
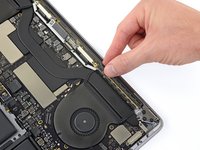
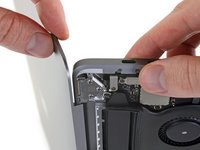
Use a spudger to gently pry up the locking flap on the ZIF connector for the battery board data cable.
-
-
-
-
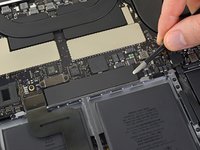
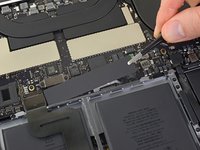
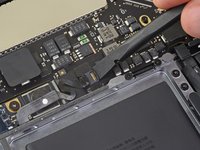
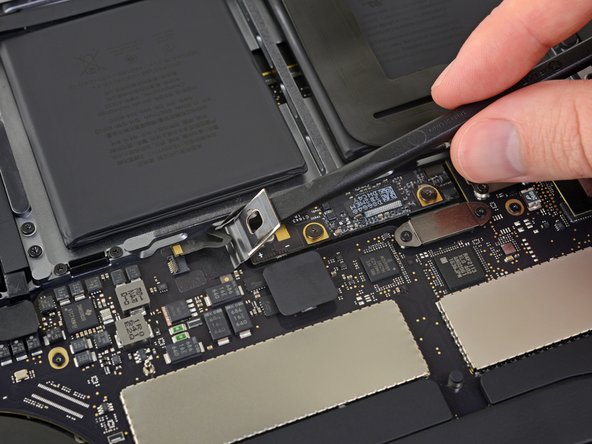
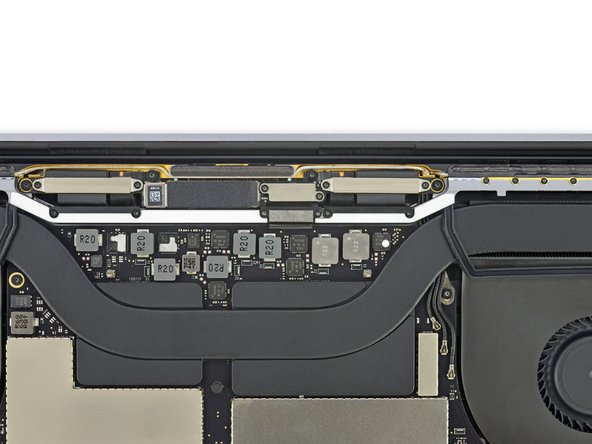
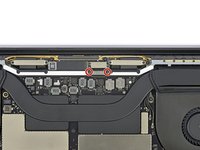
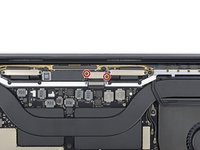
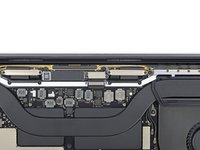
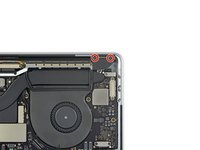
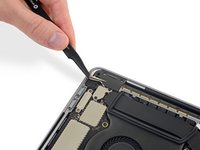
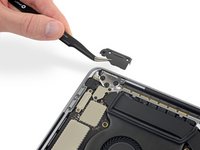
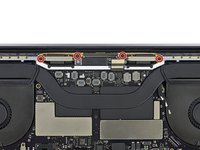
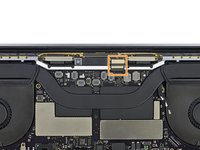
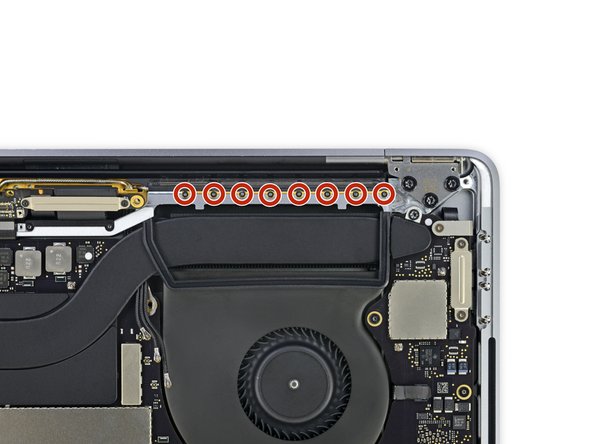
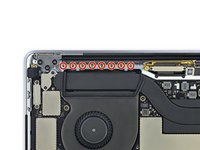
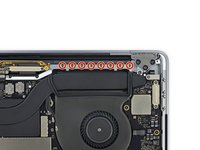
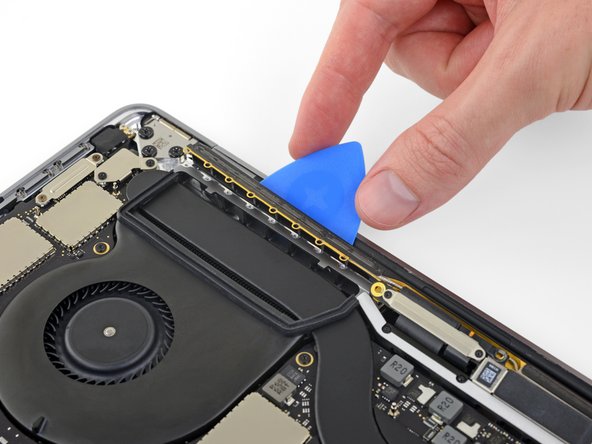
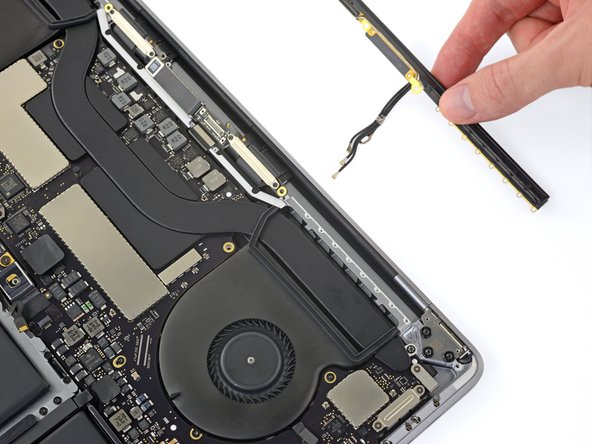
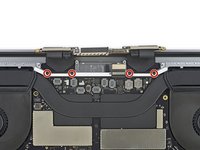
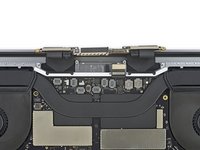
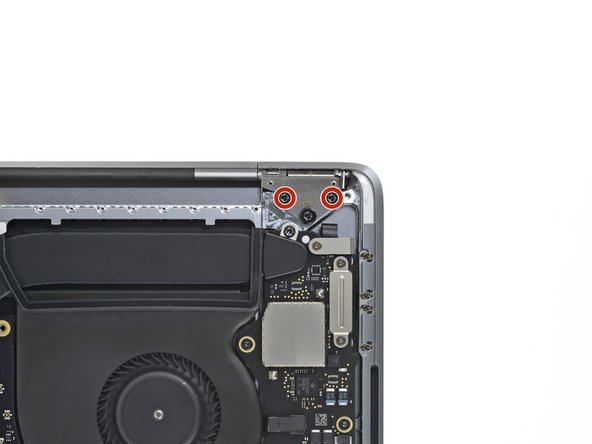
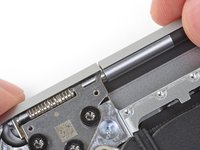
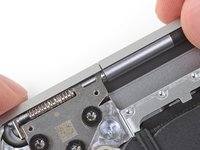
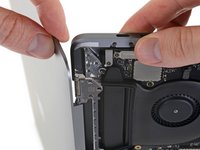
Use a T3 Torx driver to remove the two 3.5 mm screws securing the cover on the display board flex cable.
-
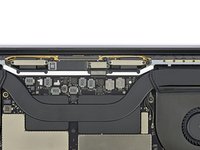
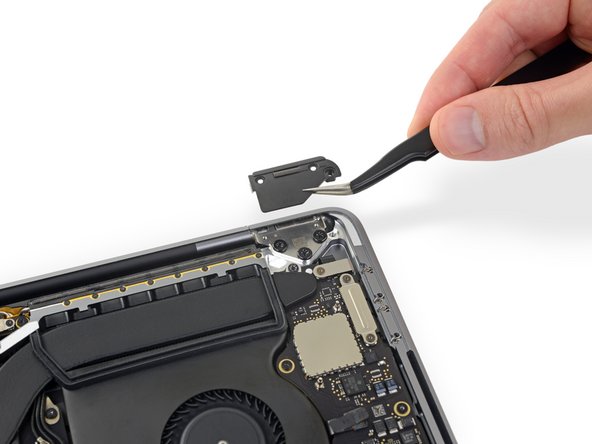
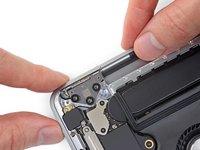
Remove the display board flex cable cover.
-


Compare your new replacement part to the original part—you may need to transfer remaining components or remove adhesive backings from the new part before installing.
To reassemble your device, follow the above steps in reverse order.
Take your e-waste to an R2 or e-Stewards certified recycler.
Repair didn’t go as planned? Check out our Answers community for troubleshooting help.
İptal et: Bu kılavuzu tamamlamadım.
66 farklı kişi bu kılavuzu tamamladı.


13 Yorum
I think you can safely bump the difficulty from moderate to very for this one.
I just did this replacement, but hit the strangest issue. The screen works great in EFI firmware, but as soon as OS X starts, it goes dark. Diagnostics say "VFD003; there may be an issue with the display". I ordered a brand new display from eBay, and I wonder if they sent me the right one.
The guide itself is phenomenal, thanks for putting this together.
Very succinct, detailed, accurate instructions, thanks! I took it SLOW, kept careful track of everything and survived the replacement process. I'm in Prague, and I found a VERY reasonable and well-stocked source in Poland for used Mac parts, called Dekanex. If you're in the E.U. and you think you need to grit your teeth for import duties and shipping from the U.S. for parts, Dekanex is a great choice to get around that nonsense. I paid about $425 for the replacement, a few minor case scratches, but the screen works perfectly. Website: dekanex.pl
Great presentation, where can i get the kit with the tools to use in this guide?