Giriş
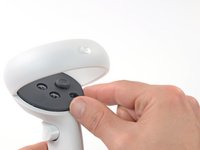
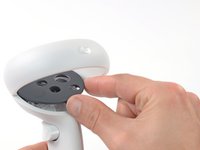
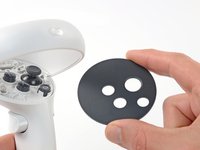
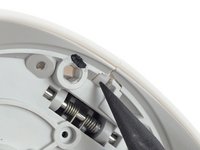
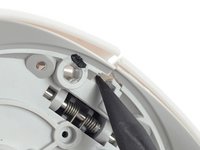
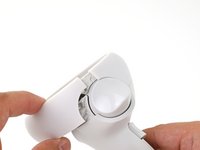
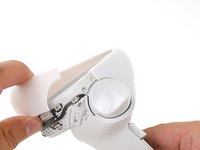
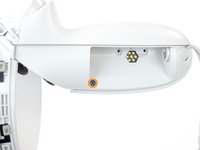
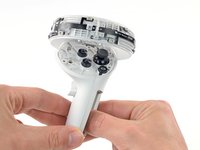
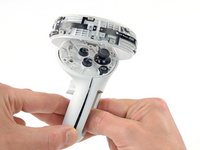
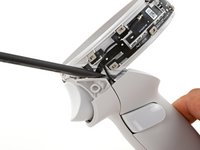
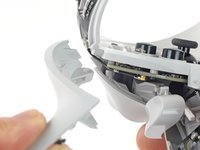
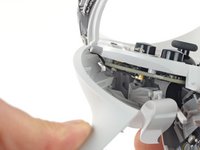
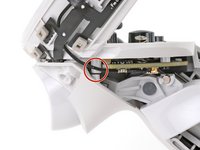
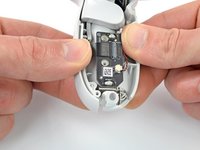
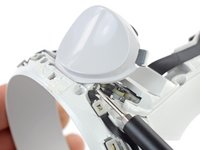
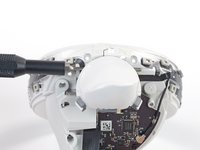
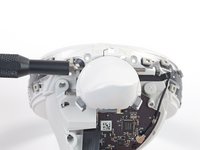
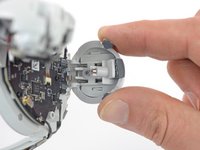
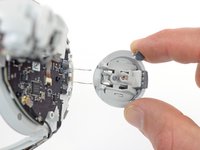
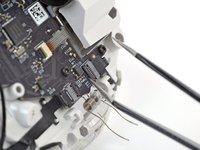
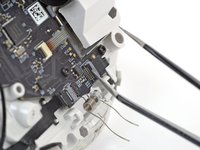
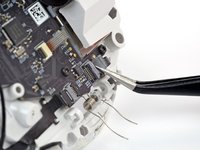
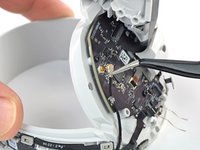
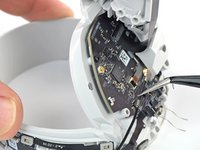
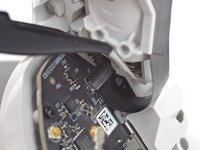
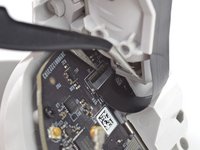
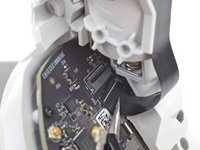
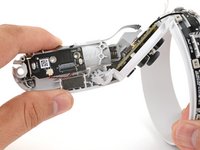
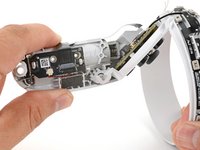
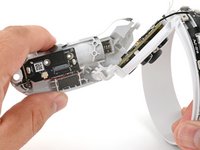
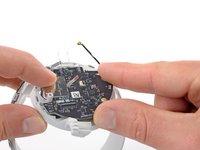
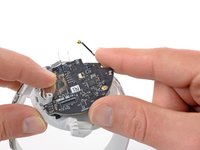
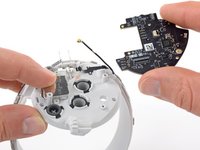
This guide shows how to remove and replace the controller board for your Meta Quest 2 controller.
This guide is written with the right controller. If you're repairing the left controller, you can still use this guide, as the procedure is identical.
Neye ihtiyacın var
-
-
Use your fingers to slide the battery cover down towards the strap end of the controller.
-
Remove the battery cover.
-
-
-
Use your fingers to grasp the wrist strap near the anchor peg.
-
Lift the wrist strap anchor peg straight out of its recess.
-
Remove the wrist strap.
-
-
-
Heat an iOpener and apply it to the bottom edge of the controller faceplate for a minute.
-
-
-
The controller faceplate is secured with adhesive and three friction pegs.
-
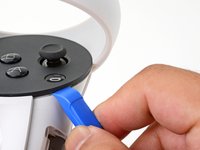
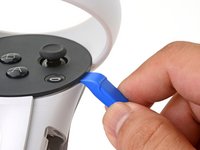
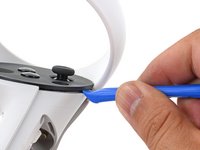
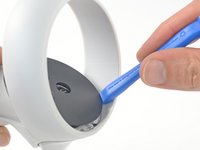
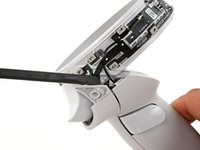
Press the edge of an opening tool into the seam between the controller faceplate and shell, near the Oculus button.
-
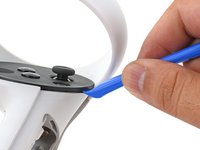
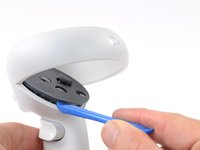
Slide the opening tool to the base of the ring shell to loosen the adhesive.
-
-
-
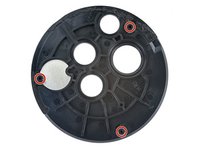
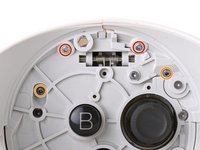
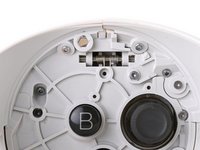
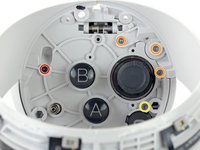
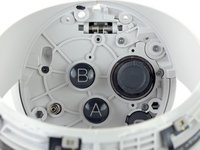
Use a Torx T5 driver to remove the four screws securing the controller ring shell to the controller:
-
Two 4.7 mm‑long screws
-
Two 5.9 mm‑long screws
those top screws in red are in very tight, and at an angle that prevents using a long screwdriver. I've found the only way I could get them out is using a bit, held down by my finger at the appropriate angle, while turning it with pliers.
I wasn't able to remove the screws in red with a T5 bit, but switching to a T4 bit did the trick for me
same, used T4 instead
-
-
-
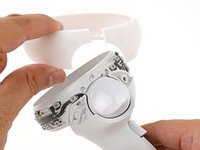
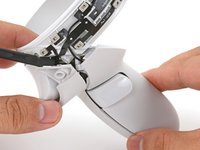
Use your fingers to grab the end of the ring shell that doesn’t have the white alignment square.
-
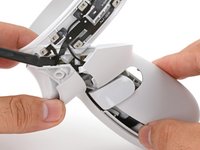
Gently lift the ring shell up and away from the controller to unclip it from the controller.
-
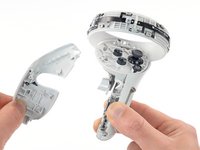
Remove the controller ring shell.
-
-
-
Use a Torx T5 driver to remove the five screws:
-
One 11.5 mm‑long screw
-
Three 5.9 mm‑long screws
-
One 18.2 mm‑long screw
-
-
-
Bu adımda kullanılan alet:Tweezers$4.99
-
Use tweezers and your fingers to peel the battery information label out from the battery compartment.
-
-
-
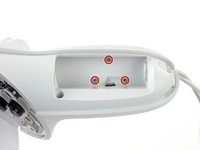
Use a Torx T5 driver to remove the four 5.9 mm‑long screws securing the side shell to the controller:
-
Three screws inside the battery compartment
-
One screw near the corner of the battery compartment
-
-
-
Guide the looped part of the side shell through the screw post gap.
-
Remove the side shell.
-
-
-
Spread the screw post wide enough to loop the side shell back around it.
-
Be careful not to pinch the antenna cable or the tracking flex cable as you reposition the side shell.
-
-
-
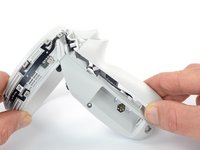
Use a spudger or an opening pick to gently pry the shell from the battery compartment side first.
-
Once it pops open, turn the controller over to remove the front shell.
-
-
-
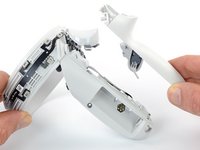
Grasp the front shell near the bottom of the controller.
-
Lift and pull the bottom edge of the front shell outwards slightly to clear the plastic alignment peg.
Note: Clearing the alignment peg should not be difficult if you open the cover from the other side first as shown in my edit.
Thanks Seby for your contribution! I've formatted the steps a little to include your step.
-
-
-
Use a driver bit (such as the Torx T5) or the point of a spudger to push the front trigger pin out from the side shown. Pushing from the opposite side can cause the pin to rip the sensor cable.
-
-
Bu adımda kullanılan alet:Tweezers$4.99
-
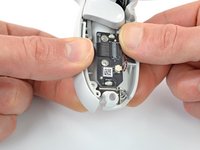
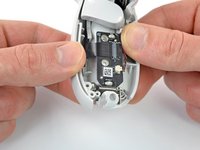
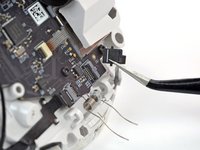
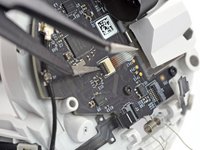
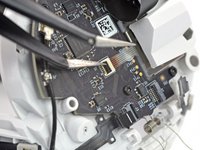
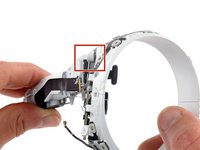
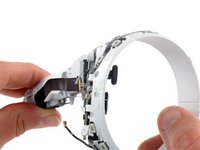
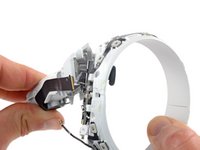
Use a clean fingernail or tweezers to flip up the ZIF socket's lock bar securing the outer tracking flex cable.
-
-
-
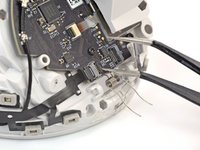
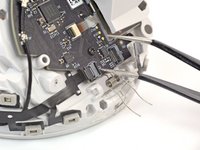
Insert one arm of a pair of tweezers under the metal neck of the antenna cable.
-
Pry straight up to disconnect the antenna from the controller board.
-
Gently pull the antenna to unclip it from its grounding clip.
-
-
-
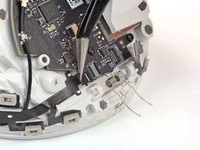
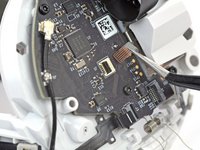
Use a clean fingernail or tweezers to unlock and disconnect the interconnect flex cable from its ZIF socket.
-
-
-
Use your fingers to twist the battery shell slightly so that its edge near the thumbstick clicks out of place.
-
-
-
Use a Torx T5 driver to remove the four 7.5 mm‑long screws securing the controller board.
-
-
-
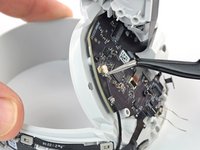
Use your fingers to lift the controller board out of the shell and remove it.
If the joystick spring came out during disassembly - make sure to put it back under the board before screwing it in!
-
To reassemble your device, follow these instructions in reverse order.
Take your e-waste to an R2 or e-Stewards certified recycler.
Repair didn’t go as planned? Try some basic troubleshooting, or ask our Answers community for help.
To reassemble your device, follow these instructions in reverse order.
Take your e-waste to an R2 or e-Stewards certified recycler.
Repair didn’t go as planned? Try some basic troubleshooting, or ask our Answers community for help.
İptal et: Bu kılavuzu tamamlamadım.
2 farklı kişi bu kılavuzu tamamladı.
2 Yorum
Where can I purchase a controller board for my Meta Quest 2 right controller?
How can I reattach the ZIF socket to the circuit board?


