Giriş
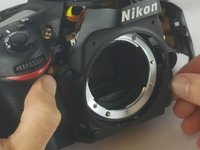
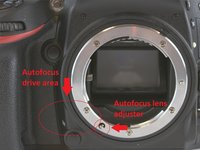
This guide will demonstrate how to replace the Nikon D610 autofocus drive motor. If your camera’s autofocus feature has stopped working or is making a loud audible noise when focusing, it may be time to replace it.
The autofocus drive motor can cause these issues in the camera; stabilization issues, improper lens calibration, or unclear background scenery. Before starting this repair try troubleshooting the issue first to ensure the problem is the autofocus drive motor. By completing this repair you will be able to use the autofocus on the camera again allowing you to take faster photos at a higher quality.
No special skills are required for this guide, however, you may be required to solder and you will be disassembling a camera with delicate interior parts so special care is required to ensure the camera’s sensor and other parts are not damaged. This repair is difficult due to the nature of cameras and all of its cables, it is best to be gentle when going through the repair process.
Neye ihtiyacın var
-
-
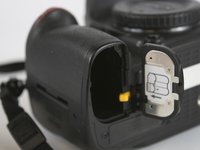
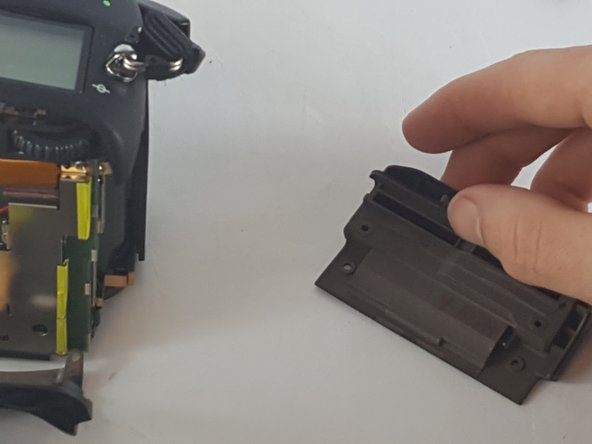
After removal of the battery. Pull the battery compartment door away from the lens.
-
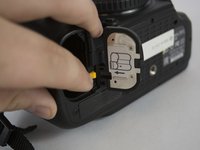
There are eleven Philips head screws that hold the bottom cover on, including a few inside the battery compartment.
-
Remove all the screws and the bottom face should pop off easily.
-
-
-
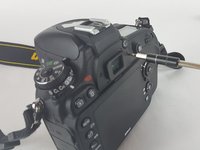
Then next step is removing the seven Philips #00 screws that hold the rear face plate on.
-
There are screws hidden in three separate spots.
-
One is under the rubber doors on the left side of the camera. the next one at the eye hole.
-
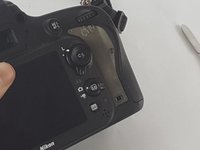
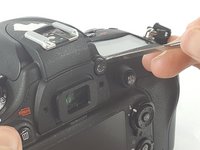
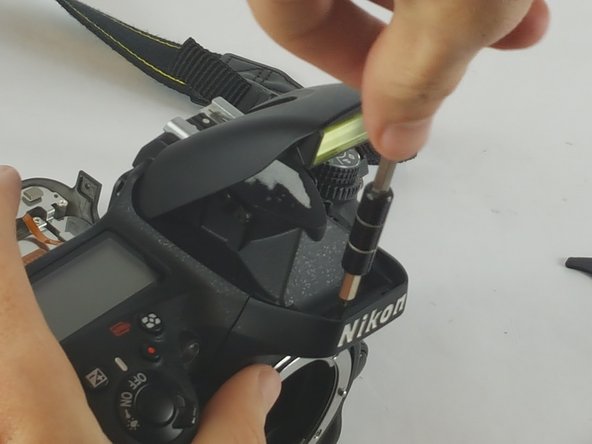
The final one involves taking off the small dial that is about half an inch to the right of the eye hole.
-
Removing this dial involves putting a spungder tool behind it and applying a gradual amount of pressure.
-
-
-
-
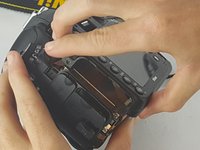
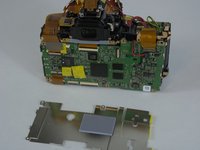
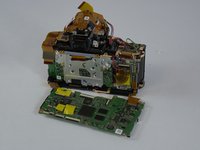
The rear side of the camera is where the motherboard is located. It is visible after you have taken off the rear face plate.
-
Remove the shield that protects it from static first.
-
This shield has six Philips #00 screws that are positioned around the edge of the shield.
-
After removal of the screws the shield will come free from the motherboard.
-
-
-
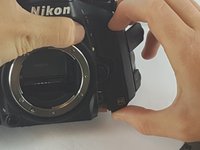
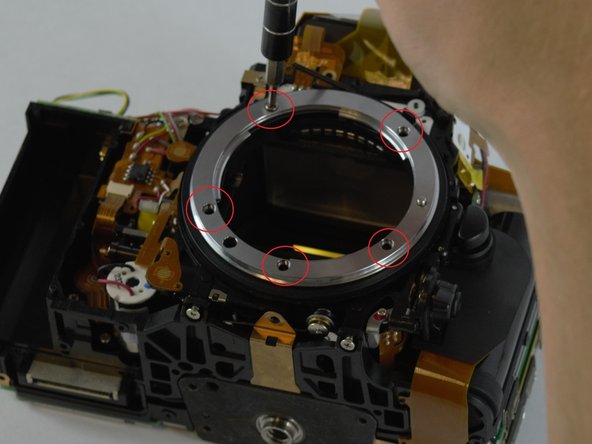
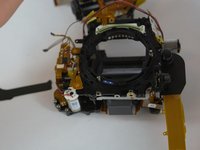
Begin by removing the silver ring around the lens socket by unscrewing the five screws supporting it.
-
-
-
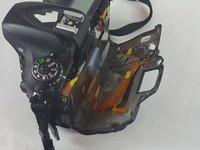
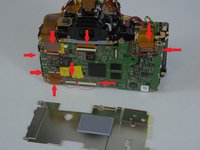
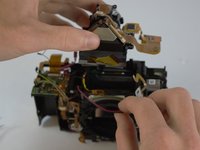
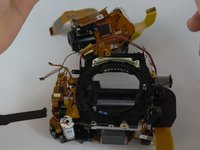
This is where having the motherboard off is necessary as the screws we need are burrowed at the very heart of the camera.
-
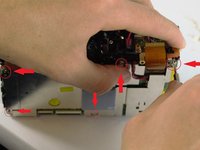
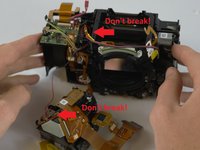
Four more screws and two ribbon cables marked by the red circles need to be removed to release what we need.
-
The blue circles indicate the screws that don't need to be undone to get to what we need.
-


To reassemble your device, follow these instructions in reverse order.
To reassemble your device, follow these instructions in reverse order.
İptal et: Bu kılavuzu tamamlamadım.
4 farklı kişi bu kılavuzu tamamladı.
Ekip

USF Tampa, Team 4-4, Lacy Spring 2016 USF Tampa, Team 4-4, Lacy Spring 2016 üyesi
USFT-LACY-S16S4G4
3 Üyeler
6 adet Kılavuz yazıldı
1Rehber Yorum
I had a D610 where the mirror wouldn't go down properly after is was knocked, I had a look at fixing it but it is basically unserviceable apart from the most basic and superficial repairs repairs, shame really, it was a nice old camera, but to be honest I wasn't surprised. I'm going to buy another second hand and keep the bits for spares or as a memento mori.