
Prusa i3 Mk2 Nozzle Replacement
Giriş
1. adıma gitThe Prusa i3 Mk2 is a popular desktop 3D printer on the market today with thousands of units sold annually. The nozzle is part of the printer that the plastic filament gets pushed or extruded out of. The nozzle can become jammed or worn when using bad filament or composite materials. This guide will show how to disassemble the print head and then replace the nozzle.
Neye ihtiyacın var
Parçalar
Aletler


Daha fazlasını göster…
-
Bu adımda kullanılan alet:Tweezers$4.99
-
Turn the 3D printer on using the power switch.
-
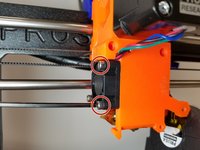
Move the head to the highest position on the Z axis. This provides working room to access the head.
-
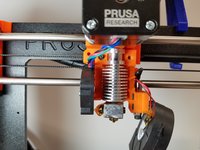
Heat the nozzle up. This step depends on what type of filament is currently in the machine (e.g. 190 for PLA, 220 for ABS).
-
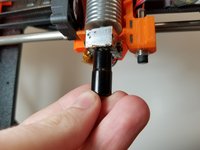
Remove filament from the 3D printer.
-
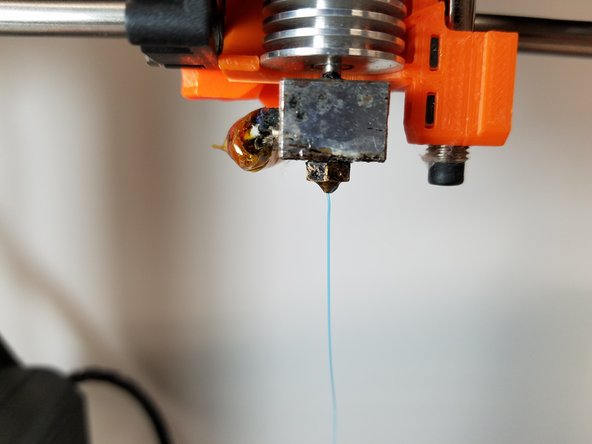
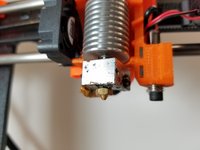
Clean off the old nozzle with tweezers.
-


To reassemble your device, follow these instructions in reverse order. Once reassembled, print a test print to ensure the replaced nozzle is not leaking.
To reassemble your device, follow these instructions in reverse order. Once reassembled, print a test print to ensure the replaced nozzle is not leaking.
İptal et: Bu kılavuzu tamamlamadım.
6 farklı kişi bu kılavuzu tamamladı.
Ekip

Michigan Tech, Team S5-G5, Galliah Fall 2017 Michigan Tech, Team S5-G5, Galliah Fall 2017 üyesi
MTU-GALLIAH-F17S5G5
2 Üyeler
1 Kılavuz yazıldı