
Repairing the Intermediate Transfer Belt (ITB)
Giriş
1. adıma gitIntermittent dirty vertical marks on the printout that repeat every 3rd page indicate that the intermediate transfer belt is not being properly cleaned. This guide explains how to dismantle the intermediate transfer belt to resolve cleaning problems.
-
-
The distance between repetitions of a print quality problem provides the best clue to identify the source. Intermediate transfer belt problems repeat every 70cm which corresponds to 2.3 A4 pages. Intermittent dark vertical strips indicate that the Intermediate Transfer belt is not being effectively cleaned.
-
Dirty printout caused by the Intermediate Transfer Belt is likely to be intermittent because printers have multiple independent ways of removing waste toner. The wiper blade built into the Intermediate Transfer Belt is only one of several cleaning steps.
-
These intermittent problems are usually related more to the recent printing history rather than the current printing task, making diagnosis more difficult.
-
Experience from a school that prints 200,000 pages a year on these printers shows the majority of quality problems are caused by use of compatible toner cartridges. The cause of these faults is readily proved by swapping cartridges. Typically 5% to 20% of compatible toner cartridges cause quality problems.
-
For the small minority of quality problems that persist across multiple toner cartridges, the only other cause of dirty printouts observed from printing 200,000 pages a year has been associated with Intermediate Transfer belts.
-
This guide has an unusually informal style because the author has rebuilt only three of these belts. The guide is being published anyway because nothing better has yet been published.
-
Other guides talk only about manually cleaning the belt which, although easy to do, provides only a short term benefit if the underlying cause is that the wiper blade is not cleaning the belt.
-
Because manually cleaning the belt is easy and low risk, it is worth cleaning the belt a few times before deciding to embark on the much more complicated repair described in this guide.
-
-
-
Gently pull back the five plastic clips holding down the lid on the toner collector attached to the end of the Intermediate Transfer Belt.
-
The plastic lid can now be lifted off the toner collector. After a little gentle wiggling it will come away.
-
The waste toner can now be emptied out
-
-
-
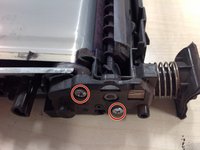
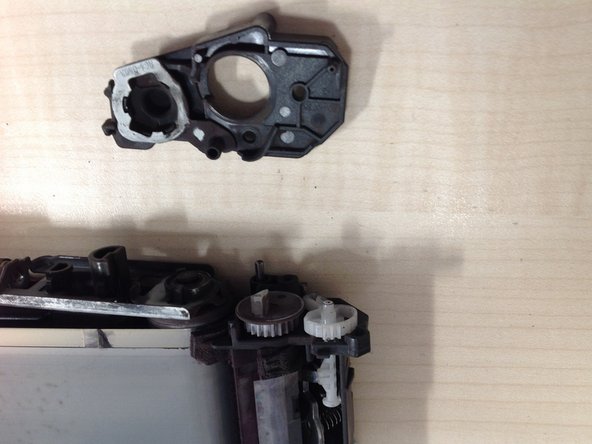
Remove the two 10mm screws that retain this cover then carefully remove the cover. Try to remove only the cover, leaving the cog wheels behind so that you can remove them individually and note the order.
-
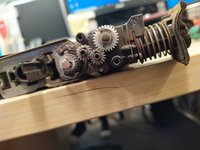
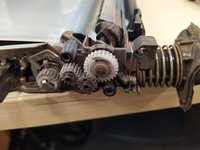
Remove the 4 cog wheels.
-
Remove the metal frame that hooks the belt roller to the toner collector.
-
-
-
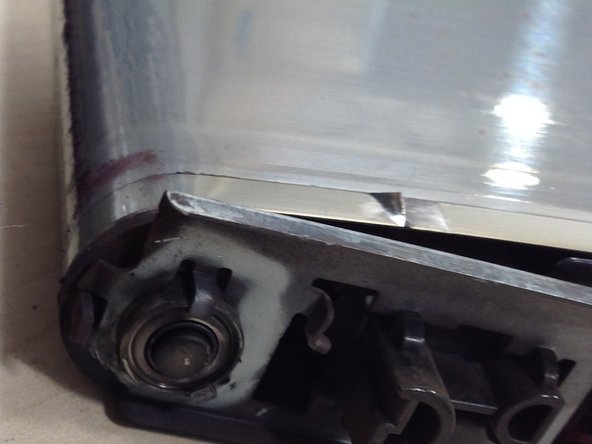
This is a view from underneath to give a clearer view of how the hook will look on re-assembly.
-
-
-
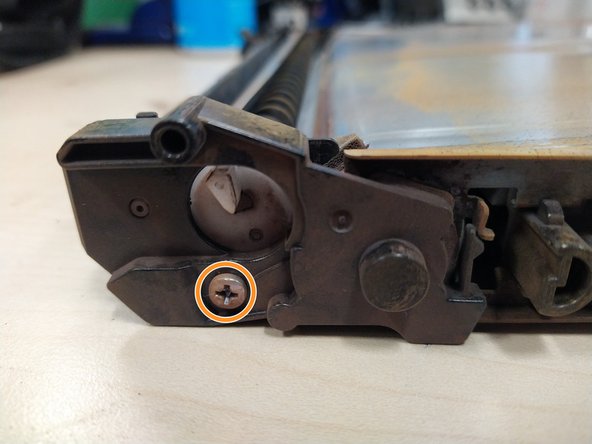
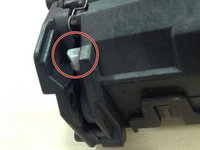
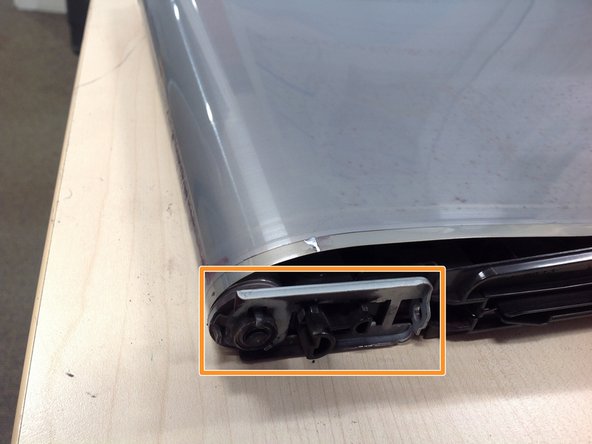
Before removing the cover on the second side, notice the position of the white plastic peg underneath. If this peg comes out it is easy to clip this peg back in the wrong place on re-assembly, then it will protrude outside the black plastic framework.
-
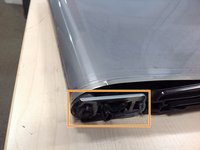
Remove the single 10mm screw then remove the cover.
-
-
-
This is a picture from underneath to give a clearer view of how the metal hook will be re-inserted on reassembly.
-
-
-
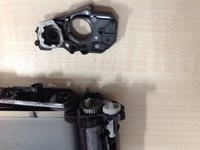
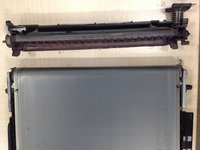
The waste toner collector is now separate from the rest of the belt and its rollers.
-
A closer inspection is now possible to identify the cause of the quality problems. Two different faults have been observed on the three units repaired so far.
-
In one case, the plastic wiper blade in the toner collection unit had a very visible kink. Replacement blades are available from Aliexpress. Fitting is a matter of releasing the two retaining springs and sliding the new wiper blade into place under the plastic Archimedes screw.
-
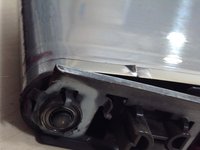
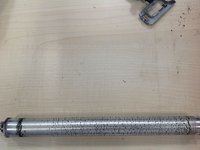
In two other cases, closer inspection of the belt shows a roughness as it passes over the roller that was pressing against the wiper blade. The close up view in the second picture shows this roughness. The remainder of this guide covers the repair of that fault.
-
-
-
The belt is stretched tight by a strong spring on each side of the unit. A flat bladed screwdriver can squash this spring sufficiently to lever it out.
-
The second picture shows the loose belt after releasing the two springs.
-
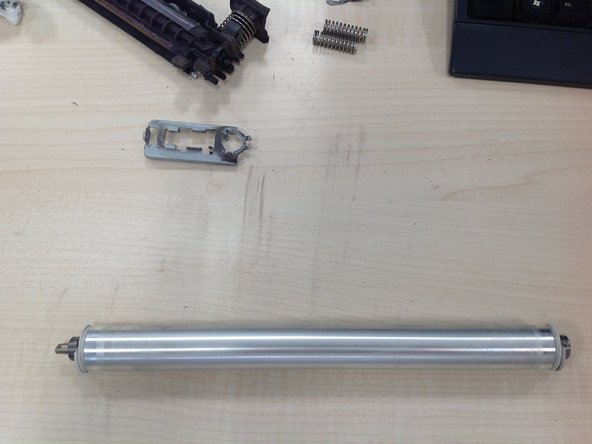
This metal frame can now be disconnected from the roller allowing the roller to be removed.
-
-
-
The cause of the dirty printouts is now clearly revealed. The dark marks visible in the picture create the rough surface that prevents the wiper blade from cleaning the belt.
-
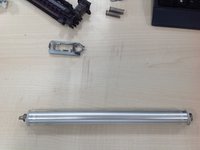
Isopropyl alcohol softens and removes most of this plastic, aided by a little scraping of the most resistant parts.
-
The second picture shows the cleaned roller with a smooth surface that enables the wiper blade to work correctly.
-
After re-assembly the quality problems were corrected on both the belts that were repaired in this way.
-


To reassemble your device, follow these instructions in reverse order.
To reassemble your device, follow these instructions in reverse order.