Giriş
Use this guide to remove or replace the daughterboard on your Samsung Galaxy Note10+ 5G. This board includes the USB-C charging connector.
This guide uses steps written for the non-5G Note10+. Some images in this guide may show minor discontinuities. They shouldn’t affect the overall guide procedure.
Neye ihtiyacın var
-
-
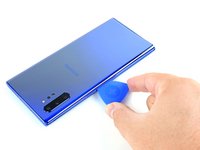
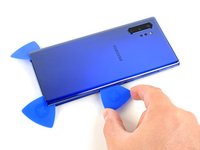
Prepare an iOpener and apply it to the left edge of the rear cover for one minute.
-
-
-
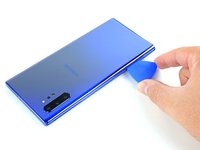
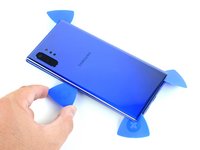
Apply a suction cup to the heated edge of the rear cover, as close to the edge as possible.
-
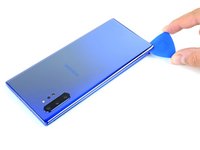
Pull up on the suction cup with strong, steady force to create a gap between the rear cover and the frame.
-
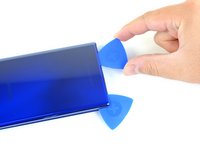
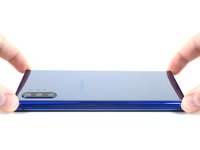
Insert the point of an opening pick into the gap.
-
-
-
Slide the opening pick along the left edge towards the bottom left corner to slice the adhesive.
-
Leave the pick inserted in the bottom left corner to prevent the adhesive from re-sealing.
-
-
-
Repeat the previous heating and cutting procedure for the remaining three sides of the phone.
-
Leave an opening pick on each side as you continue to the next to prevent the adhesive from resealing.
-
-
-
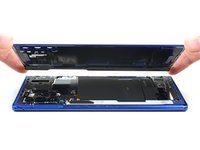
Use a Phillips screwdriver to remove the five 4 mm screws securing the wireless charging coil.
-
-
-
-
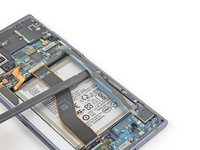
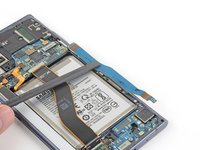
While holding the metal shield up and out of the way, use the pointed end of a spudger to pry up the battery connector to disconnect it.
-
-
-
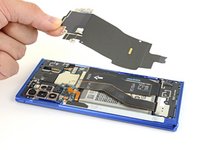
Use the pointed end of a spudger to disconnect the wireless charging coil connector from the motherboard.
-
-
-
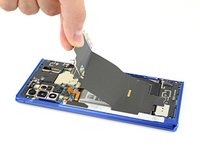
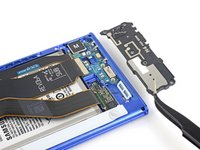
Tilt the metal shielding up so you can grip it with your fingers.
-
Peel the wireless charging coil up and away from the device.
-
Remove the wireless charging coil.
-
-
-
Use a Phillips screwdriver to remove the five 4 mm screws securing the loudspeaker.
-
-
Bu adımda kullanılan alet:Tweezers$4.99
-
Use a pair of tweezers to remove the loudspeaker.
-
-
-
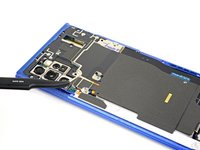
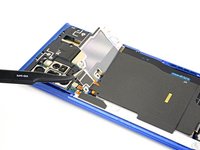
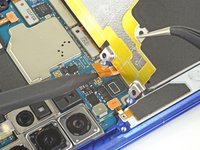
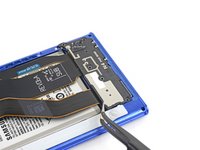
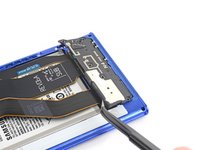
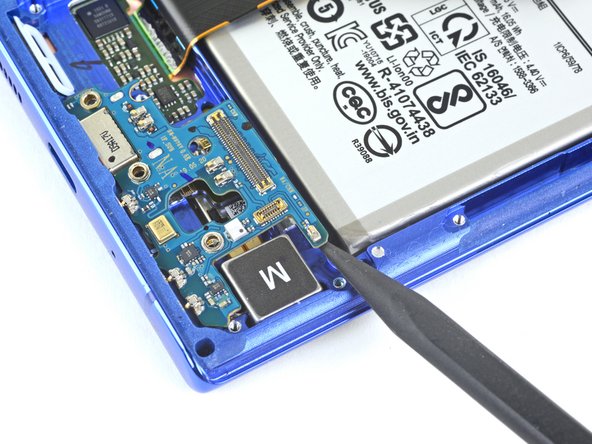
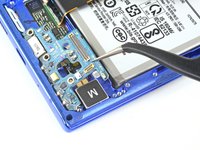
Use the pointed end of a spudger to disconnect the main interconnect cable from the motherboard.
-
Disconnect the secondary interconnect cable from the motherboard.
-
-
-
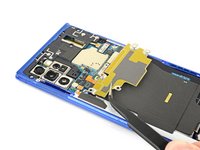
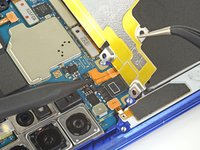
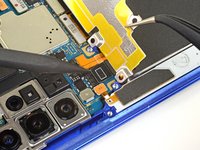
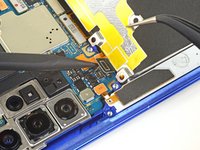
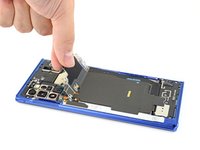
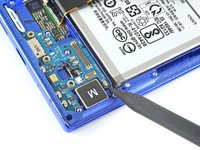
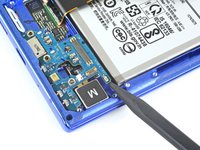
Use a Phillips screwdriver to remove the three 4 mm screws securing the charging assembly daughterboard.
-


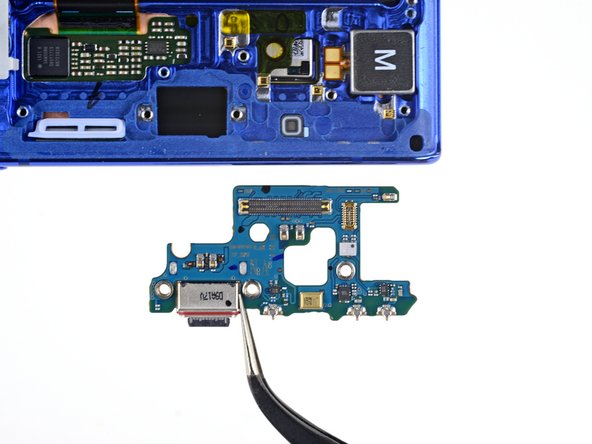

Compare your new replacement part to the original part—you may need to transfer remaining components or remove adhesive backings from the new part before installing.
To reassemble your device, follow these instructions in reverse order.
Take your e-waste to an R2 or e-Stewards certified recycler.
Repair didn’t go as planned? Try some basic troubleshooting, or ask our Answers community for help.
İptal et: Bu kılavuzu tamamlamadım.
Bir başkası bu kılavuzu tamamladı.

