Ana içeriğe geç
Shark ION Robot 750 Charging Dock Motherboard Replacement

Shark ION Robot 750 Charging Dock Motherboard Replacement

corieon downing

corieon downing ve 3 diğer katkıda bulunanlar

En son December 27, 2023 tarihinde güncellendi

20 - 30 dakika
Orta

If you cannot charge your Shark ION Robot, there may be a problem with the charging dock motherboard, which requires a replacement.

Damage to the charging dock could cause damage to the battery when trying to charge it or even a heat reaction, which could cause fires or other malfunctions.

Neye ihtiyacın var

Aletler

  1. Shark ION Robot 750 Charging Dock Motherboard Replacement, Charging Dock: adım 1, 1 resimden 1.
    • Remove the three Torx T6 screws on the underside of the charging dock.

    • Lift off the lower case.

  2. Shark ION Robot 750 Charging Dock Motherboard Replacement: adım 2, 1 resimden 1.
    • Using a Phillips #0 screwdriver, unscrew the four screws inside.

  3. Shark ION Robot 750 Charging Dock Motherboard Replacement: adım 3, 2 resimden 1. Shark ION Robot 750 Charging Dock Motherboard Replacement: adım 3, 2 resimden 2.
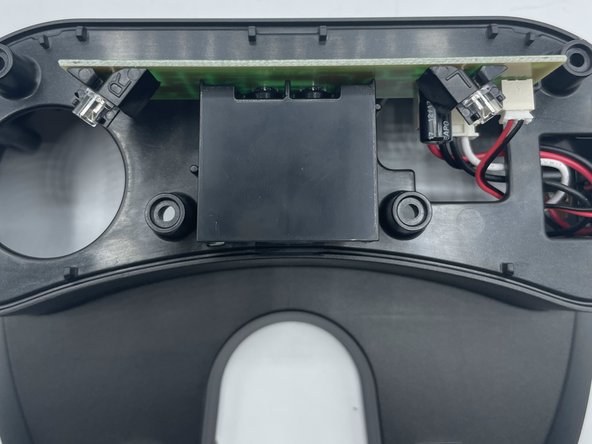
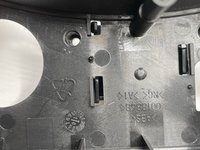
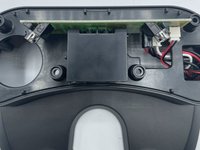
    • Gently push in the tabs to remove the sensor housing.

  4. Shark ION Robot 750 Charging Dock Motherboard Replacement: adım 4, 1 resimden 1.
    • Unplug the two wires going into the motherboard, then gently lift the motherboard up and out of its slot.

Sonuç

To reassemble your device, follow these instructions in reverse order.

0Kılavuz Yorumları

Yorum Ekle

İstatistikleri Görüntüle:

Son 24 Saat: 0

Son 7 gün: 1

Son 30 gün: 8

Her zaman: 117