Giriş
If your Sonos Roam is unresponsive, having problems turning on, or not staying on, then use this guide to replace the outer circuit board.
This circuit board is responsible for sending signals to the entire device. This means it is in charge of connectivity, charging, and audio for the Sonos Roam.
Before using this guide, try rebooting your Sonos Roam.
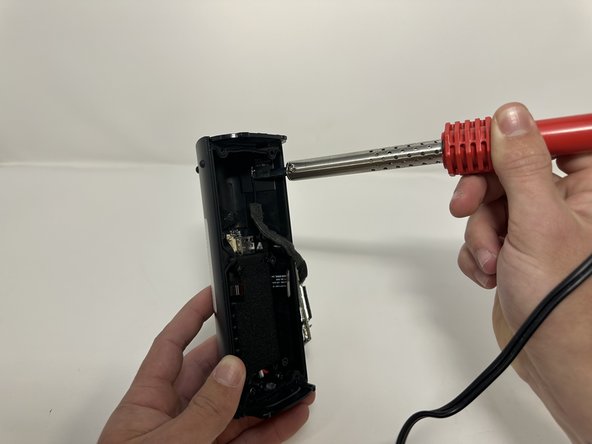
One of the steps requires the use of a soldering iron. Please read this guide if unsure how to properly operate this tool.
Neye ihtiyacın var
-
-
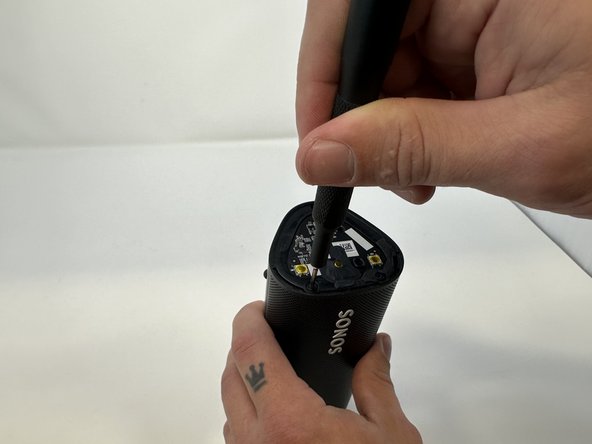
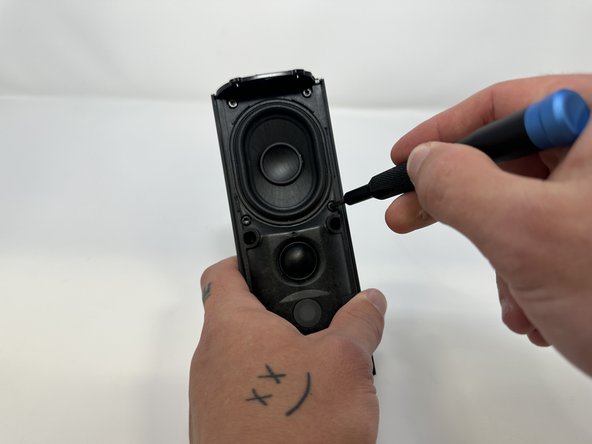
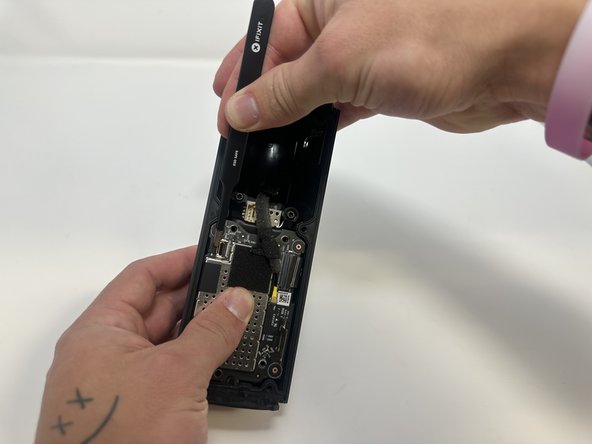
Use the metal spudger to pry the end cap with the buttons.
-
Pry from all sides to loosen the adhesive.
-
-
-
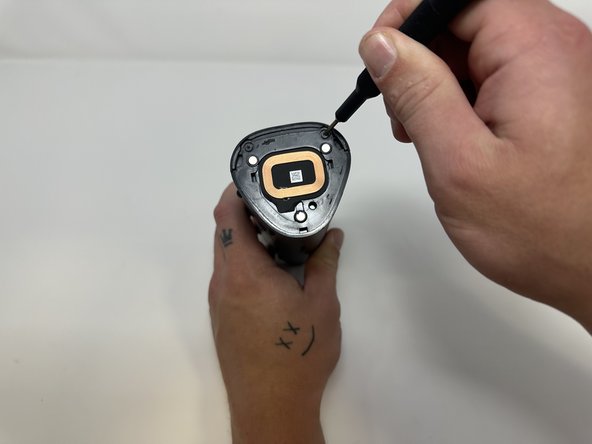
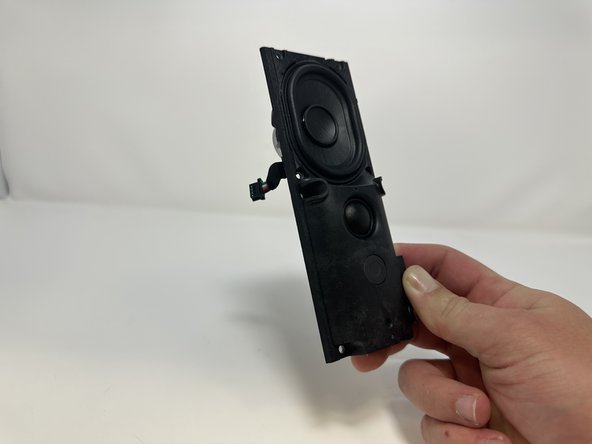
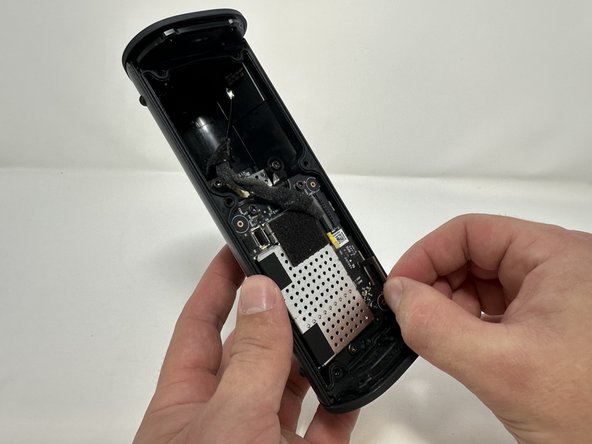
Flip the device so that the Sonos logo is on the top.
-
Use the Torx T6 screwdriver to remove the two 6 mm screws.
-
-
-
-
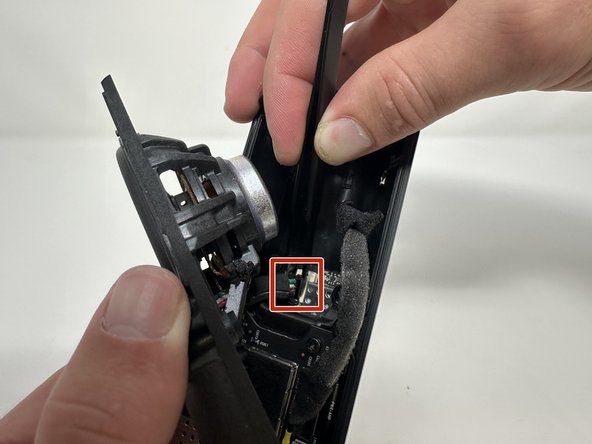
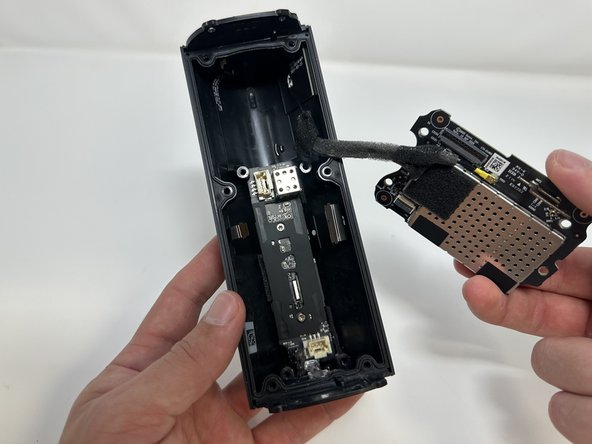
Use the tweezers to flip the latch holding the large ribbon in place.
-
Grab the large ribbon with the tweezers and pull upwards to remove it.
-
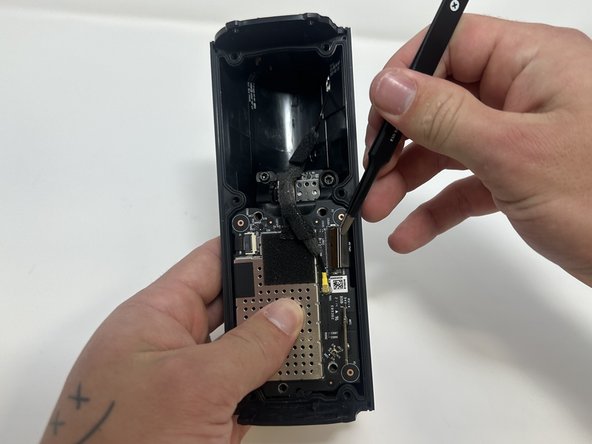
Use the tweezers to flip the latch holding the small ribbon in place.
-
Grab the small ribbon with the tweezers and pull upwards to remove it.
-


To reassemble your device, follow these instructions in reverse order.
To reassemble your device, follow these instructions in reverse order.

Ekip

Utah Tech University, Team 1-2, McMurrin Fall 2023 Utah Tech University, Team 1-2, McMurrin Fall 2023 üyesi
UTAHTECH-MCMURRIN-F23S1G2
3 Üyeler
13 adet Kılavuz yazıldı