Giriş
Use this guide to replace the audio board on your Steam Deck LCD.
Remember: follow general electrostatic discharge (ESD) safety procedures while repairing your device.
The audio board is home to the Steam Deck's headphone jack and volume buttons.
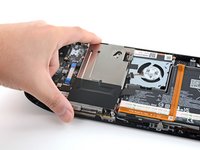
Note: Valve started shipping Steam Decks with refreshed internal designs in early 2023. Your Steam Deck may look different than the one depicted in the photos, but the procedure is the same. The Steam Deck's audio board design differs between versions. Remove the back cover of your Steam Deck to check what version you have. An original Steam Deck will have a metallic motherboard shield and a fan with square sides, as seen here. A refreshed Steam Deck will have a black motherboard shield and a fan with curved sides, as seen here.
Neye ihtiyacın var
-
-
Power down your Steam Deck and unplug any cables.
-
-
Bu adımda kullanılan alet:FixMat$36.95
-
Use a Phillips driver to remove the eight screws securing the back cover:
-
Four coarse thread 9.5 mm-long screws
-
Four fine thread 5.8 mm-long screws
-
-
-
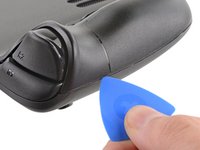
Insert an opening pick into the thin gap between the back cover and the front shell, along the edge of the right grip.
-
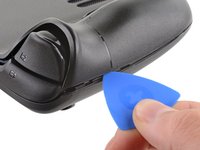
Pry up on the back cover to release it from the locking clips.
-
-
-
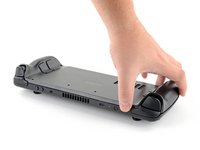
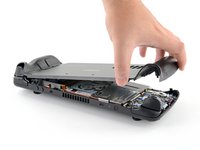
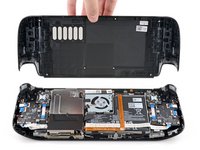
Grip the back cover at the opening you just created and pull it up and away from the device to unclip the long edges.
-
Remove the back cover.
-
-
Bu adımda kullanılan alet:Tweezers$4.99
-
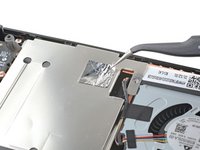
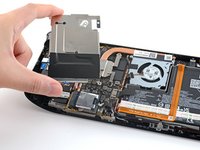
Use a pair of tweezers to remove the piece of foil tape covering the hidden screw on the board shield.
-
-
-
-
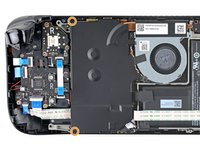
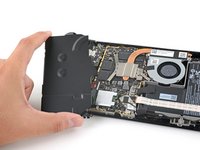
Use a Phillips driver to remove the three screws securing the board shield:
-
One 3.4 mm screw
-
Two 3.7 mm screws
-
-
-
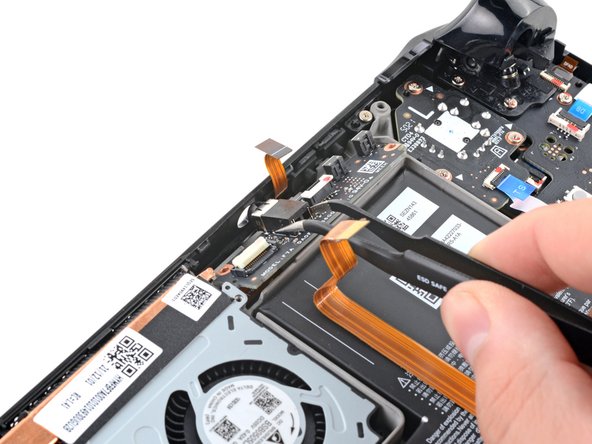
Grip the battery cable by its pull tab and pull it directly away from the motherboard to disconnect it.
-
-
-
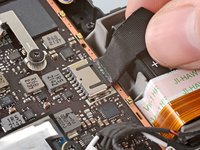
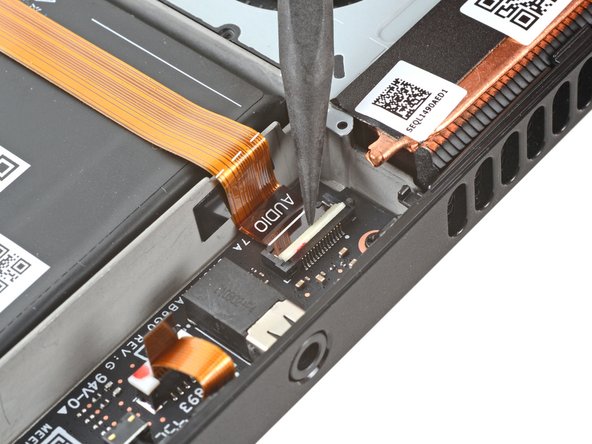
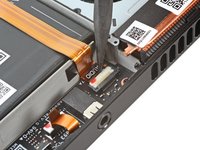
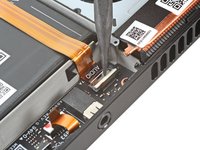
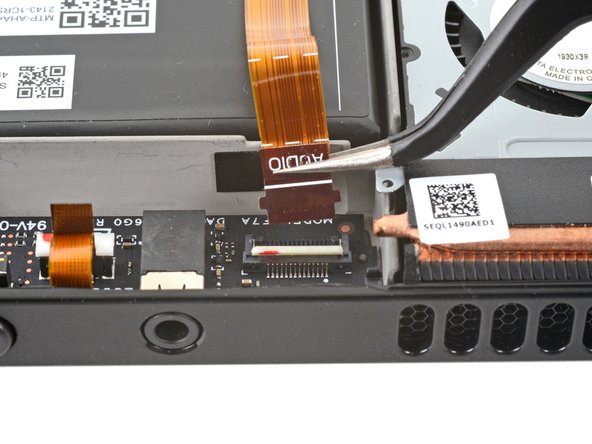
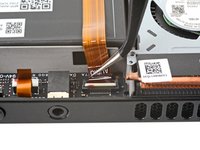
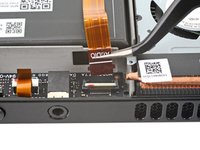
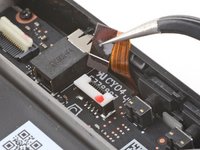
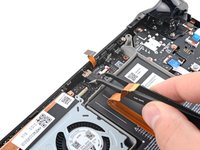
Use the pointed end of a spudger to lift up the small locking flap on the audio cable's ZIF connector.
-
-
-
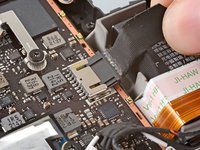
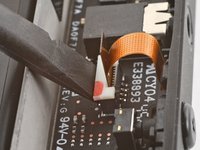
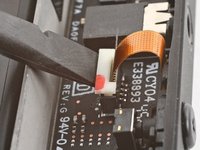
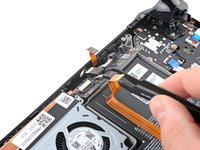
Use a spudger to lift up on the mic cable's white locking tab.
-
Use a pair of tweezers to pull the mic cable up and out of its connector.
-
-
-
Use a Phillips driver to remove the two 3.7 mm screws securing the audio board.
-
-
-
Use a pair of tweezers to grip the audio board by the headphone jack.
-
Pivot the board up and out of its recess to remove it.
-


To reassemble your device, follow these instructions in reverse order.
Take your e-waste to an R2 or e-Stewards certified recycler.
Repair didn’t go as planned? Try some basic troubleshooting, or ask our Steam Deck answers community for help.
To reassemble your device, follow these instructions in reverse order.
Take your e-waste to an R2 or e-Stewards certified recycler.
Repair didn’t go as planned? Try some basic troubleshooting, or ask our Steam Deck answers community for help.
İptal et: Bu kılavuzu tamamlamadım.
4 farklı kişi bu kılavuzu tamamladı.


8 Yorum
When will the audio board be available? Currently the part isn't even listed.
Any chance of a photo of the underside of the audio board, I need to replace the headphone socket for a friend and can't tell which version to order so that i only have to take it apart once.
請問,音頻小板什麼時候有零件可以購買
Steam just emailed me back saying they wont fix my volume down button because it had water damage? I don't remember getting my SD wet but if this part was made available I'd be able to fix my SD myself why isn't this a thing yet? I'd happily buy the replacement part =(