
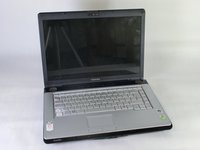
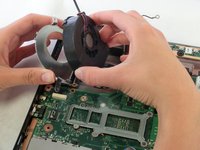
Toshiba Satellite A210 Fan Replacement
Giriş
1. adıma gitBefore going in and attempting this guide you should have all required materials and tools to properly remove the fan. This may be challenging to be complete. Make sure you follow each step as it is listed.
Neye ihtiyacın var


-
-
Slide the battery lock tab away from the center of the laptop to unlock the battery.
-
-
-
Use a PH0 screwdriver to remove the screw holding the optical drive in place.
-
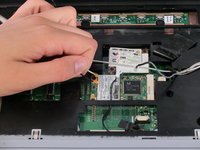
Using your index finger, push the metal tab inside the RAM bay which is located directly underneath the screw-hole.
-
The optical drive will then slide out.
-
-
-
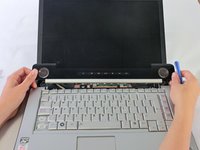
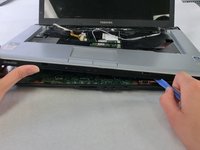
Close the laptop and flip it over.
-
Unscrew the 11 yellow circled screws with a PH1 screwdriver. These screws are larger in size.
-
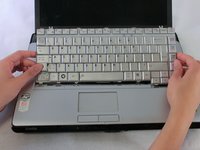
Unscrew the 2 red and yellow circled screws with a PH1 screwdriver. These screws are shorter and thicker than the previous.
-
Unscrew the 1 green and yellow circled screw with a PH1 screwdriver. This screw is longer and thinner than the previous.
-


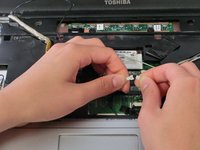


To reassemble your device, follow these instructions in reverse order.
To reassemble your device, follow these instructions in reverse order.
İptal et: Bu kılavuzu tamamlamadım.
3 farklı kişi bu kılavuzu tamamladı.
Ekip

Cal Poly, Team 17-5, Regan Spring 2013 Cal Poly, Team 17-5, Regan Spring 2013 üyesi
CPSU-REGAN-S13S17G5
4 Üyeler
18 adet Kılavuz yazıldı