Ana içeriğe geç
Toshiba Satellite P75-A7100 Display Screen Replacement

Toshiba Satellite P75-A7100 Display Screen Replacement

Mayra Zuniga

Mayra Zuniga ve 2 diğer katkıda bulunanlar

En son July 8, 2022 tarihinde güncellendi

15 - 20 dakika
Orta

This guide will show you how to replace the computer's display screen. Replacing the display screen is necessary when the screen won't turn on or it's cracked. Before conducting our steps, please make sure your computer is powered off.

Neye ihtiyacın var

Aletler

  • Spudger
    Spudger
  • Phillips #1 Screwdriver
    Phillips #1 Screwdriver
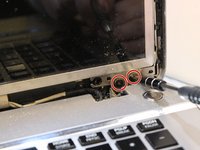
  1. Toshiba Satellite P75-A7100 Display Screen Replacement, Display Screen: adım 1, 2 resimden 1. Toshiba Satellite P75-A7100 Display Screen Replacement, Display Screen: adım 1, 2 resimden 2.
    • Open the laptop and unscrew each of the screws that are in the corners of the screen using a Phillips #1 screwdriver.

  2. Toshiba Satellite P75-A7100 Display Screen Replacement: adım 2, 3 resimden 1. Toshiba Satellite P75-A7100 Display Screen Replacement: adım 2, 3 resimden 2. Toshiba Satellite P75-A7100 Display Screen Replacement: adım 2, 3 resimden 3.
    • Using a metal spudger, insert the spudger around the edges and the bottom to detach the frame from the screen.

  3. Toshiba Satellite P75-A7100 Display Screen Replacement: adım 3, 1 resimden 1.
    • Remove the frame from the device.

  4. Toshiba Satellite P75-A7100 Display Screen Replacement: adım 4, 3 resimden 1. Toshiba Satellite P75-A7100 Display Screen Replacement: adım 4, 3 resimden 2. Toshiba Satellite P75-A7100 Display Screen Replacement: adım 4, 3 resimden 3.
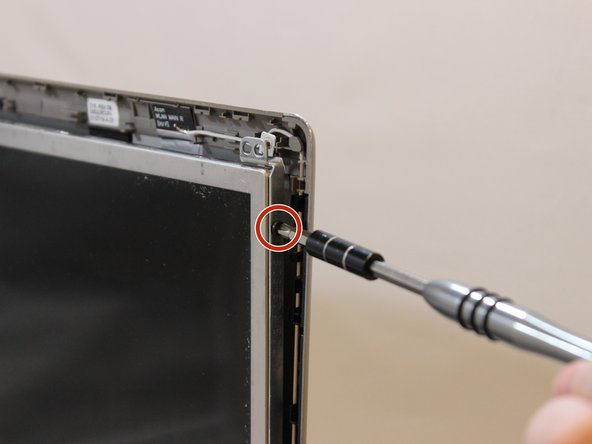
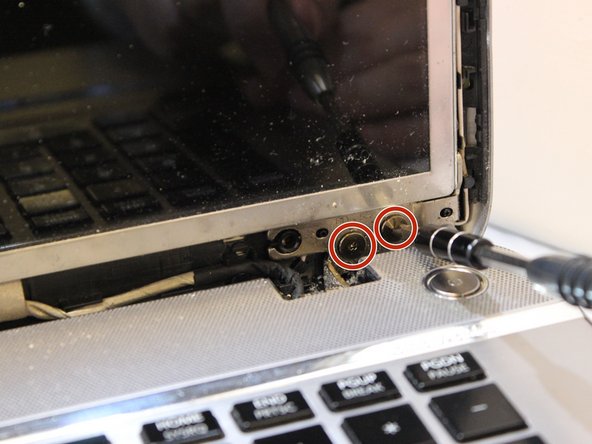
    • Using a Phillips #1 screwdriver, unscrew all of the screws on the sides of the screen.

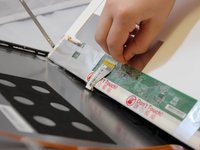
  5. Toshiba Satellite P75-A7100 Display Screen Replacement: adım 5, 2 resimden 1. Toshiba Satellite P75-A7100 Display Screen Replacement: adım 5, 2 resimden 2.
    • Disconnect the webcam from the screen and unhook any tape.

  6. Toshiba Satellite P75-A7100 Display Screen Replacement: adım 6, 1 resimden 1.
    • Remove the display from the device and add the new one.

Sonuç

To reassemble your device, follow these instructions in reverse order.

0 Yorum

Yorum Ekle

İstatistikleri Görüntüle:

Son 24 Saat: 0

Son 7 gün: 3

Son 30 gün: 5

Her zaman: 796