
UP! Plus 2 Extrusion Head Fan Replacement
Giriş
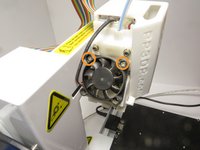
1. adıma gitThe extrusion head fan keeps the assembly piece cool and free of debris for continued printing. Before starting this replacement you will need to remove the plastic cover. You will need a hex wrench and a small Phillip's head screwdriver. Be sure you are careful when removing the fan, because it is a thin plastic that is easily breakable.
Neye ihtiyacın var
Aletler

-
-
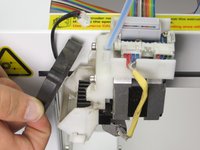
Remove the plastic cover that sits on the extruder, next to the fan, by lifting the latches in the back. The latches should lift right out.
-
-
-
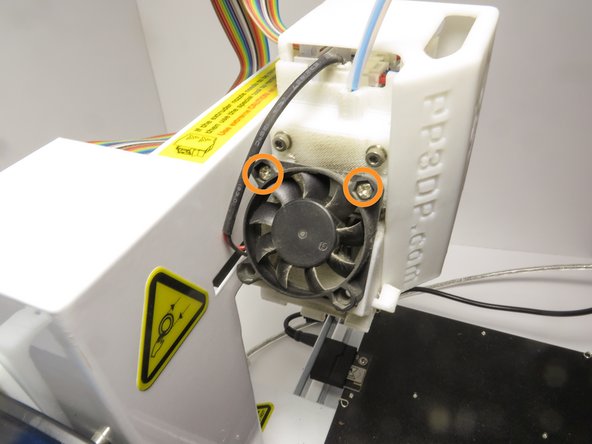
Using the Phillips #0 screwdriver, locate and remove the two 3mm screws on the top of the fan using a counter-clockwise rotation.
-
-
-
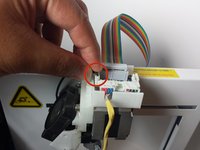
Place the replacement fan on the extruder assembly in the right orientation.
-
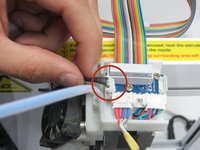
Connect the cable make sure that it has a solid connection.
-
Secure the fan by screwing the top screws back into place in a clockwise rotation.
-


To reassemble your device, follow these instructions in reverse order.
To reassemble your device, follow these instructions in reverse order.
Ekip

Cal Poly, Team 14-31, Maness Fall 2014 Cal Poly, Team 14-31, Maness Fall 2014 üyesi
CPSU-MANESS-F14S14G31
4 Üyeler
5 adet Kılavuz yazıldı
1Rehber Yorum
I have a problem with my UP PLUS 3D printer and I really need your help. First printer started to stop in the middle of the printing, then got to the point where I wasn’t even able to connect it to my laptop (it didn’t recognize it) and now, when I press Print, before even slicing completes, the software crashes and I have to reopen (basically I can’t print anything as every time I try, same thing happens). The weird part is that sometimes I can adjust the bed, heat up extruder, extract or retract filament from software but the moment I press print, it dies. PLEASE HELP!!!