Giriş
Often times the nozzle on the 3D printer becomes clogged or broken and needs to be replaced. You will need to repair your nozzle when you have prints that are consistently failing. You need a clean nozzle to be able print smooth and even surfaces. You will need heat resistance gloves to do this repair because the nozzle will be in excess of 250 degrees Celsius. A 6mm hex wrench is required to do this repair, but it should be included when you purchase your printer.
Neye ihtiyacın var
-
-
-
Plug in the AC Power adapter and USB cable into the back of the printer.
-
Turn on the printer and initialize it.
 FixBot'a Sor
-
-
-
Open the UP! software on your computer, and bring up the "maintenance window."
-
Under maintenance, click "extrude."
-
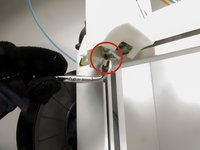
Then, verify if the nozzle temperature is rising by looking at the status box in the same maintenance window.
-
-
-
-
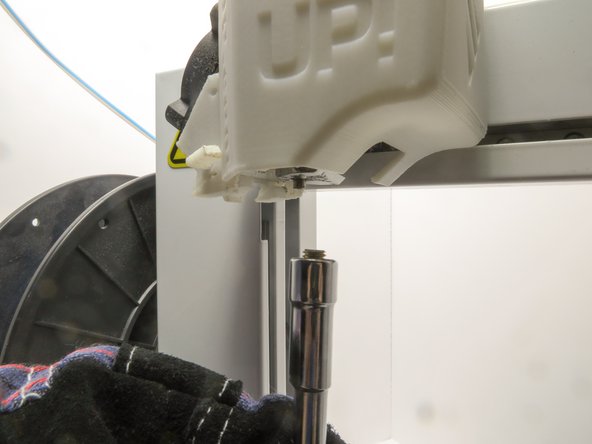
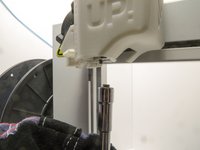
Using the 6mm hex wrench, apply force by pushing up to lock the nozzle into the wrench and turn counterclockwise to loosen the nozzle.
-
-
-
Attach the new nozzle with the hex wrench by screwing it on in a clockwise manner.
-
-


To reassemble your device, follow these instructions in reverse order.
İptal et: Bu kılavuzu tamamlamadım.
2 farklı kişi bu kılavuzu tamamladı.
Ekip

Cal Poly, Team 14-31, Maness Fall 2014 Cal Poly, Team 14-31, Maness Fall 2014 üyesi
CPSU-MANESS-F14S14G31
4 Üyeler
5 adet Kılavuz yazıldı
1Rehber Yorum
I have a problem with my UP PLUS 3D printer and I really need your help. First printer started to stop in the middle of the printing, then got to the point where I wasn’t even able to connect it to my laptop (it didn’t recognize it) and now, when I press Print, before even slicing completes, the software crashes and I have to reopen (basically I can’t print anything as every time I try, same thing happens). The weird part is that sometimes I can adjust the bed, heat up extruder, extract or retract filament from software but the moment I press print, it dies. PLEASE HELP!!!