Giriş
Use this guide to replace a cracked or broken screen on your Xiaomi Redmi Note 10S.
If the frame is deformed, it's important to replace it to make sure the new screen will mount correctly and won’t suffer damage from uneven pressure.
You’ll need replacement adhesive to reattach components when reassembling the device.
Neye ihtiyacın var
-
-
Prepare an iOpener and apply it to the back cover for at least two minutes to loosen the adhesive underneath.
-
-
-
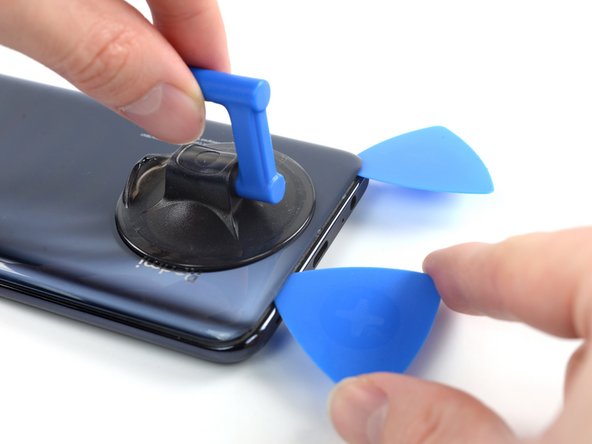
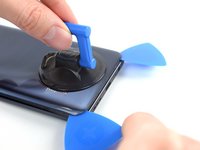
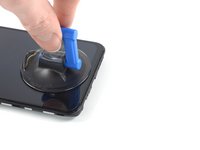
Secure a suction handle to the bottom edge of the back cover, as close to the edge as possible.
-
Lift the back cover with the suction handle to create a small gap between the back cover and the frame.
-
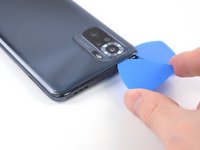
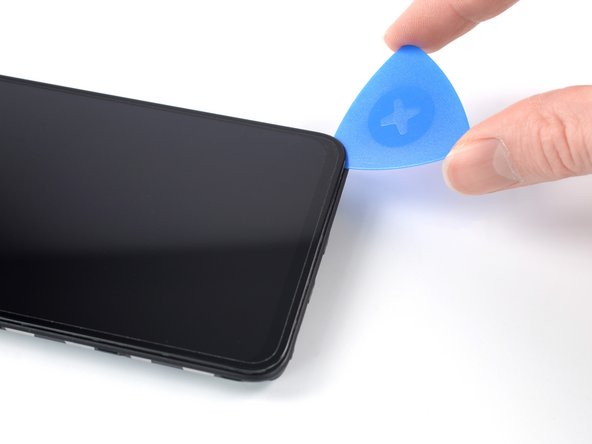
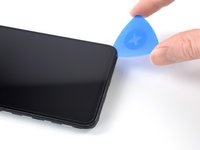
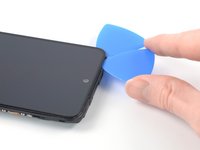
Insert an opening pick into the gap you created.
-
-
-
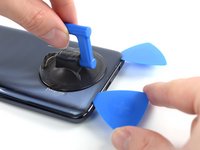
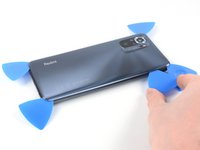
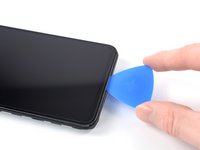
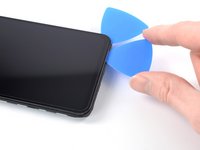
Slide the opening pick to the bottom right corner to slice the adhesive.
-
Leave the opening pick in place to prevent the adhesive from resealing.
-
-
-
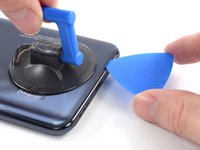
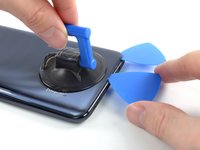
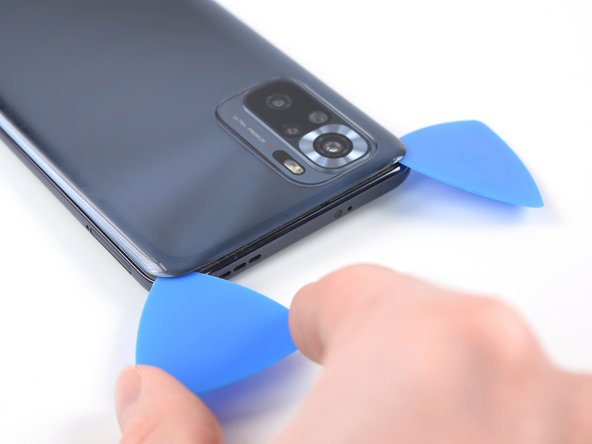
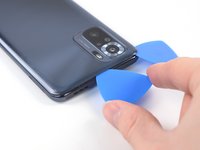
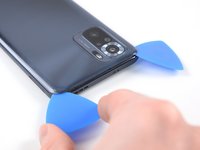
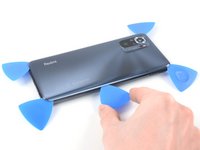
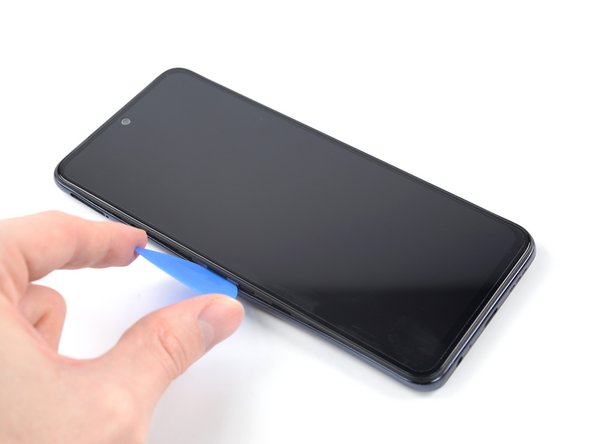
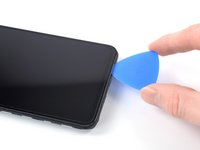
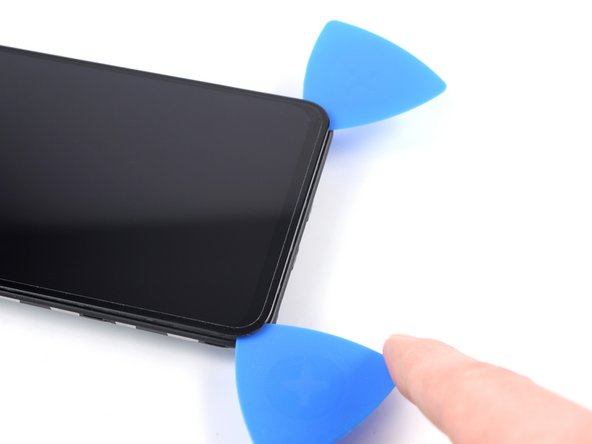
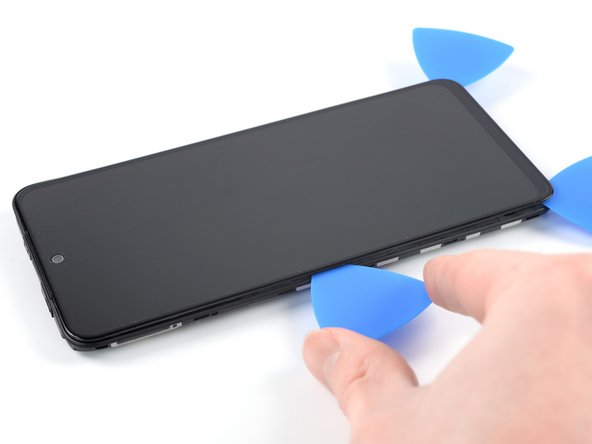
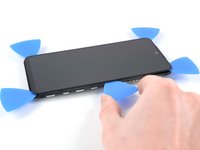
Insert a second opening pick at the bottom edge of your phone.
-
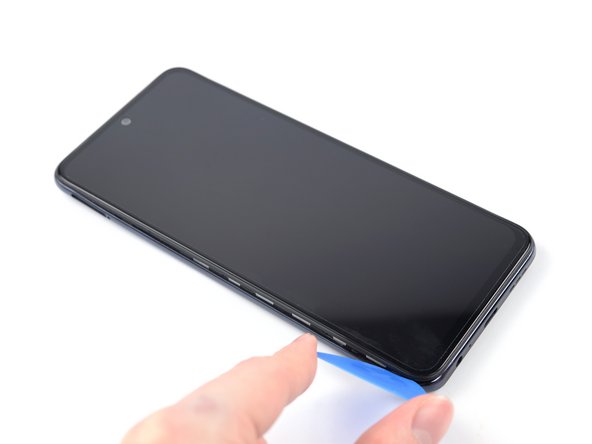
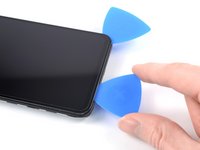
Slide the opening pick to the bottom left corner to slice the adhesive.
-
Leave the opening picks in place to prevent the adhesive from resealing.
-
-
-
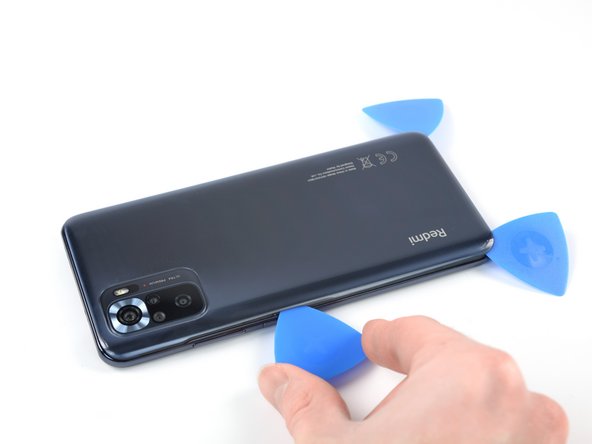
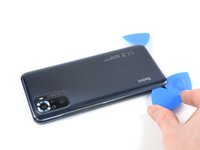
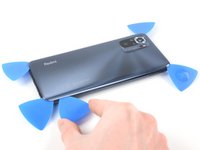
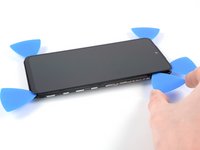
Insert a third opening pick at the bottom left corner of your phone.
-
Slide the opening pick along the left edge of your phone to slice the adhesive.
-
Leave the opening pick in the top left corner to prevent the adhesive from resealing.
-
-
-
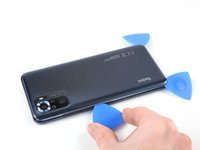
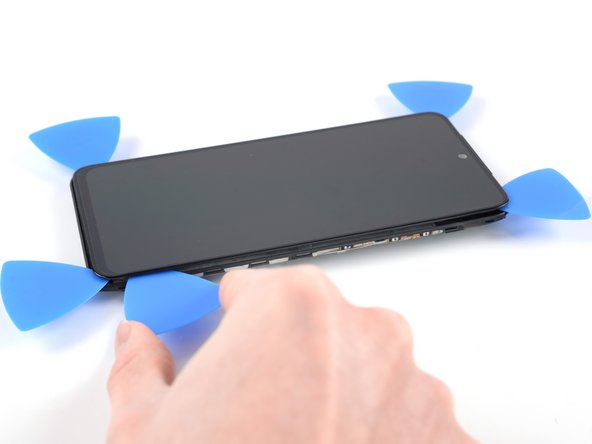
Insert a fourth opening pick underneath the top left corner of your phone.
-
Slide the opening pick along the top edge to slice the adhesive.
-
Leave the opening pick in the top right corner to prevent the adhesive from resealing.
-
-
-
Insert a fifth opening pick underneath the top right corner.
-
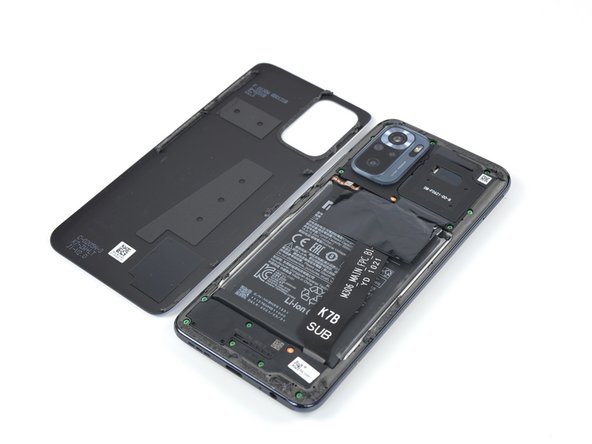
Slide the opening pick along the right edge of the back cover to slice the remaining adhesive.
-
-
-
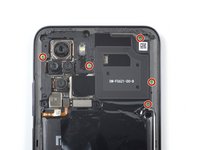
Use a Phillips screwdriver to remove the four 3.9 mm-long screws securing the camera cover.
-
-
-
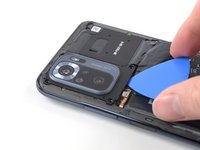
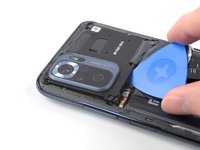
Insert an opening pick into the gap beneath the bottom edge of the camera cover.
-
Pry up the camera cover with your opening pick.
-
-
Bu adımda kullanılan alet:Tweezers$4.99
-
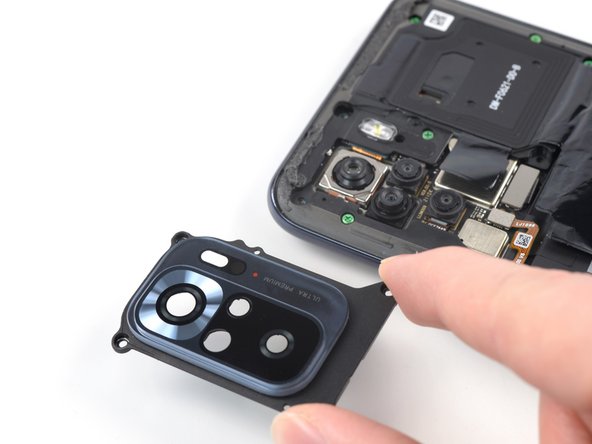
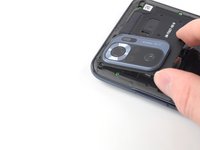
Use your fingers or a pair of tweezers to remove the camera cover.
-
-
-
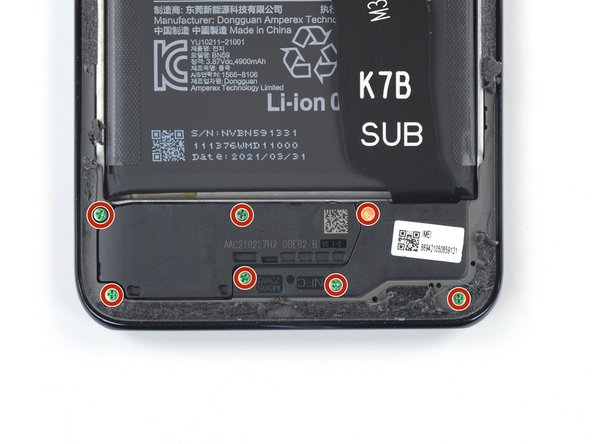
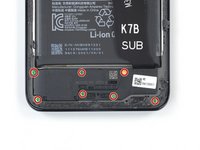
Use a Phillips screwdriver to remove the twelve 3.9 mm-long screws securing the midframe.
-
-
-
-
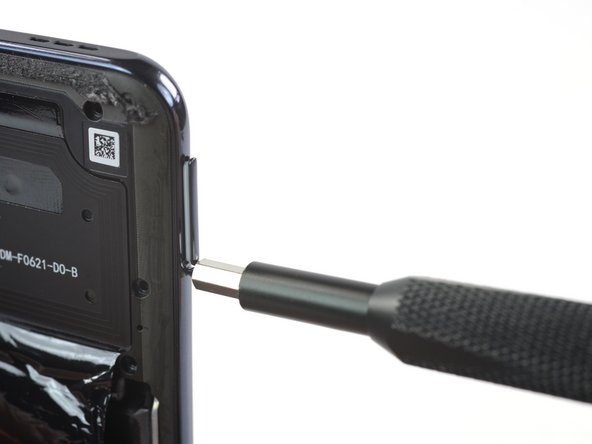
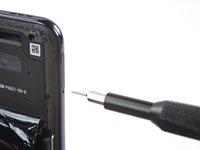
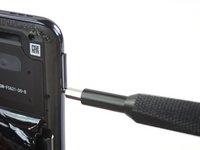
Insert a SIM card eject tool into the small hole in the SIM card tray, located at the left edge of the phone.
-
Press directly into the hole to eject the SIM card tray.
-
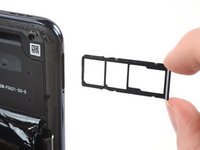
Remove the SIM card tray.
-
-
-
Use a spudger to disconnect the power and volume button flex cable by prying the connector straight up from its socket.
-
-
-
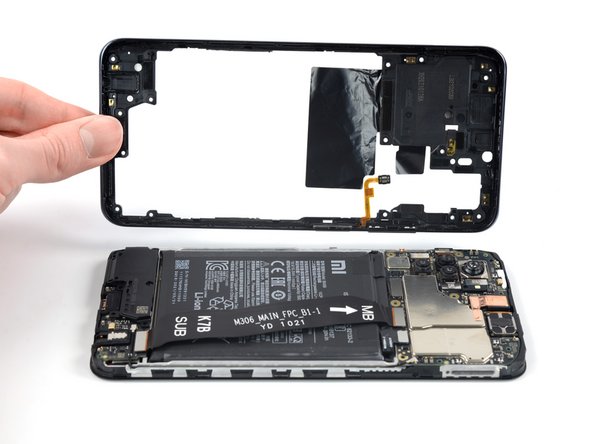
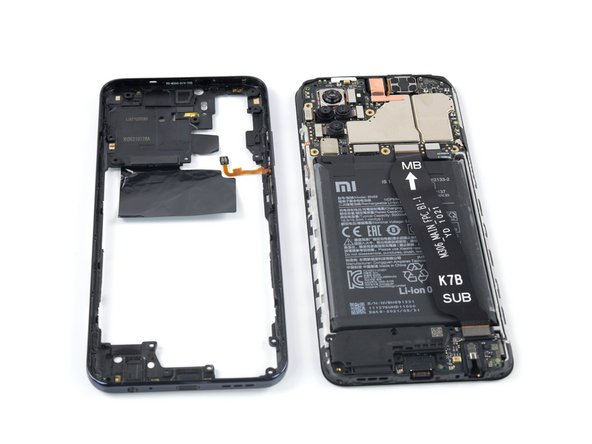
Insert an opening pick between the midframe and display assembly on the left edge of the phone where the SIM tray slot is located.
-
-
-
Slide the opening pick along the left edge of the phone to release the plastic clips.
-
-
-
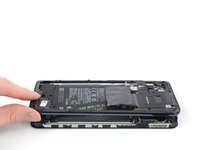
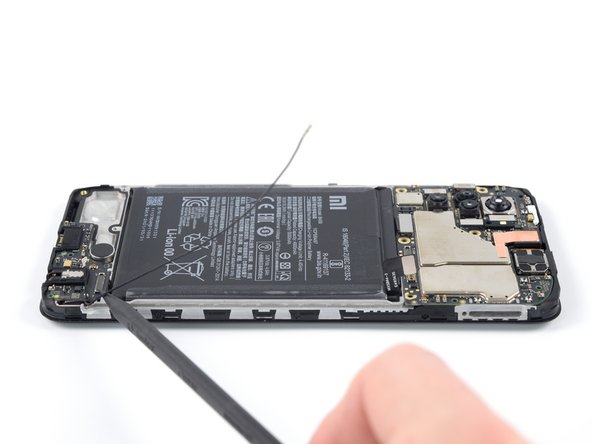
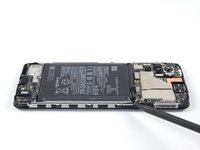
Use a spudger to disconnect the battery flex cable by prying the connector straight up from its socket.
-
-
-
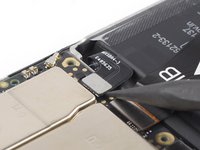
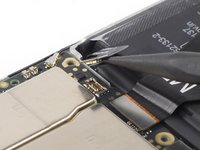
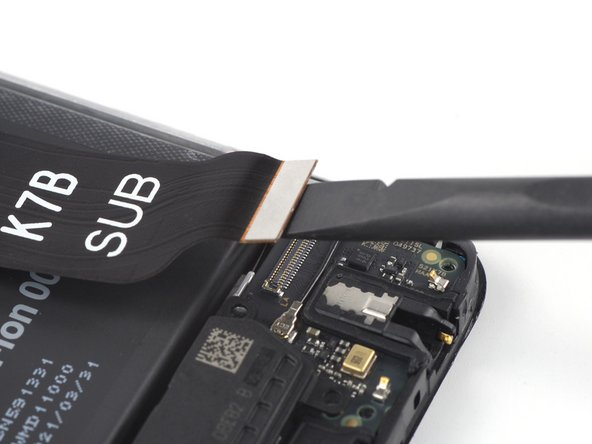
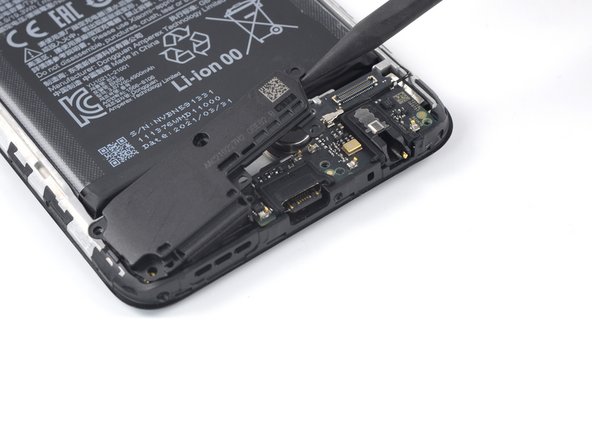
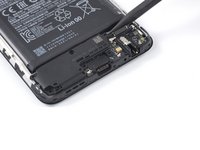
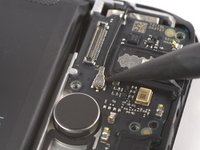
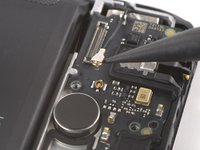
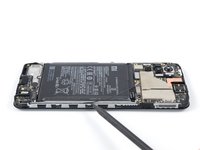
Use a spudger to disconnect both ends of the daughterboard interconnect cable.
-
Remove the daughterboard connection cable.
-
-
Bu adımda kullanılan alet:Tweezers$4.99
-
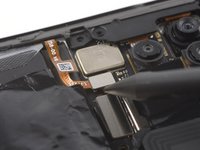
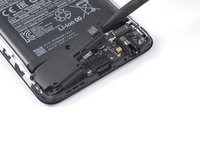
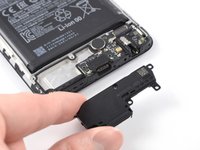
Use a spudger on the right top edge to lift up the loudspeaker.
-
Use your fingers or a pair of tweezers to remove the loudspeaker.
-
-
-
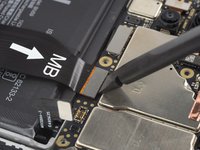
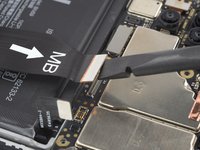
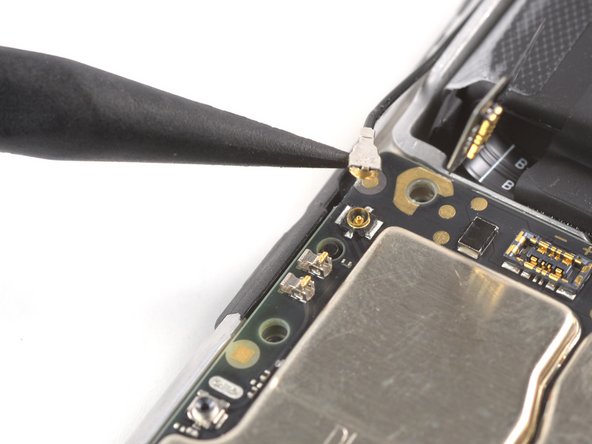
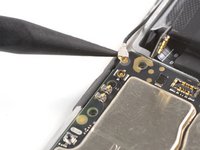
Use a spudger to disconnect both ends of the antenna cable by prying the connectors straight up from their sockets.
-
-
-
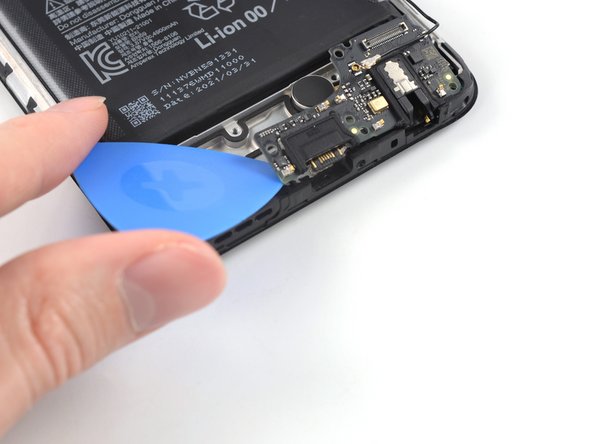
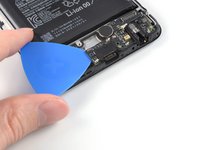
Insert an opening pick into the gap between the front panel and the left edge of the daughterboard.
-
Pry up the daughterboard by twisting the opening pick sideways.
-
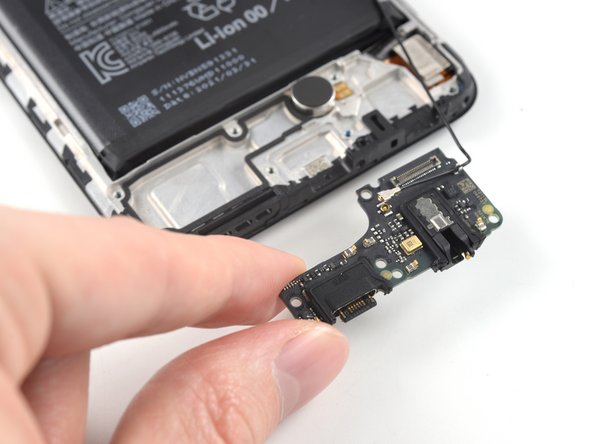
Use your fingers or a pair of tweezers to remove the daughterboard.
-
-
-
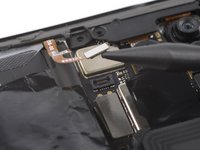
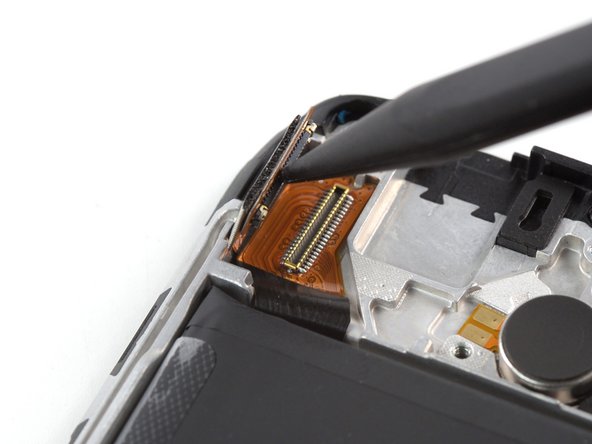
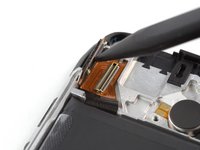
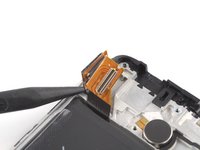
Use a spudger to disconnect the display cable by prying the connector straight up from its socket.
-
-
-
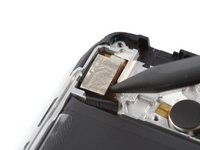
Insert a spudger into the opening on the bottom left of the display interconnect cable.
-
Use the spudger to pry up the display interconnect cable to free the display cable.
-
-
-
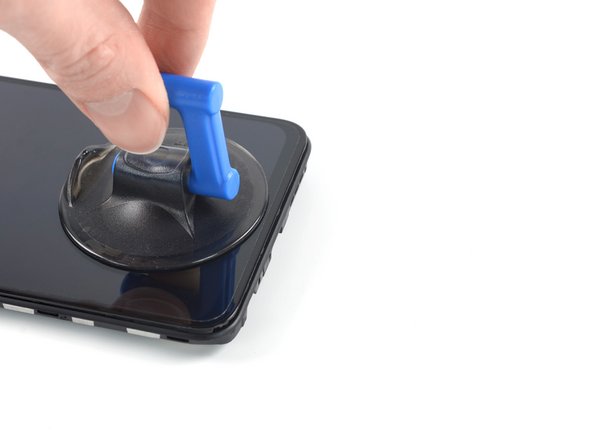
Apply a heated iOpener to the screen for two minutes to loosen the adhesive underneath.
-
-
-
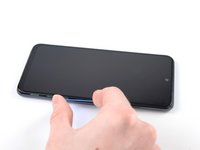
Apply a suction handle to the bottom of the screen.
-
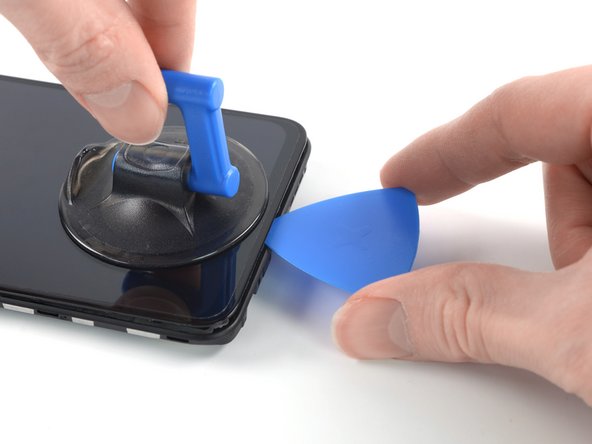
Pull the suction cup up with strong, steady force to create a gap.
-
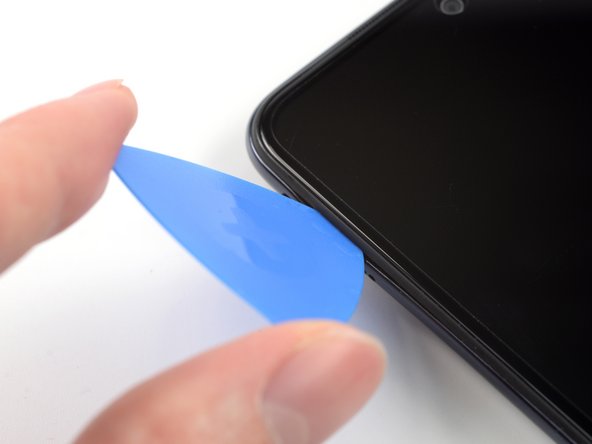
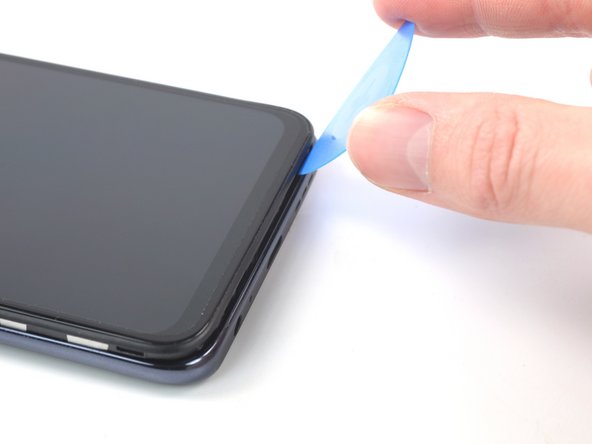
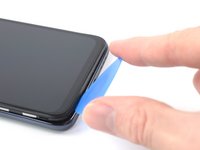
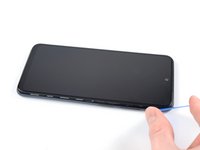
Insert an opening pick into the gap.
-
-
-
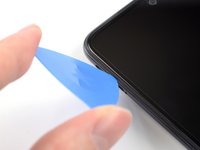
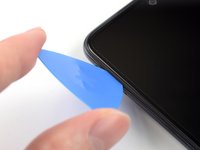
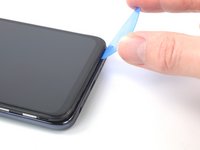
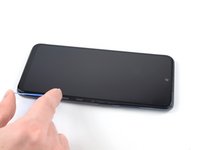
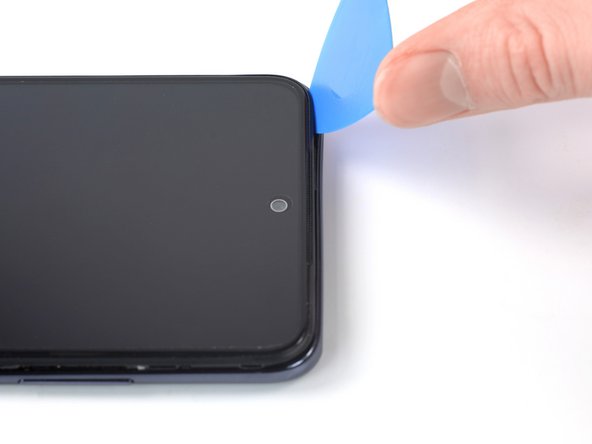
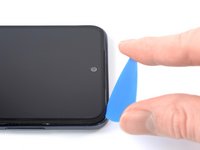
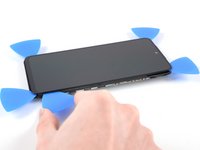
Slide the opening pick to the bottom right corner of the screen to slice the adhesive.
-
Leave the opening pick in place to prevent the adhesive from resealing.
-
-
-
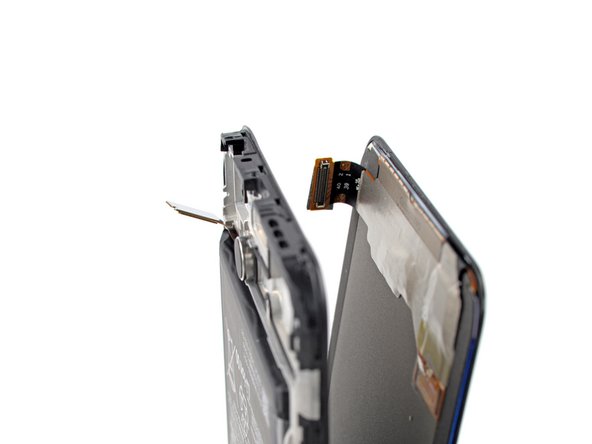
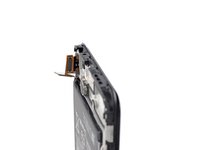
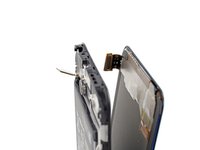
Thread the display flex cable through the gap in the front panel assembly.
-
Remove the screen.
-


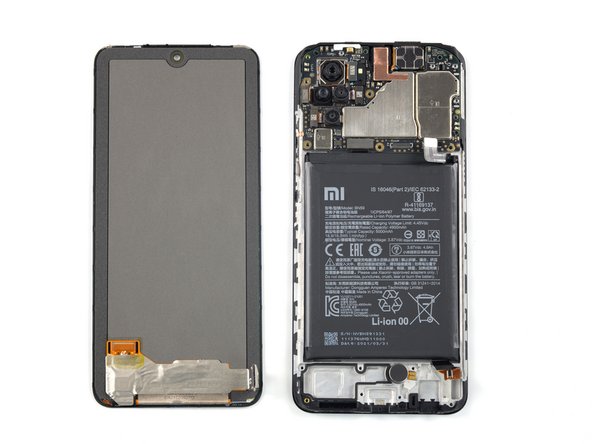

If possible, turn on your device and test your repair before installing new adhesive and resealing.
Compare your new replacement part to the original part—you may need to transfer remaining components or remove adhesive backings from the new part before you install it.The best way to secure the new screen is to apply a sheet of custom-cut double-sided tape to the back of the screen.
To reassemble your device, follow these instructions in reverse order. Apply new adhesive where necessary after cleaning the relevant areas with isopropyl alcohol (>90%).
Take your e-waste to an R2 or e-Stewards certified recycler.
Repair didn’t go as planned? Try some basic troubleshooting, or ask our Answers community for help.
İptal et: Bu kılavuzu tamamlamadım.
15 farklı kişi bu kılavuzu tamamladı.


5Kılavuz Yorumları
This may seem a silly question to all you expert phone repairers out there, but what is a "replacement adhesive to reattach components when reassembling the device." Am I going for a cyano-acrylate, an isopropyl butyl or what?
Hey Anthony, that's certainly not a silly question! We generally recommend using a Pre-Cut Double-Sided Adhesive Sheet for re-assembling smartphones. You can find a general guide on applying the tape here. If adhesive tape doesn't work in your case, E6000 or T7000 glue should do the job, but make sure to let it cure properly.
I changed my screen redmi note 10s
Got an LCD replacement screen and it's has a redness to it
Should I be worried or will it spell trouble later on?
Hi Niac_04, hard to say for sure, but I wouldn't be too worried. It might be a display calibration issue with the replacement screen or a software bug, but it doesn't sound like something that would immediately lead to longterm issues. There are some Reddit threads with reports that sound similar to yours with suggestions like changing the wallpaper or settings, see here and here. Hope this helps!