Giriş
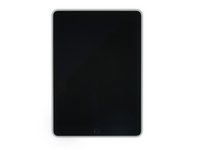
Follow this guide to remove and replace the home button in an iPad Pro 9.7".
Note: Your original home button assembly is paired to the iPad's logic board. You will lose Touch ID if any part of the home button assembly (button or cable) is replaced.
Neye ihtiyacın var
-
-
If your display glass is cracked, keep further breakage contained and prevent bodily harm during your repair by taping the glass.
-
Lay overlapping strips of clear packing tape over the iPad's display until the whole face is covered.
-
Do your best to follow the rest of the guide as described. However, once the glass is broken, it will likely continue to crack as you work, and you may need to use a metal prying tool to scoop the glass out.
-
-
Bu adımda kullanılan alet:Clampy - Anti-Clamp$24.95
-
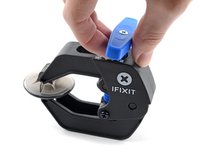
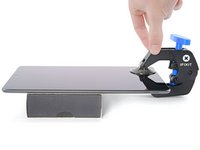
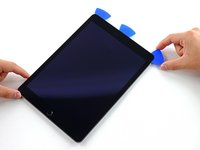
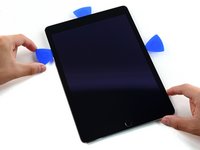
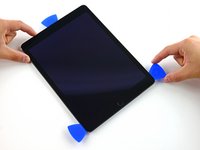
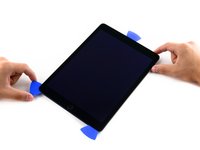
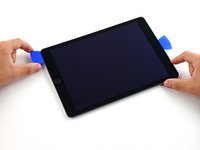
Elevate the iPad enough for the Anti-Clamp's arms to rest above and below the screen.
-
Pull the blue handle towards the hinge to disengage opening mode.
-
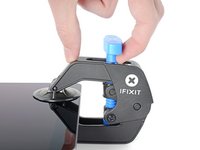
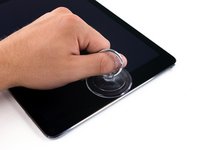
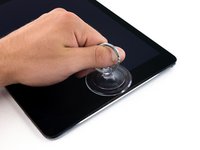
Position the suction cups near the top edge of the iPad—one on the front, and one on the back.
-
Push down on the cups to apply suction to the desired area.
-
-
-
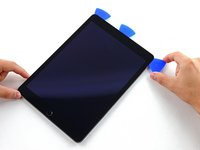
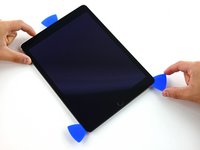
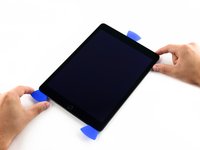
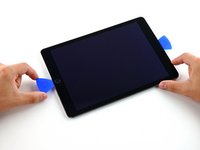
Push the blue handle away from the hinge to engage opening mode.
-
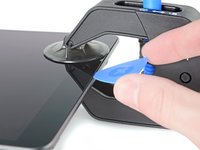
Turn the handle clockwise until you see the cups start to stretch.
-
Wait one minute to give the adhesive a chance to release and present an opening gap.
-
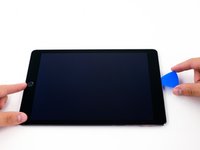
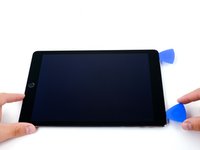
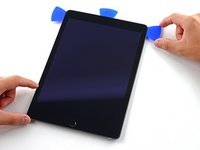
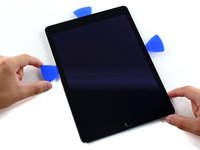
Insert an opening pick under the screen when the Anti-Clamp creates a large enough gap.
-
Skip the next two steps.
-
-
-
-
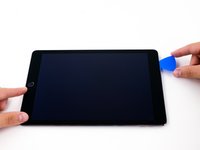
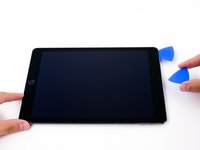
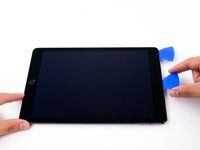
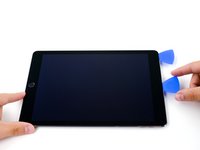
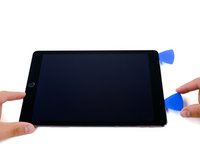
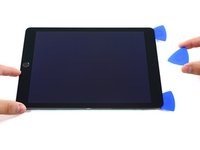
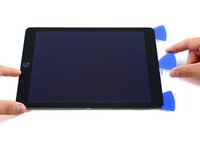
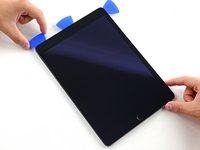
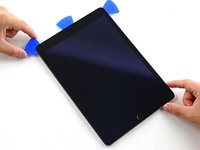
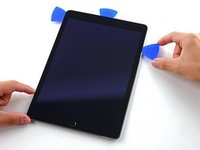
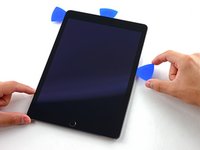
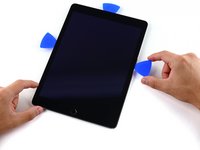
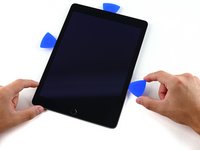
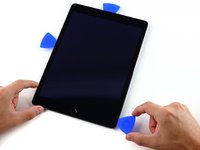
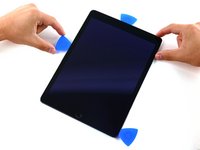
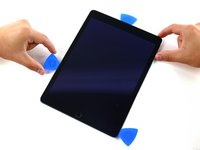
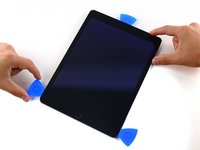
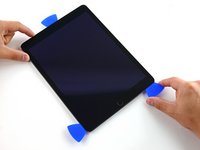
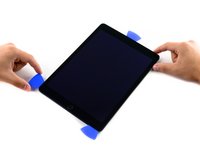
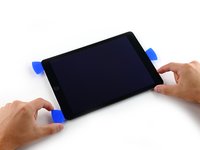
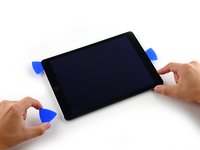
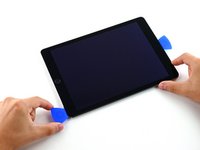
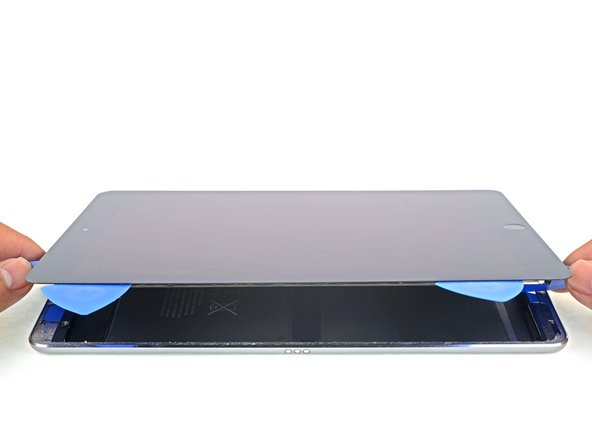
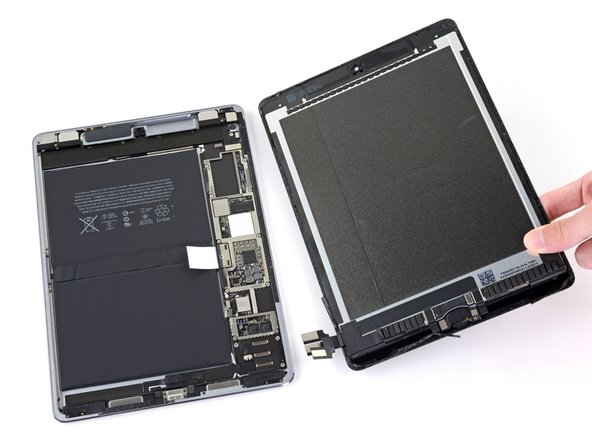
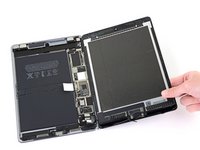
Use picks to ensure most of the adhesive has been cut through on the top, left, and bottom sides.
-
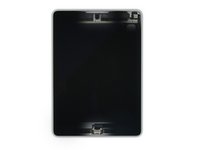
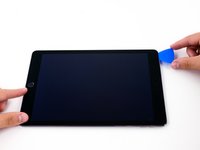
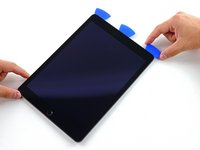
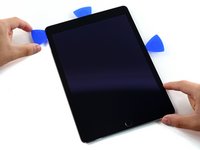
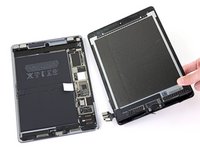
Twist the top and bottom picks to separate the display assembly from the rear case.
-
-
-
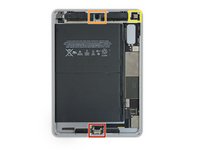
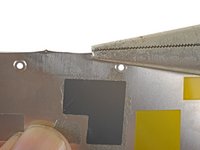
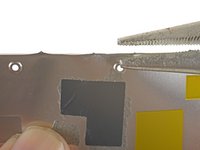
Use a Phillips screwdriver to remove the eleven 1.3 mm screws securing the EMI shield.
-
-
-
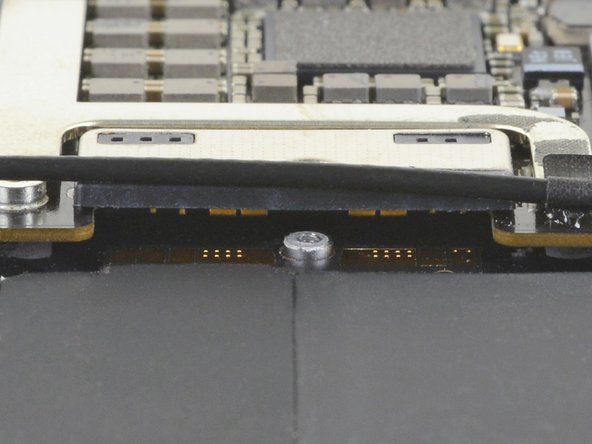
Slide the battery blocker underneath the left side of the logic board's battery connector at a 35 degree angle.
-
Leave the battery blocker in place as you work.
-
-
-
Apply a few drops of high-concentration (90% or higher) isopropyl alcohol under the logic board to the left and right of the battery connection.
-
Wait one minute for the isopropyl alcohol to weaken the adhesive under the logic board.
-
Try to insert the battery blocker. If the logic board doesn't easily lift up, apply a few more drops of isopropyl alcohol.
-
-
-
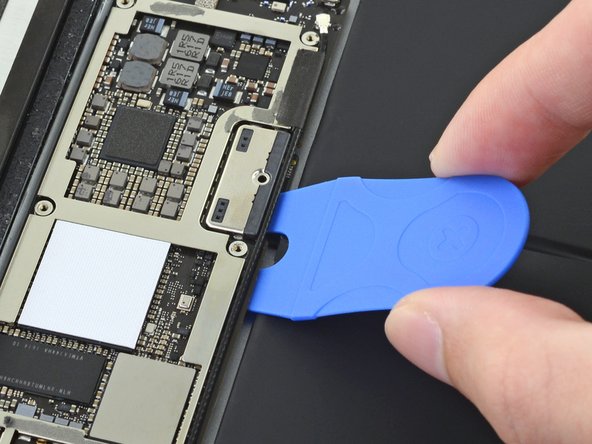
Use a Phillips screwdriver to remove the three 1.3 mm Phillips screws securing the display cable bracket.
-
-
-
Use the flat end of the spudger to disconnect the display assembly connector from the motherboard socket.
-
-
Bu adımda kullanılan alet:Tweezers$4.99
-
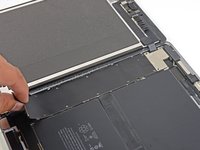
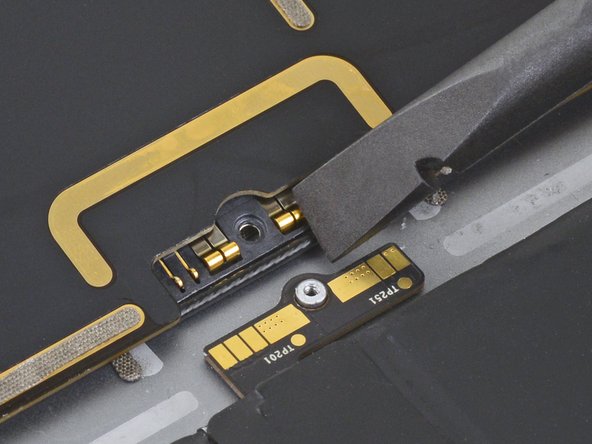
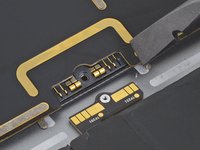
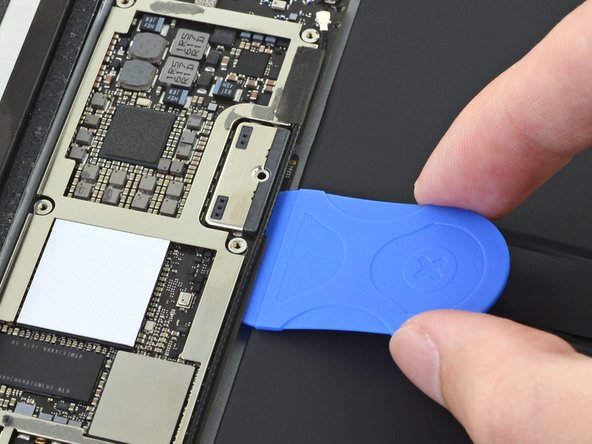
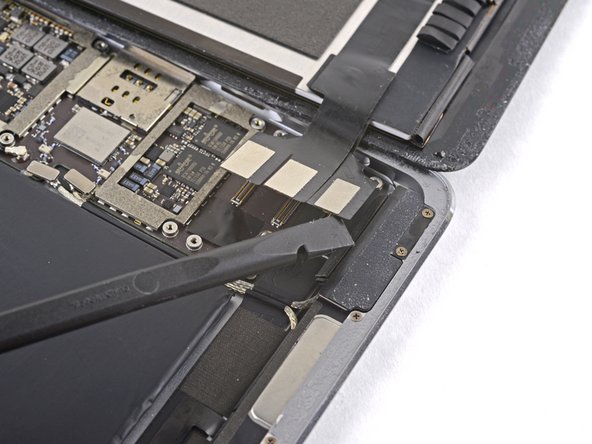
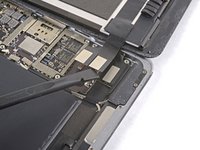
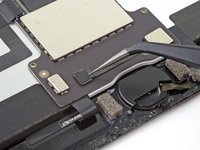
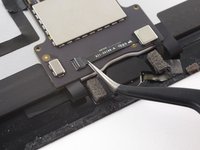
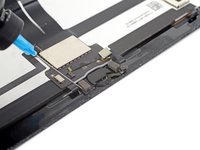
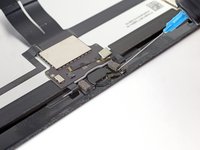
Use tweezers to remove the tape covering the ZIF connector above the home button.
-
-
-
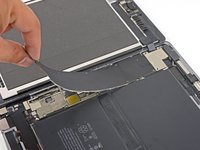
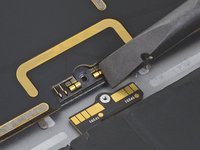
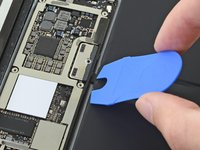
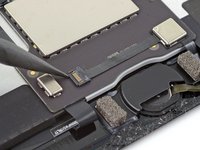
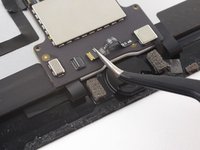
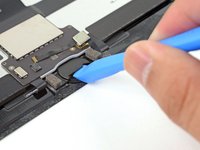
Use an iOpener, heat gun, or hair dryer to soften the adhesive under the cable before you pry it up.
-
Alternatively, apply a few drops of isopropyl alcohol to the cable and wait for a minute to let the adhesive soften.
-
-
-
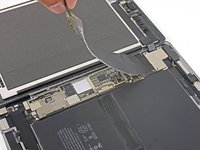
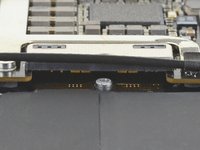
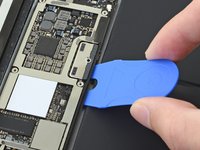
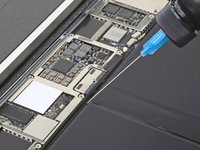
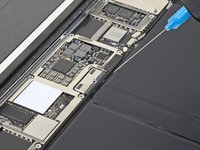
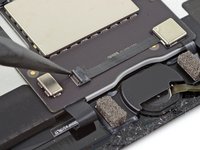
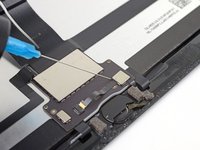
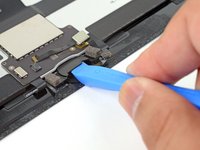
Apply a few drops of isopropyl alcohol to the base of the home button bracket.
-
Alternatively, you can use a heated iOpener to loosen the adhesive.
-
-
Bu adımda kullanılan alet:Tesa 61395 Tape$5.99
-
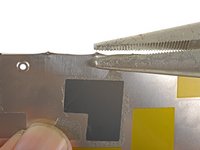
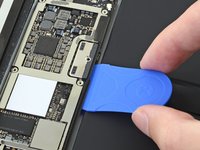
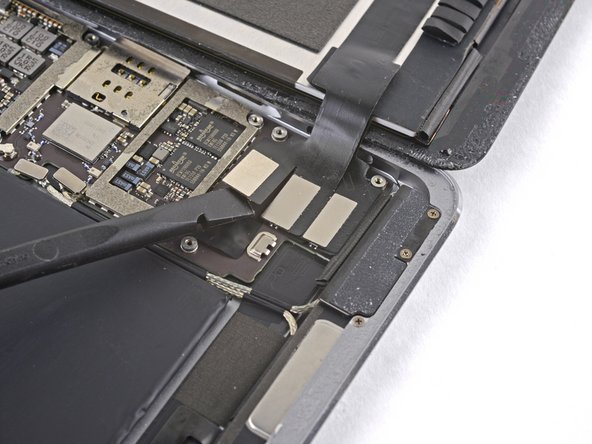
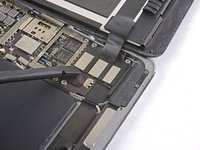
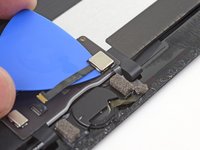
Remove the home button bracket.
-
Scrape off as much of the old adhesive residue as you can, then clean it with acetone or high concentration (>90%) isopropyl alcohol.
-
Secure the bracket with E6000 glue, superglue, or high-strength double-sided tape. Make sure the bracket is aligned correctly before allowing your adhesive to cure, or the home button will not click when pressed.
-
-
-
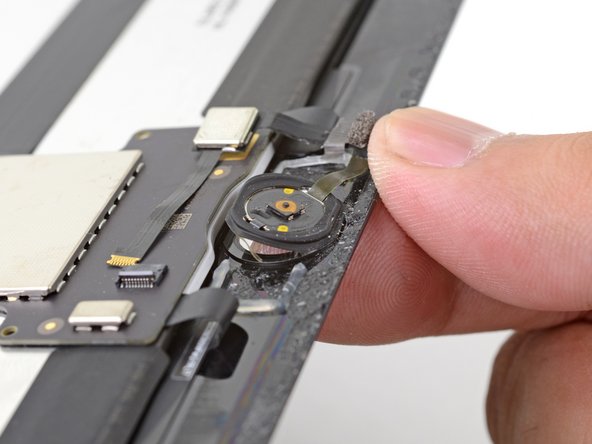
Gently push the home button from the front of the display inward using the tip of a finger.
-


Compare your new replacement part to the original part. You may need to transfer remaining components or remove adhesive backings from the new part before installing.
To reassemble your device, follow the above steps in reverse order. Take your e-waste to an R2 or e-Stewards certified recycler.
Repair didn’t go as planned? Check out our Answers community for troubleshooting help.
İptal et: Bu kılavuzu tamamlamadım.
21 farklı kişi bu kılavuzu tamamladı.


10Kılavuz Yorumları
You swapped iPads half way thru. These pictures are all for the 10.5, not the 9.7. The home buttons and connectors are different. Please fix.
Hello bryceschutte,
I took a look at the Home Button for the iPad Pro 9.7”. While it looks slightly different in terms of bracket shape, the steps described (which came from an iPad Pro 12.9” guide) should be almost identical.
I have swapped the home button but i have no function at all from the replacement, i have used 3 different replacements. Is this normal? Have i lost the return to home function? I expected to loose the touch id, but believed the return to home would still work.
Hi Alan,
The return to home should still work with a replacement button. I would suggest checking and re-seating all the connectors that are related to the Home button.