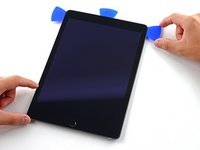
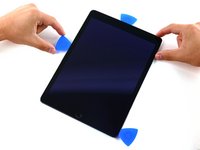
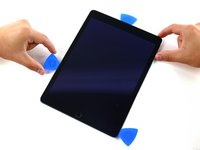
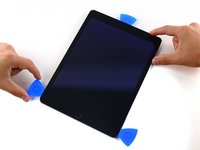
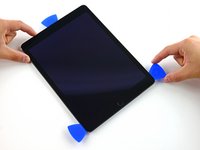
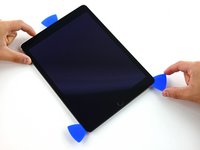
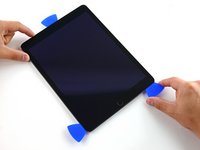
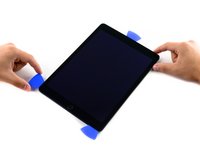
Giriş
This is a prerequisite only guide.
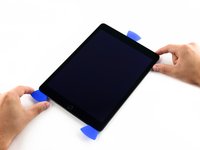
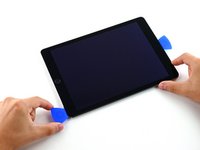
This guide contains duplicated content sourced from iPad Air 2 Wi-Fi Opening Procedure. The content is duplicated because the Air 2 opening procedure hinges the display open in a different direction.
Neye ihtiyacın var
-
-
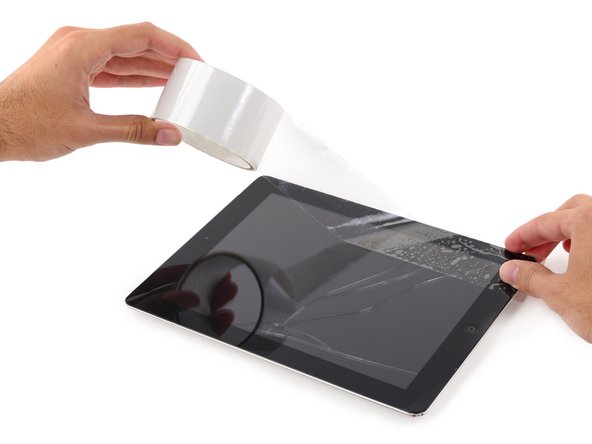
If your display glass is cracked, keep further breakage contained and prevent bodily harm during your repair by taping the glass.
-
Lay overlapping strips of clear packing tape over the iPad's display until the whole face is covered.
-
Do your best to follow the rest of the guide as described. However, once the glass is broken, it will likely continue to crack as you work, and you may need to use a metal prying tool to scoop the glass out.
-
-
Bu adımda kullanılan alet:Clampy - Anti-Clamp$24.95
-
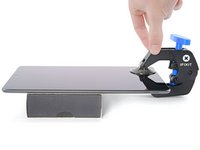
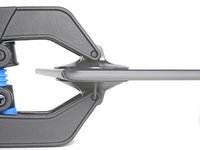
Elevate the iPad enough for the Anti-Clamp's arms to rest above and below the screen.
-
Pull the blue handle towards the hinge to disengage opening mode.
-
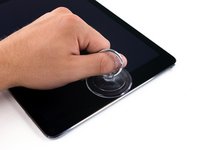
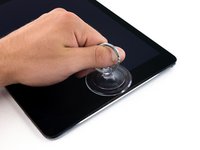
Position the suction cups near the top edge of the iPad—one on the front, and one on the back.
-
Push down on the cups to apply suction to the desired area.
-
-
-
Push the blue handle away from the hinge to engage opening mode.
-
Turn the handle clockwise until you see the cups start to stretch.
-
Wait one minute to give the adhesive a chance to release and present an opening gap.
-
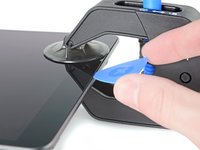
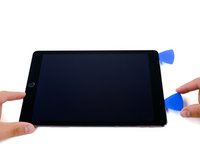
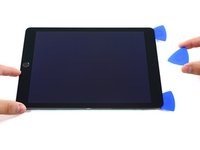
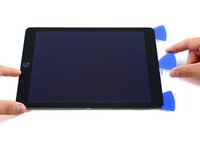
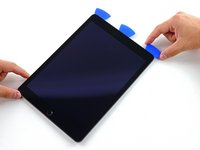
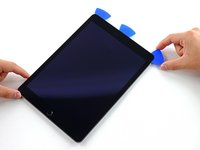
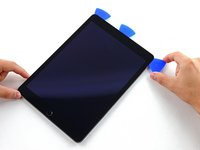
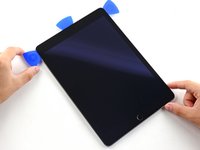
Insert an opening pick under the screen when the Anti-Clamp creates a large enough gap.
-
Skip the next two steps.
-
-
To reassemble your device, follow these instructions in reverse order.
To reassemble your device, follow these instructions in reverse order.

