Giriş
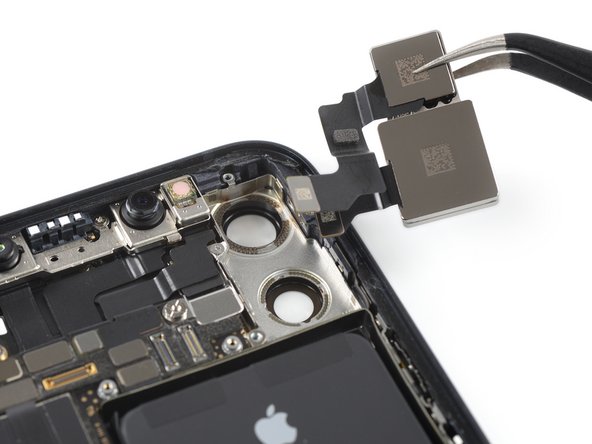
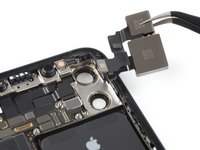
Use this guide to remove and replace the rear cameras in the iPhone 12 mini. Both camera modules are replaced as a single unit.
Note: On iOS 18 and newer, you can calibrate new, genuine camera modules using Apple's Repair Assistant.
You’ll need replacement adhesive to reattach components when reassembling the device.
Neye ihtiyacın var
-
-
Power off your iPhone before beginning disassembly.
-
Remove the two 6.7 mm-long pentalobe screws at the bottom edge of the iPhone.
-
-
-
Measure 3 mm from the tip and mark the opening pick with a permanent marker.
-
-
-
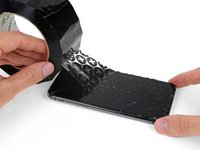
Lay overlapping strips of clear packing tape over the iPhone's screen until the whole face is covered.
-
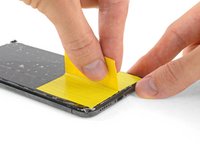
If you can't get the suction cup to stick in the next few steps, fold a strong piece of tape (such as duct tape) into a handle and lift the screen with that instead.
-
-
Bu adımda kullanılan alet:Clampy - Anti-Clamp$24.95
-
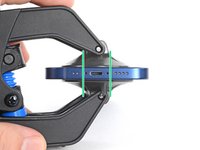
Pull the blue handle backwards to unlock the Anti-Clamp's arms.
-
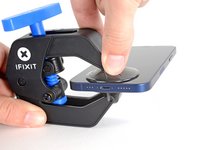
Slide the arms over either the left or right edge of your iPhone.
-
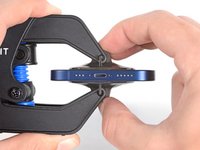
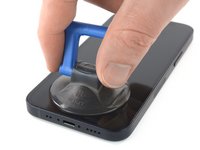
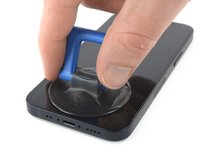
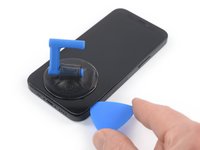
Position the suction cups near the bottom edge of the iPhone—one on the front, and one on the back.
-
Squeeze the cups together to apply suction to the desired area.
-
-
-
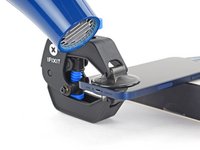
Support your iPhone on something sturdy such as a hardcover book so it rests hands-free and parallel to the ground; this makes it easier to work with in the following steps.
-
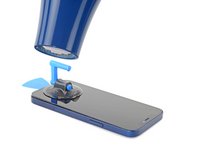
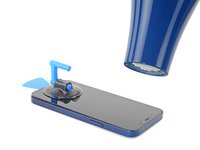
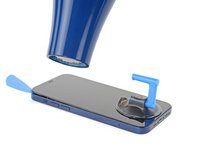
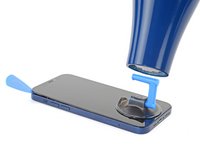
Use a hair dryer to heat along the bottom edge of the iPhone. The screen should feel slightly too hot to touch.
-
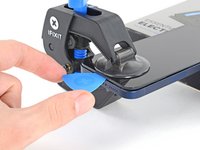
Wait one minute to give the adhesive a chance to release and present an opening gap.
-
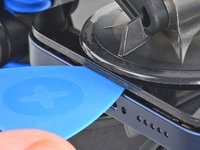
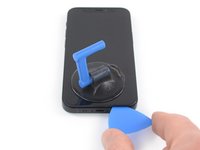
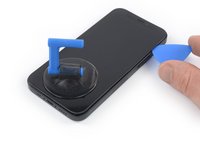
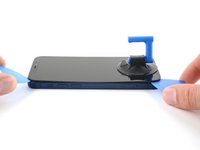
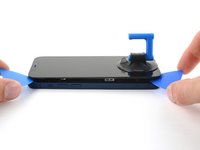
Insert an opening pick under the screen's plastic bezel when the Anti-Clamp creates a large enough gap.
-
Skip the next three steps.
-
-
-
Use a hair dryer or a heat gun to heat the bottom edge of the iPhone for 90 seconds or until the screen is slightly too hot to touch.
-
-
-
If you're using a single suction handle, apply it to the bottom edge of the phone, as close to the edge as possible.
-
If your display is badly cracked, covering it with a layer of clear packing tape may allow the suction cup to adhere. Alternatively, very strong tape may be used instead of the suction cup. If all else fails, you can superglue the suction cup to the broken screen.
-
-
-
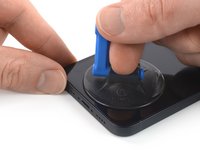
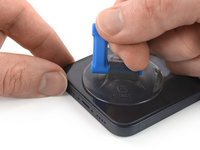
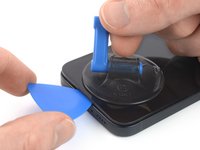
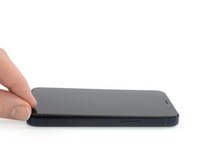
Pull up on the suction cup with firm, constant pressure to create a slight gap between the screen and the metal frame.
-
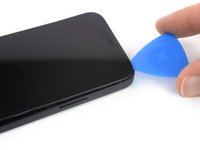
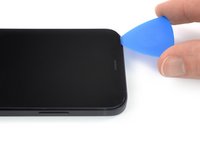
Insert an opening pick into the gap under the screen's plastic bezel.
-
-
-
Use a hair dryer to heat the right edge of the iPhone (the edge with the power button) for 90 seconds or until the screen is slightly too hot to touch.
-
-
-
Slide the opening pick around the bottom right corner and along the right edge of the iPhone, slicing through the adhesive holding the display in place.
-
-
-
-
Use a hair dryer to heat the top edge of the iPhone for 90 seconds or until the screen is slightly too hot to touch.
-
-
-
Use a hair dryer to heat the left edge of the iPhone for 90 seconds or until the screen is slightly too hot to touch.
-
-
-
Insert a second opening pick in the bottom left corner of the iPhone.
-
Twist both picks simultaneously until the left edge clips release.
-
-
-
Rotate your iPhone so the right edge faces you.
-
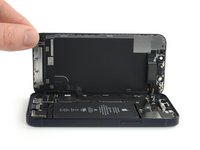
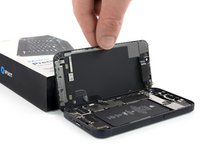
Open the iPhone by swinging the display up from the right side, like the front cover of a book.
-
Lean the display against something to keep it propped up while you're working on the phone.
-
-
Bu adımda kullanılan alet:Magnetic Project Mat$19.95
-
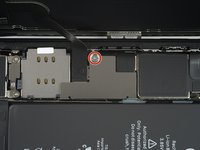
Remove the 1.25 mm-long Y000 screw securing the battery & display connector cover bracket.
-
-
Bu adımda kullanılan alet:Tweezers$4.99
-
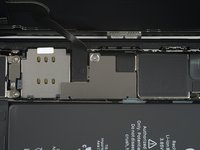
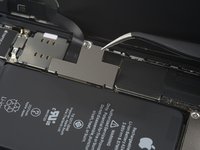
Use a pair of tweezers to remove the battery & display connector bracket.
-
-
-
Use a spudger or a clean fingernail to pry the battery connector up from its socket on the logic board.
-
Bend the connector slightly away from the logic board to prevent it from accidentally making contact with the socket and providing power to the phone during your repair.
-
-
-
Use a spudger or a clean fingernail to pry the OLED panel cable connector up from its socket on the logic board.
-
-
-
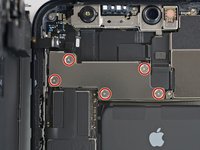
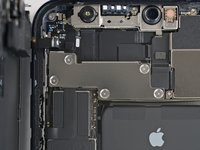
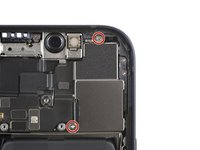
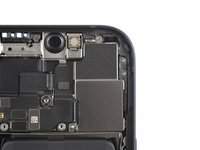
Remove the five 1 mm-long Y000 screws securing the front sensor assembly cover bracket.
-
-
-
Use a spudger or a clean fingernail to disconnect the front sensor assembly cable connector.
-
-
Bu adımda kullanılan alet:Tweezers$4.99
-
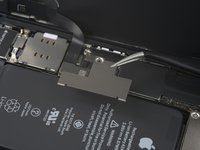
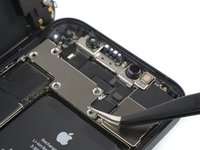
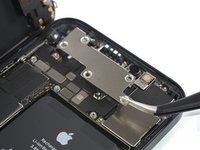
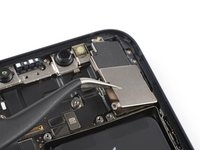
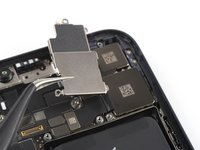
Use a pair of tweezers to remove the camera module cover bracket.
-
-
-
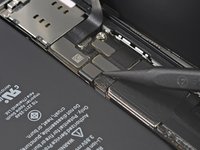
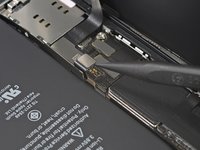
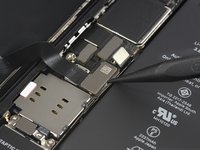
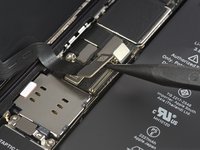
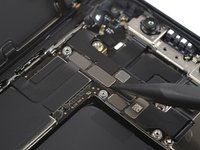
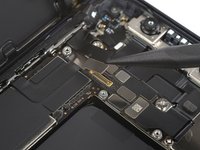
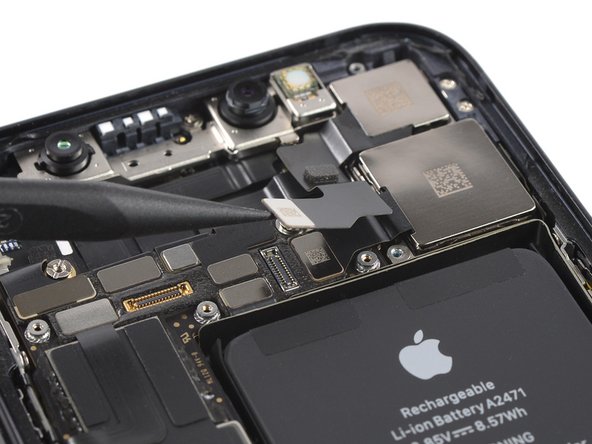
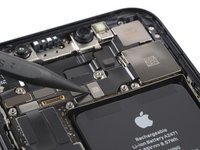
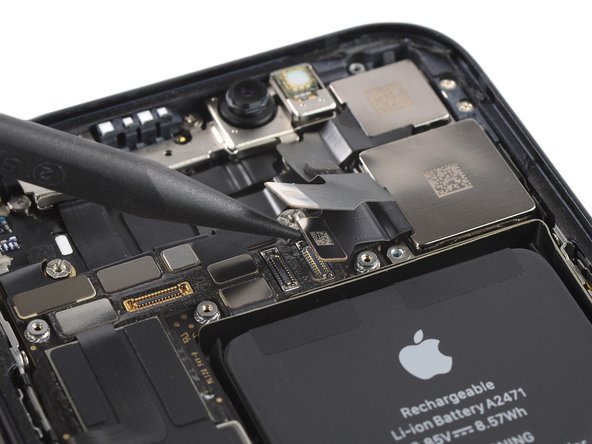
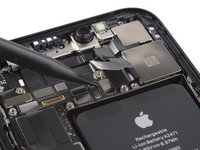
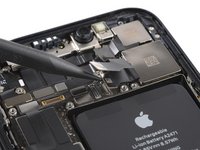
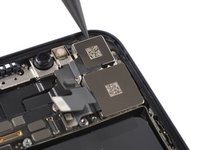
Use a spudger to disconnect the ultra wide angle camera flex cable by prying it straight up from its socket.
-
-
-
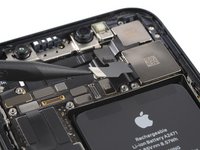
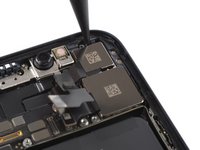
Insert the pointed end of a supdger between the upper edge of the camera module and the iPhone frame.
-
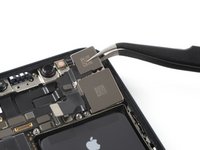
Use the spudger to pry the camera module out of its recess by tilting the spudger downwards.
-
Compare your new replacement part to the original part—you may need to transfer remaining components or remove adhesive backings from the new part before installing.
To reassemble your device, follow the above steps in reverse order. Apply new adhesive where necessary after cleaning the relevant areas with isopropyl alcohol (>90%).
After your repair, depending on the replacement part, you may be able to calibrate it using Apple's Repair Assistant, available as of iOS 18. Update your device, navigate to Settings → General →About → Parts & Service History, tap Restart & Finish Repair, and follow the onscreen prompts.
Take your e-waste to an R2 or e-Stewards certified recycler.
Repair didn’t go as planned? Try some basic troubleshooting, or ask our iPhone 12 mini Answers community for help.
İptal et: Bu kılavuzu tamamlamadım.
13 farklı kişi bu kılavuzu tamamladı.
5Kılavuz Yorumları
Removing these screens is no joke folks. There is a backing on the screen that is also adhered to the phone casing, and it is very easy to separate this from the front of the screen, destroying or at the very least damaging it in the process.
I managed to replace the camera. Now I am stuck with a not functioning foto app, that won't save pictures and a really slow loading time generally. Also I can not switch to wide angle camera mode. how do I fix this?
Yeah head the warnings about the screen, destroyed my screen trying to open this.


