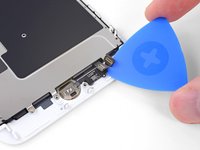
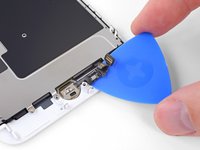
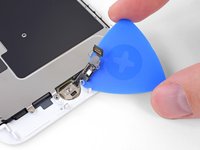
Giriş
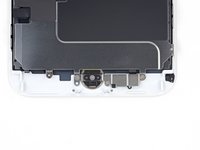
The iPhone 8 Plus home “button” is actually a solid-state sensor, which also includes Touch ID (fingerprint recognition) capability.
Most replacement home buttons won’t work, so check carefully before starting your repair. Your iPhone’s original home button is uniquely paired to the logic board at the factory—and without Apple’s proprietary calibration process, even a genuine replacement home button from another iPhone won’t work. To fix a broken home button, you should install a specially-made, universal-style home button. Note that these replacements only work as a button; Touch ID will not function.
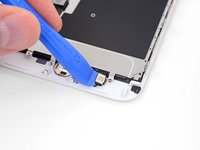
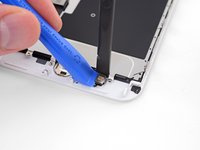
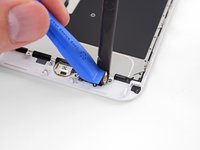
If you are only replacing a broken screen, you can use this guide to carefully remove and transfer your working original home button to a new screen, preserving all functions, including Touch ID.
During this procedure, to avoid accidentally straining or tearing the display cables, it's best to completely detach the display assembly before beginning repairs on the home/Touch ID sensor. But if you are comfortable doing so, you may skip the display assembly section of this guide and go straight to the home/Touch ID sensor section.
Neye ihtiyacın var
-
-
Power off your iPhone before beginning disassembly.
-
Remove the two 3.5 mm pentalobe screws from the bottom edge of the iPhone.
-
-
-
Measure 3 mm from the tip and mark the opening pick with a permanent marker.
-
-
-
Lay overlapping strips of clear packing tape over the iPhone's screen until the whole face is covered.
-
If you can't get the suction cup to stick in the next few steps, fold a strong piece of tape (such as duct tape) into a handle and lift the screen with that instead.
-
-
Bu adımda kullanılan alet:Clampy - Anti-Clamp$24.95
-
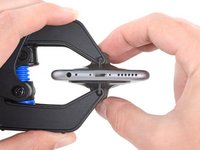
Pull the blue handle backwards to unlock the Anti-Clamp's arms.
-
Slide the arms over either the left or right edge of your iPhone.
-
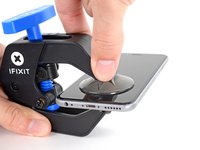
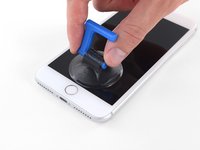
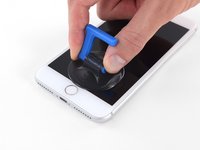
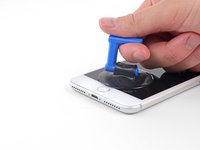
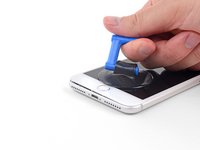
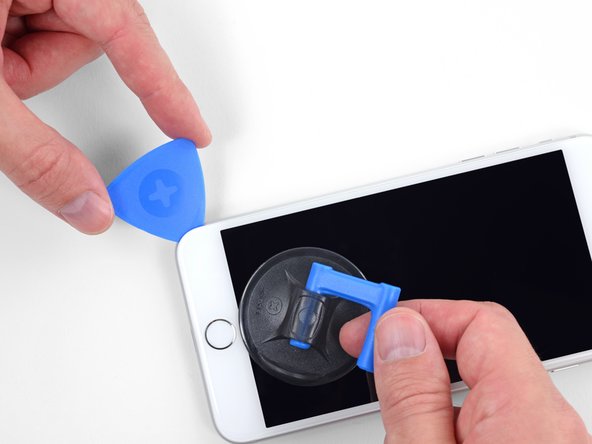
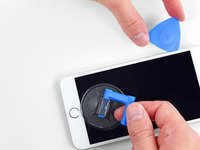
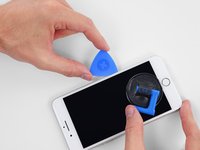
Position the suction cups near the bottom edge of the iPhone just above the home button—one on the front, and one on the back.
-
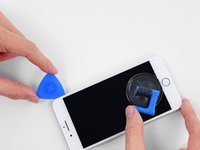
Squeeze the cups together to apply suction to the desired area.
-
-
-
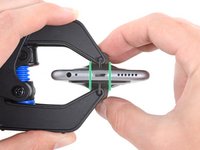
Heat an iOpener and thread it through the arms of the Anti-Clamp.
-
Fold the iOpener so it lays on the bottom edge of the iPhone.
-
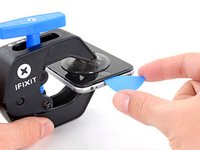
Wait one minute to give the adhesive a chance to release and present an opening gap.
-
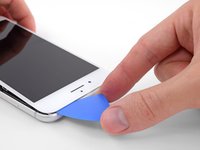
Insert an opening pick under the screen when the Anti-Clamp creates a large enough gap.
-
Skip the next three steps.
-
-
-
Use a hairdryer or prepare an iOpener and apply it to the lower edge of the iPhone for about 90 seconds in order to soften up the adhesive underneath.
-
-
-
Bu adımda kullanılan alet:Magnetic Project Mat$19.95
-
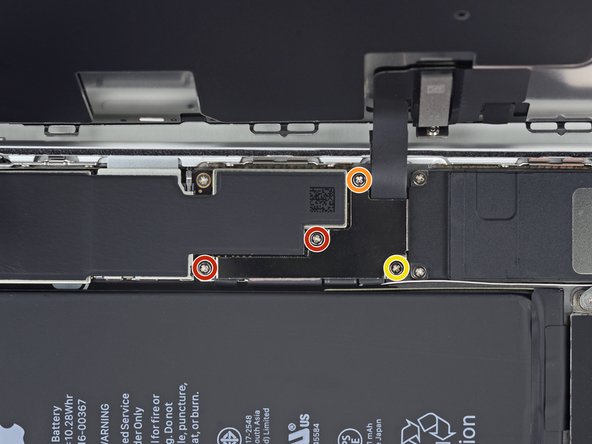
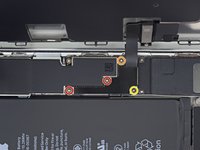
Remove four Phillips (JIS) screws securing the lower display cable bracket to the logic board, of the following lengths:
-
Two 1.3 mm screws
-
One 1.4 mm screw
-
One 2.7 mm screw
-
-
-
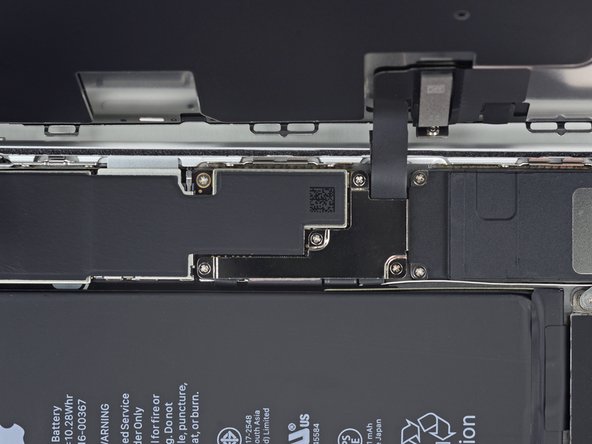
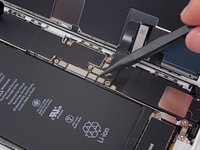
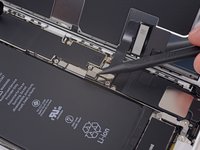
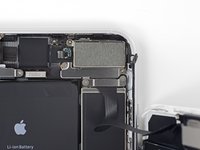
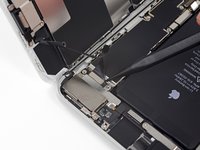
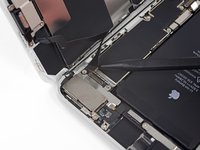
Use the tip of a spudger or a fingernail to disconnect the large lower display connector by prying it straight up from its socket.
-
-
-
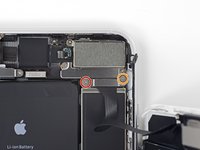
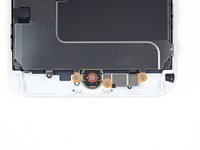
Remove the four Y000 screws securing the bracket over the home/Touch ID sensor:
-
One 1.2 mm screw
-
Three 1.3 mm screws
-
-
-
Flip the display assembly over. Use a hairdryer or prepare an iOpener and apply it to the lower edge of the display for about 90 seconds in order to soften up the adhesive underneath.
-
If your replacement screen did not come with a front camera and sensor cable, follow these steps to transfer them over.
Compare your new replacement part to the original part—you may need to transfer remaining components or remove adhesive backings from the new part before installing.
To reassemble your device, follow the above steps in reverse order.
Take your e-waste to an R2 or e-Stewards certified recycler.
Repair didn’t go as planned? Try some basic troubleshooting, or search our Answers forum for help.
İptal et: Bu kılavuzu tamamlamadım.
55 farklı kişi bu kılavuzu tamamladı.
6Kılavuz Yorumları
aiuto mi son cadute e quindi perso
sensore home/Touch ID Una vite da 1,2 mm Tre viti da 1,3 mm
dove le trovo?
ATTENTION: Don’t screw in that one screw over the home button too much, or the button breaks! I just found one proper explanation for it in this YouTube video (https://www.youtube.com/watch?v=rDVnp90a...). Basically, that one screw that goes over the Home button should not be tightened too much, so that the metal plate doesn't bend (which it did for me).
This was truely helpful.
Anybody have the issue where the button works when the phone is in 2 pieces, but when you assemble the screen onto the phone body, the button no longer responds after a restart??
Power on phone while in 2 pieces -> home button is working
Attach screen to phone body -> home button is still working
Restart phone with phone assembled -> home button not responding
Hallo Zusammen
Wird bei diesen Mikroschrauben nur das Gewinde gemessen oder die gesammte Schraube inkl. Schraubenkopf? Ich frage, weil mir die Schrauben des Homebutton weggespickt sind 1.2 und 1.3mm...
Danke
LG


