Giriş
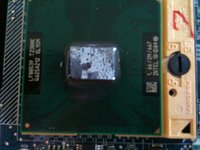
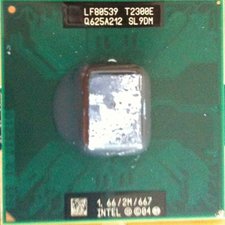
1. adıma gitThe Dell latitude D620 was introduced in March 2006. Both the first MacBook Pro and this Dell Latitude D620 have the same Intel Core Duo T2300E. Like the first MacBook, they both have Intel's GMA 950 Integrated Graphics.
Neye ihtiyacın var
Aletler


Daha fazlasını göster…
-
-
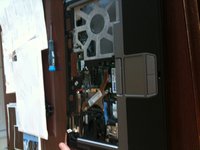
Open the laptop's screen 180 Degrees so it is straight back.
-
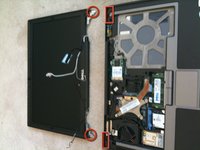
Use a flat head screwdriver or a spudger to pry the top bezel off. Work it side to side until the bezel is freed from the chassis, exposing 3 screws
-
-
-
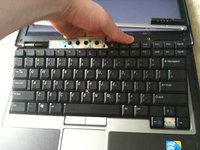
Use your fingers to carefully lift up the keyboard. Refer to the first picture for guidance.
-
Carefully pull the keyboard upwards toward the LCD screen so it can be released from the bottom tabs.
-
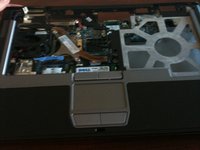
Carefully lift the keyboard so the keys are resting on the palmrest, this will expose the ribbons for the keyboard, trackpad and Tracking Nub.
-
-
-
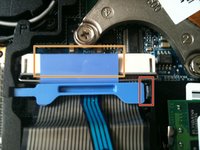
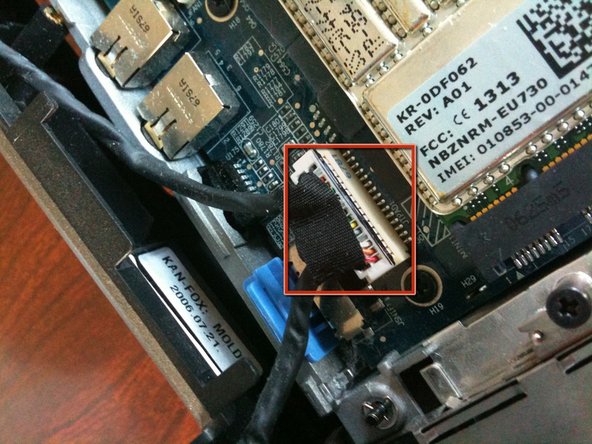
First insert a small flat head screwdriver or a spudger into the small notch in between holding down the ribbon.
-
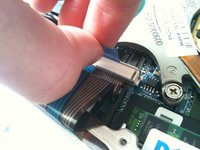
Then grab the metal bar on top of the keyboard connector and pull straight up. The cable should come free.
-
-
-
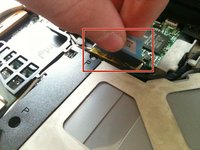
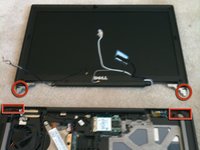
Grab the top of the display connector and pull it straight up and out.
-
-
-
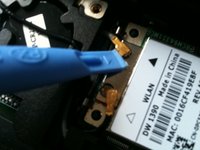
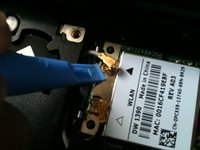
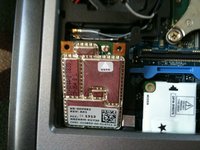
Use a tool or your fingers to gently remove the antenna cables from the wireless card.
-
-
-
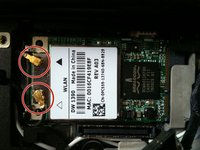
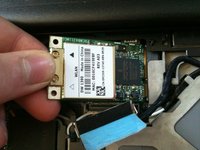
Pull back the clips by the antenna connectors, and the card should rise up on its own. Gently remove the card from its socket.
-
-
-
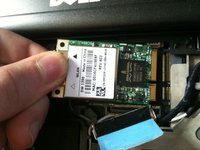
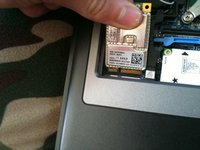
Using similar procedures as the WLAN, disconnect the single antenna cable, push the rear clips back and remove the card.
-
-
-
Close the laptop screen completely, make sure it clips in place.
-
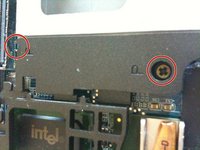
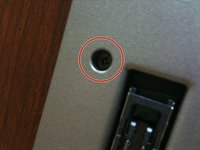
The bottom screw is labeled with D, remove it.
-
The screw on the rear is not labeled, remove it as well.
Bad writing. Make sure not to bind the cables or damage. . . .
-
-
-
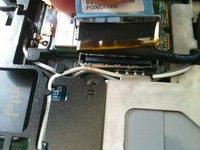
Pull it straight up, making sure all cables are free of their routing ares.
-
-
-
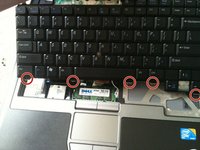
Remove all of the remaining screws on the laptop with a Phillips screwdriver.
-
There are screws on the top under the keyboard as well, remove those.
-
-
-
Seperate the palmrest from the device, starting from the back by sliding it forward and pulling it most of the way off.
-
-
-
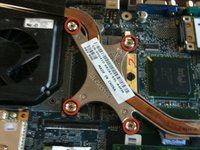
With a Phillips screwdriver, remove the 4 screws on the heatsink, in order of the numbers of the metal.
Fan is oddly pegged under the motherboard and cannot be easily removed without full disassembly.
-
-
-
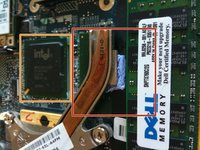
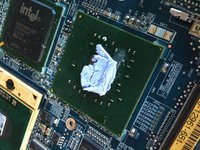
Grab the heatsink and remove it, it may require force.
-
There is still thermal paste and a thermal pad attached.
-
-
-
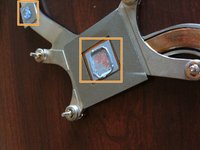
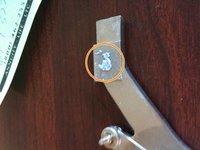
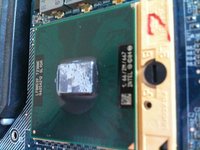
Clean the remaining thermal compound off of the CPU. Remove the thermal pad if it is still stuck to the GPU.
-
-
-
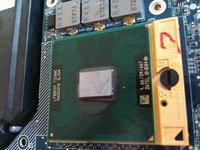
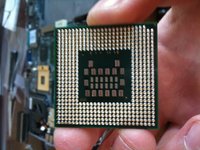
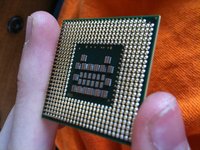
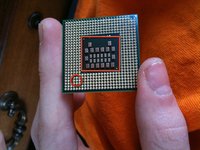
Gently turn the screw above the socket and lift the CPU out.
The Link to Dell.com is returning a 404
I found a copy on archive.org at:
-


8 Yorum
Seems like it would make a perfect "Hackintosh."
Chris Green kullanıcısından alıntı:
Seems like it would make a perfect "Hackintosh."
Yes. It does indeed. I've been using it as a hackintosh sense early February. I had Mac OSX 10.6.2 on it, even before I performed this tear down. I was able to use software updater to go strait from 10.6.0 to 10.6.2. Skipping 10.6.1. I've only had a few kernel panics. I've even been using the iPhone SDK. It is a very stable hackintosh. The GMA 950 can even play The SIms 3 w/o any issues.
Fantastic guide!! Thank you for taking the time and effort to create it!
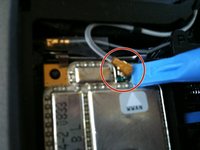
There is a little flat, white, Multi-wire connector in the upper-left corner.
I suspect that this is where the optional Bluetooth module would be located, can anyone confirm this?
Thanks,
Tim D.
Yes, the flat white connector on the left side above the keyboard is for the optional bluetooth connector. It interfaces via USB.
souta95 -
Nice guide! I just resurrected an old D620 that was on the pile, that I occasionally use for one piece of ancient code. I've disassembled, aired out the dust, and cleaned it. Replaced the non-functioning Dell battery with an OMCreate aftermarket battery.
This is a Core 2 Duo 2.3 GHz. Upgraded the HDD to a Hitatchi 320 GB SATA3 that was sitting here. Even though the D620 only has a SATA1 interface, might pick up a SSD, just to give it some more life. I did a clean install of Win7x64 bit + SP & patches (Nov2016), used the Dell's Vista nVidia NVS 110 video driver (File = R142931), installed and worked great.
I went ahead and ordered a replacement keyboard, since it has some sticky keys & a missing key cap. Also 2 x 2GB SODIMMs. That should give new life to this 10 year old notebook and keep it out of the landfill for at least another 4-10 years.
Thanks Nicholas & iFixit for the inspiration!
Thank you for this awesome guide. All I needed to do was replace the CMOS battery but this really helped me get there. I was born only two years before this laptop came out but I can definitly still appreciate DELL’s great build quality, and “explosive” battery life, in the mid 2000s.