Giriş
Today marks our first ever teardown of a phone designed entirely by Google: the Pixel XL. What to expect? At first glance, it bears more than a passing resemblance to an iPhone—but it's the innards in which we're interested. Grab ahold of your Nougat, because it's time to tear this smartphone asunder.
Follow along on Facebook, Instagram, or Twitter for the latest news from the repair world.
Neye ihtiyacın var
Videoya Genel Bakış
-
-
Early reviews of the Pixel phones have been positive—and looking at these specs, we're not surprised:
-
5.5" AMOLED display with QHD 1440 x 2560 resolution (534 ppi) and 2.5D Gorilla Glass 4
-
Quad-core, 64-bit Qualcomm Snapdragon 821 processor (2.15 GHz + 1.6 GHz) with 4GB LPDDR4 RAM
-
12.3-megapixel, f/2.0 main camera with phase detection autofocus and laser detection autofocus; 8 MP selfie camera
-
32 GB or 128 GB built-in storage
-
Pixel Imprint back-mounted fingerprint sensor
-
USB Type-C port and 3.5 mm headphone port
-
Android 7.1 Nougat
-
-
-
Despite its claim to be Google inside and out, this Pixel may have had some fruity inspiration.
-
Similar styling aside, there are a few physical features that set the Pixel XL apart from its most rosey competitor:
-
No home button—Google opted for on-screen buttons, allowing for a sleek, button-less front face.
-
A back-mounted fingerprint scanner, and a single rear-facing camera (sans unsightly bump).
-
Two speaker slits—rather than holey grilles—and a USB-C port, not a proprietary Lightning port.
-
-
-
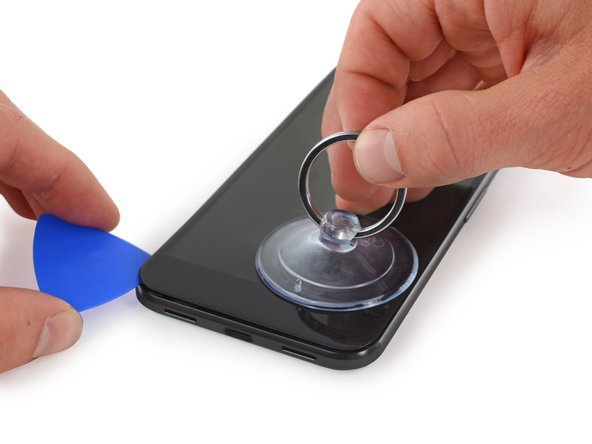
Given the familiarity of this iPhone look-alike, our confidence nears cockiness as we take a play from our iPhone 7 Plus guides, heat an iOpener and select our lucky opening pick.
-
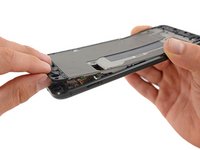
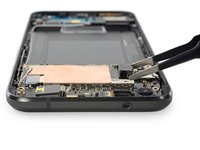
After a minute of heat and a minute of prying, we lift open the phone from the top, expecting to expose its inner workings to the world.
-
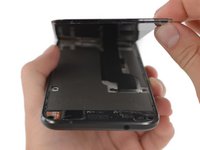
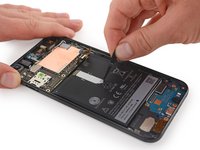
But alas, a screwed-down bracket on the display cable halts our progress. Time to dust off our driver and dive a little deeper.
-
-
Bu adımda kullanılan alet:Mako Driver Kit - 64 Precision Bits$39.95
-
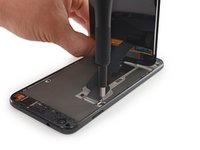
Our path to victory is clear: remove the bracket, free the display, win. Tools from the 64 Bit Driver Kit make short work of the T5 Torx screws.
-
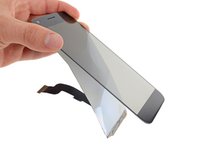
In this case, the OLED panel separated from the digitizer glass a little too easily for our liking. Super-thin components and no frame or bezel behind the display make it extra sketchy to remove—but, we'll be working on a better way to get it out next time.
-
And riding on the back of the display panel: a Synaptics ClearPad S3708 touch controller.
-
-
-
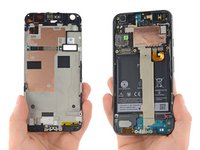
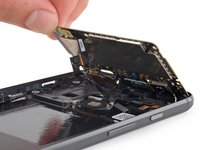
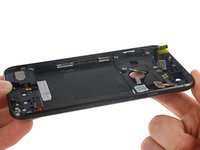
This slim and rigid midframe is likely made of magnesium, and is clipped (really firmly) onto the body of the phone.
-
On the left, the midframe holds a mysterious ribbon connector and an earpiece speaker.
-
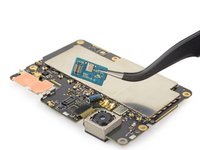
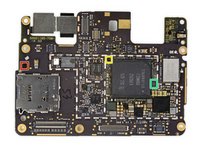
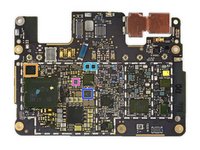
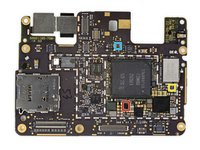
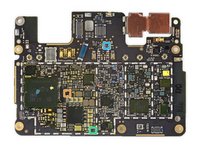
And to the right, the rest of the phone, complete with motherboard sporting a matte black finish.
-
-
-
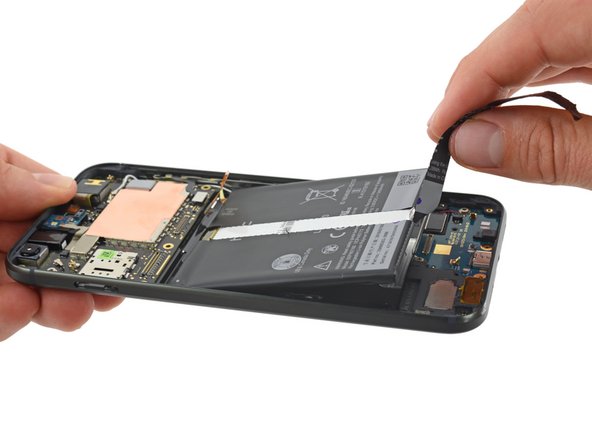
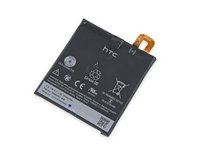
Google has a different take on the "pull to remove" battery tab: a perforated portion of the sleeve that, when peeled away, becomes an impressive pull tab.
-
Two strips of fairly strong adhesive secure this HTC-made battery, but the pull tab does its job without heat. (And may do double duty as a tamper-evident seal?)
-
This 13.28 Wh battery beats out the 11.1 Wh iPhone 7 Plus, but not the Galaxy S7 Edge with its 13.86 Wh powerhouse.
-
-
-
Time to pick a peck of Pixel parts!
-
Out first is a strange one: a combination laser autofocus and microphone board.
-
Next out: the 3.5 mm headphone jack. (Take that, Lightning headphones.)
-
And finally, the 8-megapixel front-facing (selfie) camera.
-
-
-
-
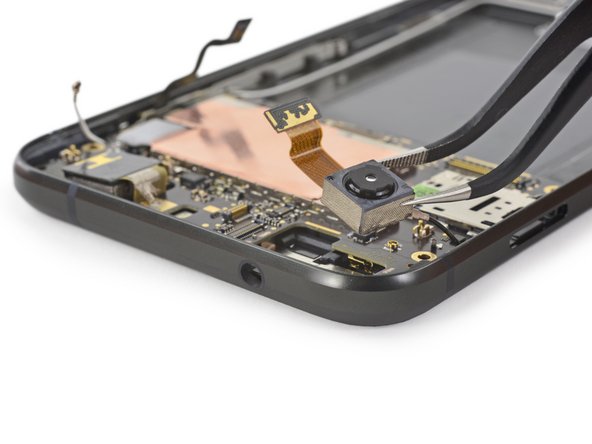
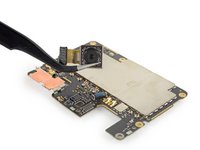
We really just want to look at this motherboard, but we're thwarted by a (very Apple-like) fingerprint sensor cable boobie trap! Fortunately, it proves very easy to disarm.
-
Next is another mini board with microphone and the rangefinder that enables the XL's laser autofocus.
-
-
-
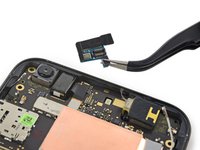
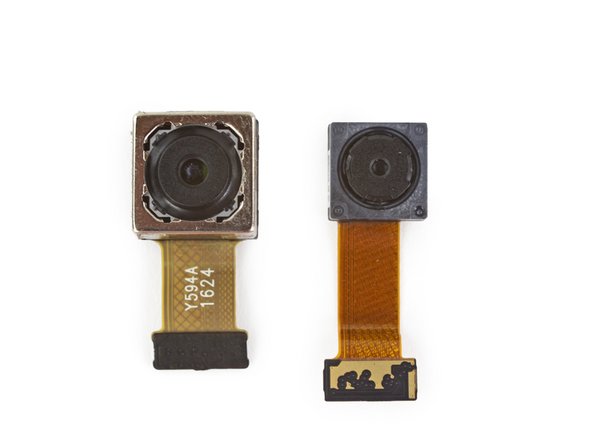
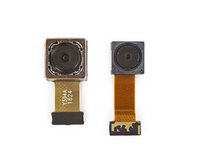
Finally, we remove the highly touted rear-facing camera! At 12.3 megapixels, it's no slouch—though it lacks the fancy optical image stabilization mechanism we found on both of this season's iPhones.
-
And here are the rear- and front-facing cameras side by side, for a little size comparison.
-
And a peep at the sensor and optics in the main camera!
-
-
-
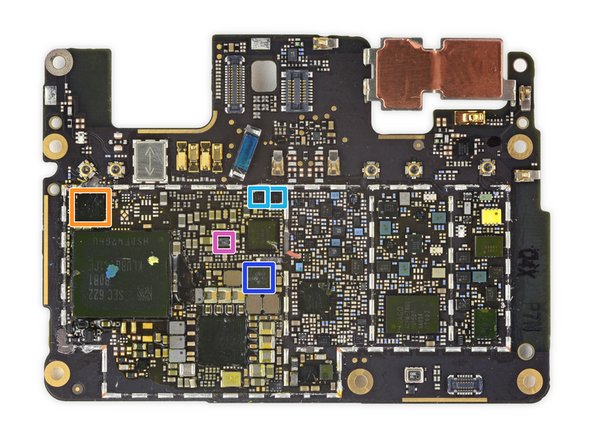
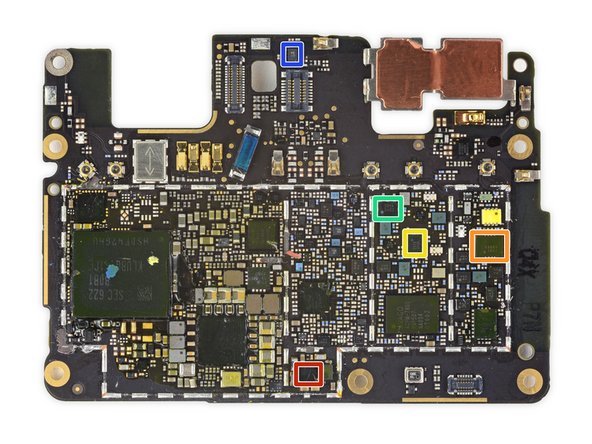
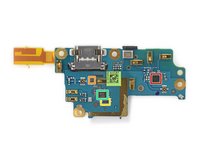
Chips on the front of the motherboard:
-
Samsung K3RG2G20BM-MGCJ 4 GB LPDDR4 mobile DRAM with a quad-core Qualcomm Snapdragon 821 processor layered underneath (two cores clocked at 2.15 GHz and two cores clocked at 1.6 Ghz)
-
Qualcomm PMI8996 power management IC, and Qualcomm SMB1350 Quick Charge 3.0 IC
-
NXP Semiconductor TFA9891 smart audio amplifier
-
Qualcomm WTR4905 LTE RF transceiver
-
3207RA G707A (looks like Wi-Fi)
-
NXP 55102 1807 S0622 (PN551 ?) NFC controller
-
Bosch Sensortec BMI160 low power IMU
-
-
-
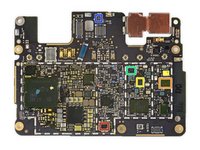
And on the back:
-
Samsung KLUBG4G1CE-B0B1 32 GB Universal Flash Storage (UFS) 2.0
-
Qualcomm PM8996 Power Management IC
-
Avago ACPM-7800 power amplifier
-
Qualcomm WTR3925 LTE RF transceiver, and Qualcomm RF360 Dynamic Antenna Matching Tuner (QFE2550)
-
Qualcomm WCD9335 audio codec
-
Skyworks SKY77807 Quad-Band Power Amplifier Module (PAM)
-
Bosch Sensortec BMP280-series barometric pressure sensor
-
-
-
IC Identification, pt. 2:
-
AKM Semiconductor AK09915C 3-axis electronic compass
-
STMicroelectronics STM32F412RG 32-bit ARM Cortex-M4 w/ 1 Mb flash (likely)
-
Texas Instruments TPA2011D1 3.2 W mono class-D audio amplifier
-
ON Semiconductor FSA3000L10X two-port USB-2.0 MHL DPDT switch
-
Maxim Integrated MAX14589E DPDT analog switch
-
Texas Instruments TPS65633B AMOLED display power management
-
ABLIC, Inc. (formerly Seiko Instruments) S-1000C17-I4T1U 1.7 V voltage detector
-
-
-
IC Identification, pt. 3:
-
ON Semiconductor FPF2281BUCX-F130 over-voltage protection load switch
-
Texas Instruments TPS61240 450 mA boost converter
-
Texas Instruments TLV707285P 200 mA LDO regulator
-
Ricoh RP115L171B5 500 mA LDO regulator
-
ON Semiconductor NCP134AMX110TCG 500 mA LDO regulator
-
-
-
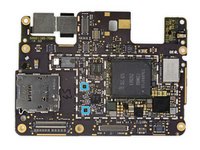
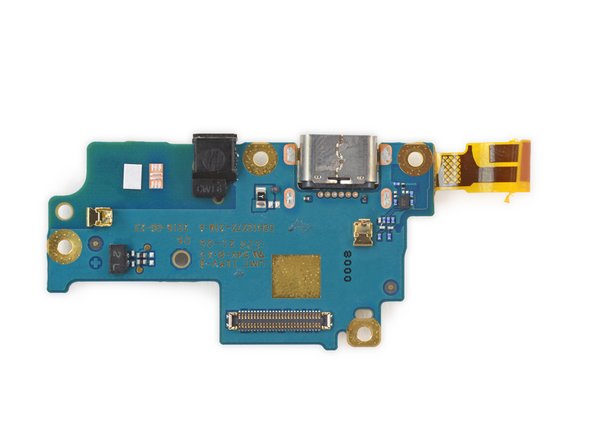
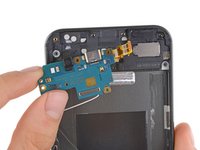
The daughterboard pops out of the rear case with relative ease, giving us access to the USB Type-C port and the microphone.
-
This is a pretty bare-bones part, which means cheap USB port replacements. Historically, USB ports have been a common failure point (although USB Type-C may prove somewhat more robust in that regard).
-
We found a few bits of silicon on the daughterboard:
-
Qualcomm QFE2550 dynamic antenna matching tuner.
-
AKM Semiconductor AK8789 Hall-effect sensor
-
NXP Semiconductor PTN36241G USB 3.0 redriver
-
ON Semiconductor FUSB340 USB 3.1 SuperSpeed 10 Gbps switch
-
-
-
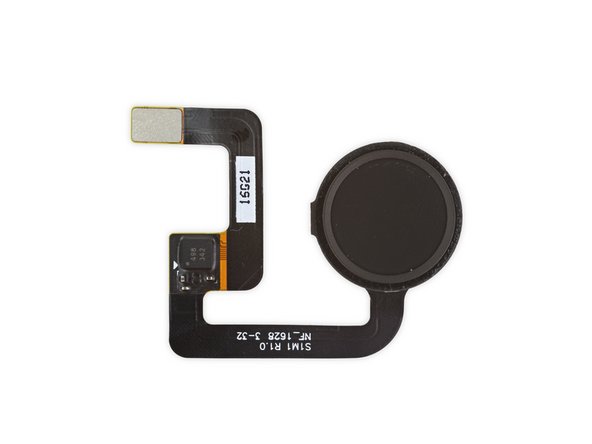
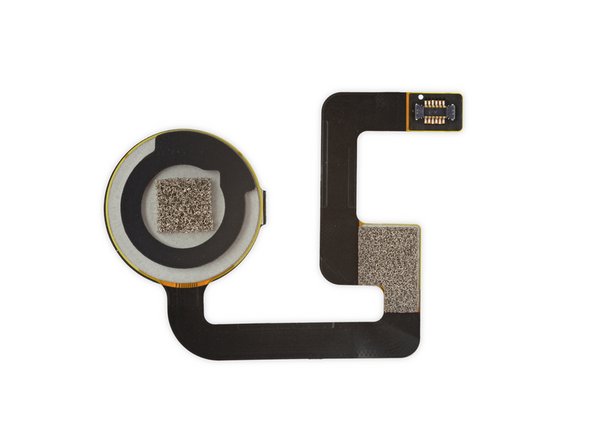
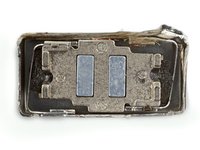
We give the Pixel Imprint fingerprint sensor a poke, popping it like a hatch from the rear case.
-
Up close it looks different from, but reminiscent of those found in Google phones past.
-
Despite being a major smartphone brand in its own right, this time HTC appears to have left its mark on nothing save the battery. As Google's silent partner, it has been relegated to the same status as Foxconn.
-
-
-
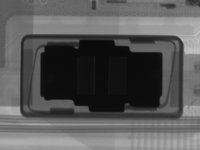
Still affixed to the Pixel XL's chassis is the oscillating linear vibration motor—and that's right where we want it, because a little X-ray magic shows it in action.
-
Our esteemed co-conspirators at Creative Electron rigged up this sweet video comparing the Pixel-powered motor with the latest Taptic Engine from the iPhone 7 Plus. Check it out!
-
- Many components are modular and can easily be replaced once the display assembly is removed.
- The battery has a removal tab and is adhered by a modest amount of adhesive, making its removal painless.
- All of the screws are T5 Torx screws.
- The opening procedure requires prying up a thin, poorly-supported display assembly making it difficult to open the phone without damage.
- In addition to screws, the midframe is secured by snug, press-fit notches that make its removal (and subsequent repairs) laborious.


Son Düşünceler
Onarılabilirlik Puanı


(10 en kolay onarılabileni)

77Kılavuz Yorumları
I didn't see any mention of the vibration module?
I was looking for the same thing.
It appears to be mounted in the rear frame of the device. They didn't remove it or the main speaker from the rear frame nor did they remove the earpiece speaker from the midframe.
I'm 99% sure that the vibration motor is the part I indicated in this photo: http://imgur.com/Sm9Ybn0
abqnm -
it should be the motor in angle on step 11
it should be the blue motor in angle in step 11 photo