
Audio-Technica AT-LP120-USB Anti-Skate Knob Spring Replacement

Giriş
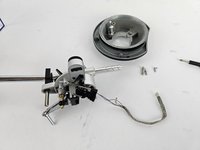
1. adıma gitAudio-Technica AT-LP120-USB Direct Drive Turntable
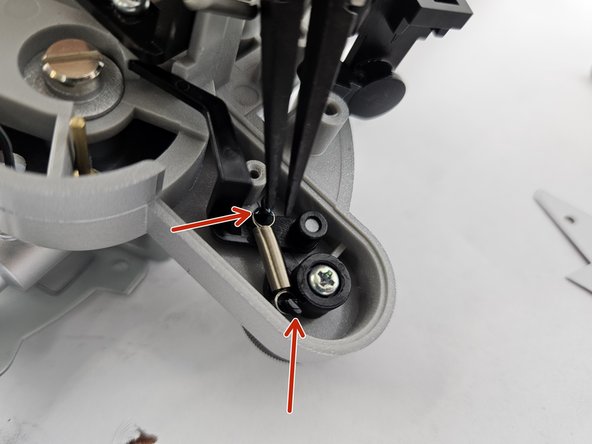
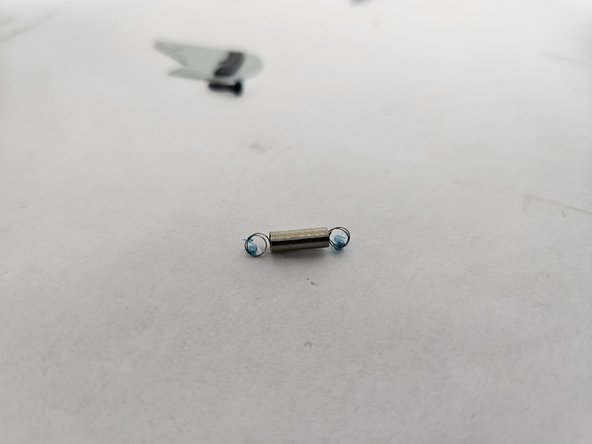
Following this guide will replace the spring that controls the Anti-Skate Knob which is responsible for your stylus properly riding through the ridges of your records. This will cause your Anti-Skate Knob to not work which can be seen in this troubleshooting page. Audio-Technica AT-LP120-USB Anti-Skate Knob Does Not Work - iFixit.
You can tell if there is a problem with the spring by setting the Anti-Skate to seven and running the stylus on a record. If the stylus moves straight to the center then your spring is too weak and must be replaced.
When following the guide, it's recommended that you take pictures of how everything is. That way once it is time to reassemble everything you know how it should look.
You will have to desolder and solder to complete this guide. If you have any questions on proper soldering, follow this link for some help. Soldering/desoldering connections.
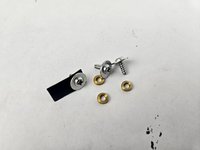
Neye ihtiyacın var
Aletler


Daha fazlasını göster…
-
-
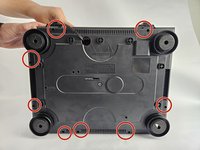
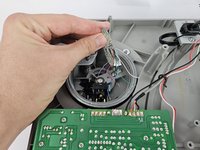
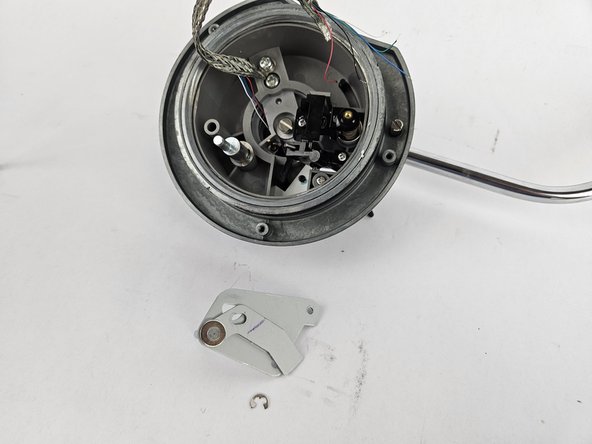
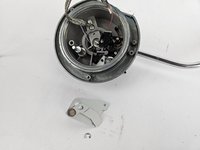
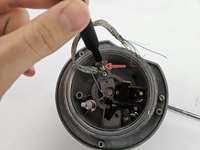
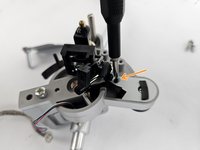
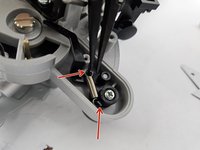
Remove the inner steel plate that spins on the turntable.
-
Carefully lift up the plate.
-
Place it near your device out of the way.
-
-
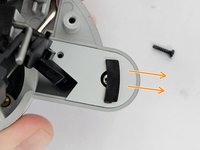
-
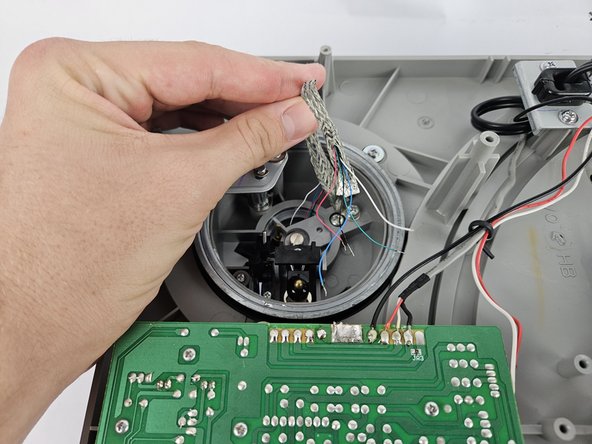
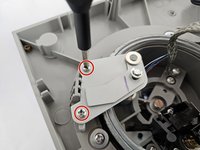
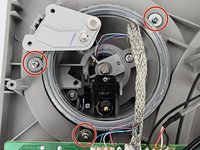
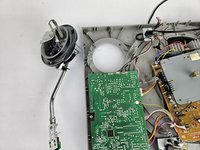
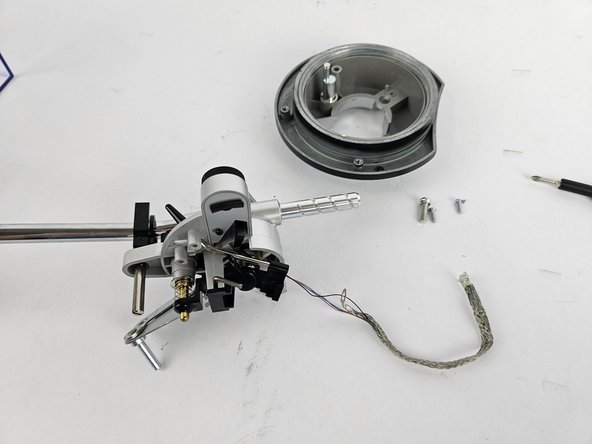
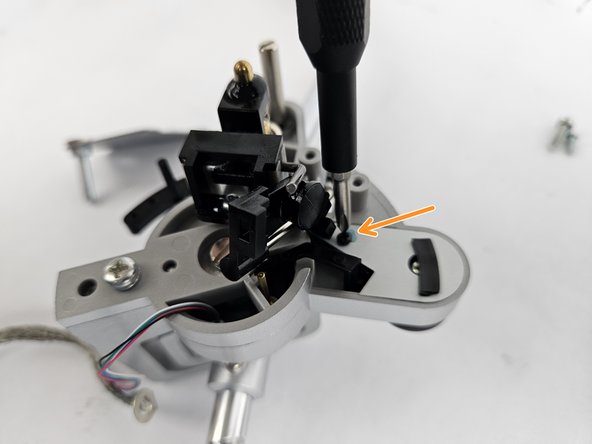
To remove this, you must desolder the five small connections and the large one next to it.
-


To reassemble your device, follow the above steps in reverse order.
Take your e-waste to an R2 or e-Stewards certified recycler.
Repair didn’t go as planned? Try some basic troubleshooting or ask our Answers community for help.
To reassemble your device, follow the above steps in reverse order.
Take your e-waste to an R2 or e-Stewards certified recycler.
Repair didn’t go as planned? Try some basic troubleshooting or ask our Answers community for help.
İptal et: Bu kılavuzu tamamlamadım.
Bir başkası bu kılavuzu tamamladı.

Ekip

Cuesta, Team 20-3, Krynen Fall 2024 Cuesta, Team 20-3, Krynen Fall 2024 üyesi
CUESTA-KRYNEN-F24S20G3
5 Üyeler
6 adet Kılavuz yazıldı