Giriş
This repair guide was authored by the iFixit staff and hasn’t been endorsed by Google. Learn more about our repair guides here.
Use this guide to remove or replace the back glass panel on your Google Pixel 4 XL. The wireless charging coil, LED flash, and NFC hardware are all attached to this cover and will come out as one unit. If your replacement part does not have these components preinstalled, you will have to transfer parts from your original panel.
Removing the back glass panel is required to access all internal components.
Neye ihtiyacın var
-
-
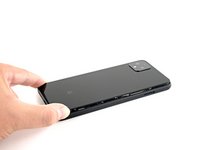
Insert a SIM eject tool, bit, or a straightened paper clip into the small hole on the SIM card tray on the left edge of the phone.
-
Press firmly to eject the tray.
-
Remove the SIM card tray.
-
-
-
Prepare an iOpener and apply it to the bottom edge of the back panel for one minute.
-
-
-
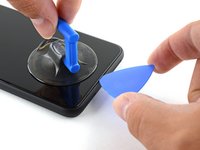
Apply a suction cup to the heated edge of the back panel by pressing down on it to create suction, as close to the edge as possible.
-
-
-
Pull up on the suction cup with strong, steady force to create a gap between the back panel and the frame.
-
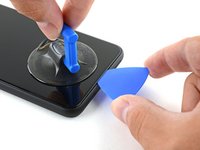
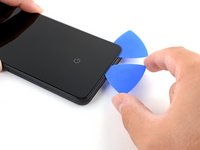
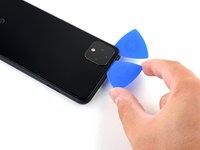
Insert the point of an opening pick into the gap.
-
-
-
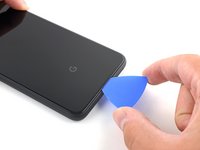
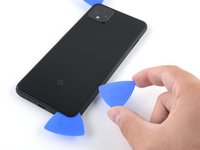
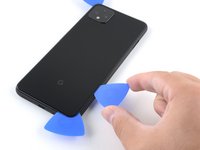
Slide the opening pick across the bottom towards the left corner to slice the adhesive.
-
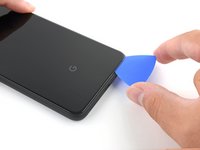
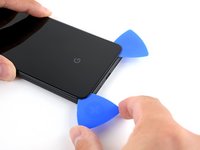
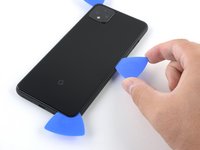
With the pick still inserted, slide it from the bottom left corner over to the bottom right corner to completely slice the bottom side adhesive.
-
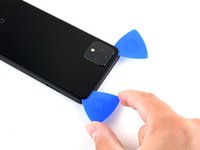
Leave the pick inserted in the bottom right corner to prevent the adhesive from re-sealing.
-
-
-
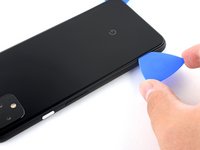
Prepare an iOpener and apply it on the left edge of the phone for one minute.
-
-
-
-
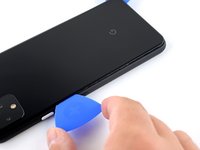
Prepare an iOpener and apply it on the right edge of the phone for one minute.
-
-
-
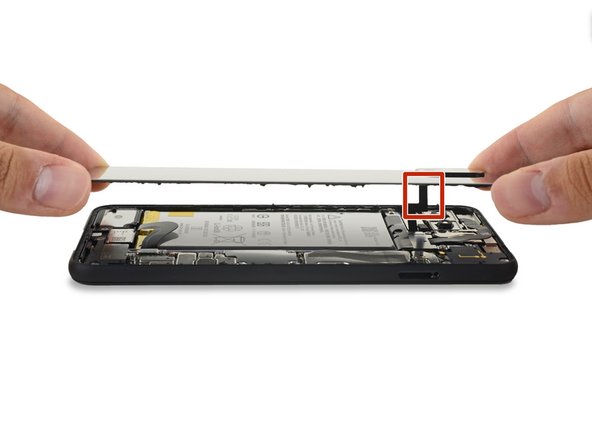
Slide the third opening pick around the top right corner and across the top side of the phone, slicing the final strip of adhesive.
-
-
-
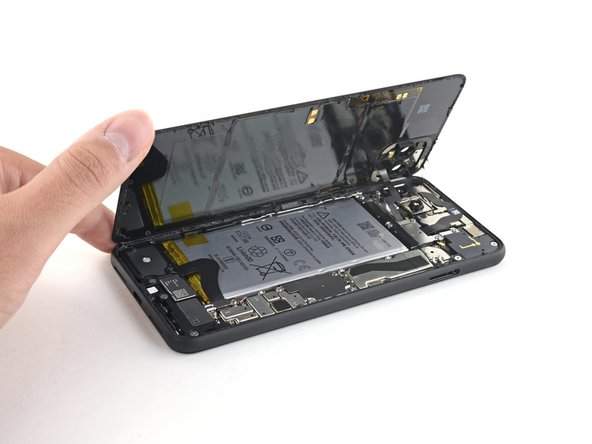
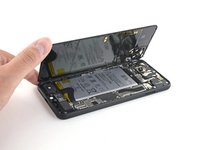
Once you have sliced around the perimeter of the phone, carefully lift the right edge of the back cover, opening it like a book.
-
Do not try to pull the panel all the way off yet, as it is still connected to the phone.
-
-
Bu adımda kullanılan alet:Magnetic Project Mat$19.95
-
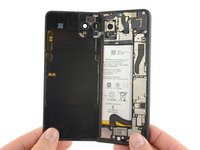
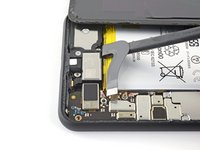
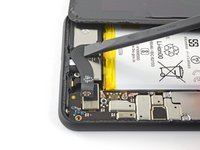
Remove the four T3 Torx screws securing the battery connector shield:
-
One 1.8 mm screw
-
One 4.1 mm screw
-
One 4.4 mm shouldered screw
-
One 4.0 mm shouldered screw
-
-
-
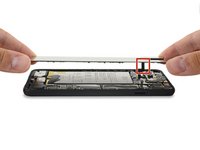
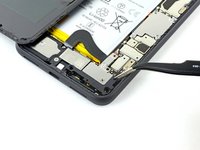
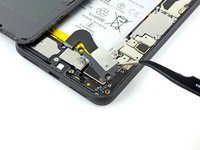
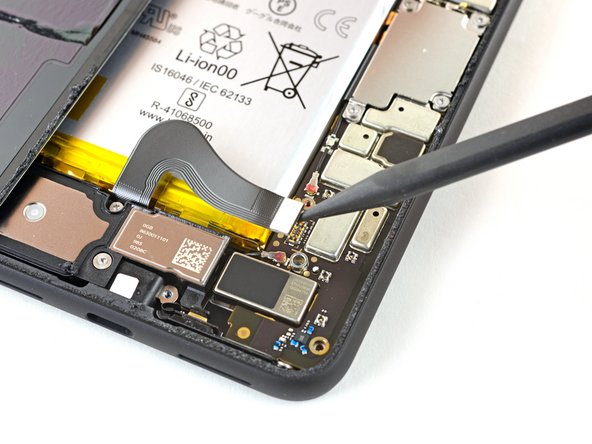
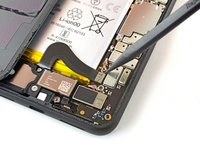
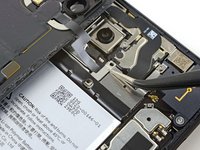
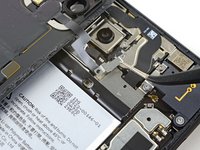
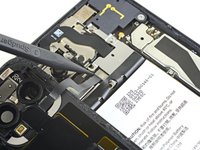
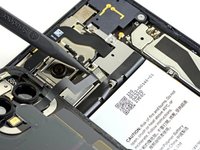
Use a T3 Torx driver to remove the two 4.1 mm screws securing the back panel connector cover.
-


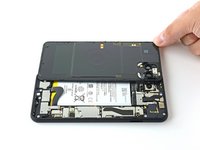


Compare your new replacement part to the original part—you may need to transfer remaining components or remove adhesive backings from the new part before installing.
To reassemble your device, follow the above steps in reverse order.
Take your e-waste to an R2 or e-Stewards certified recycler.
Repair didn’t go as planned? Try some basic troubleshooting, or ask our Answers community for help.
İptal et: Bu kılavuzu tamamlamadım.
3 farklı kişi bu kılavuzu tamamladı.

