Giriş
This repair guide was authored by the iFixit staff and hasn’t been endorsed by Google. Learn more about our repair guides here.
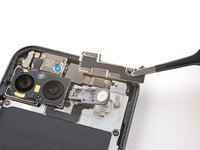
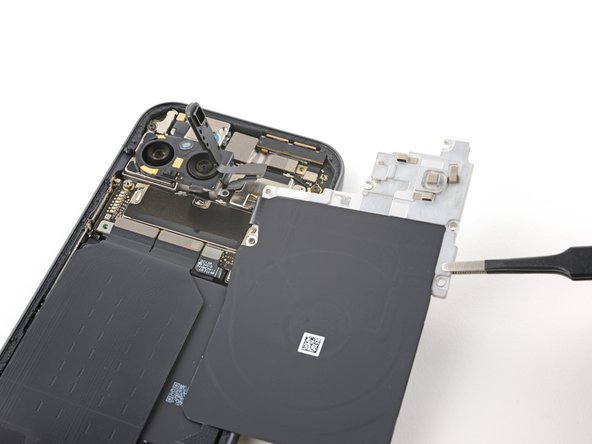
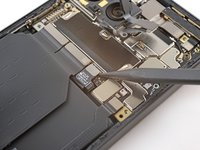
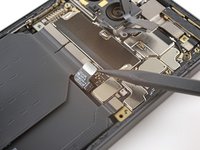
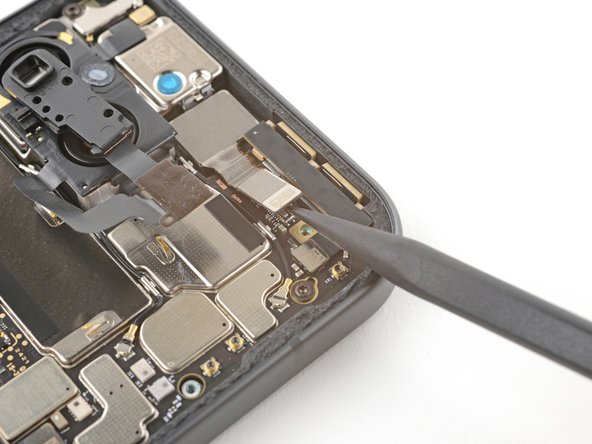
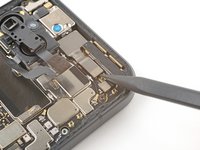
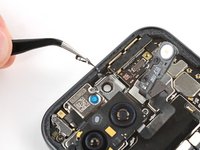
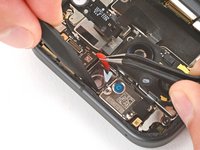
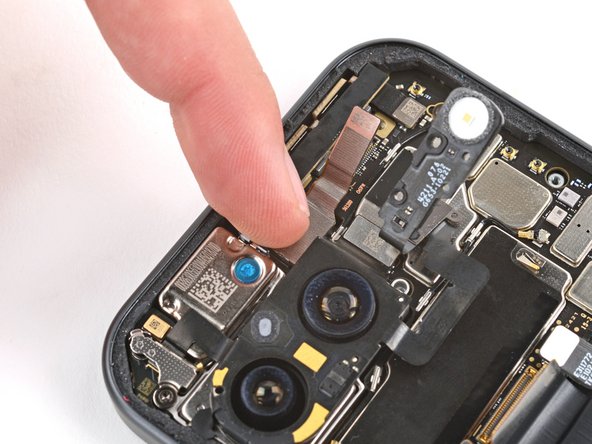
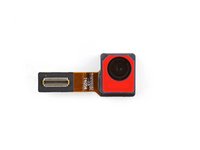
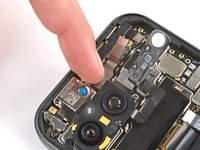
Use this guide to replace the front camera in your Google Pixel 9.
If your front-facing photos are blurry, have spots, or the camera doesn’t work, it might be time to replace the front camera.
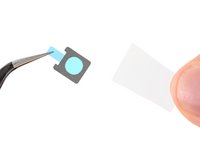
You'll need replacement back glass and front camera adhesives to complete this repair.
Note: Any repair can compromise the water resistance of your phone. Retaining water resistance after the repair will depend on how well you reapply the rear cover adhesive.
Neye ihtiyacın var
-
-
Unplug all cables from your phone.
-
Completely power off your phone.
-
-
-
Adhesive secures the perimeter of the back glass to the frame.
-
Lay overlapping strips of packing tape over the glass to protect yourself and make disassembly easier. Ensure there's a smooth area near the bottom edge that's large and smooth enough for a suction cup to stick to.
-
-
-
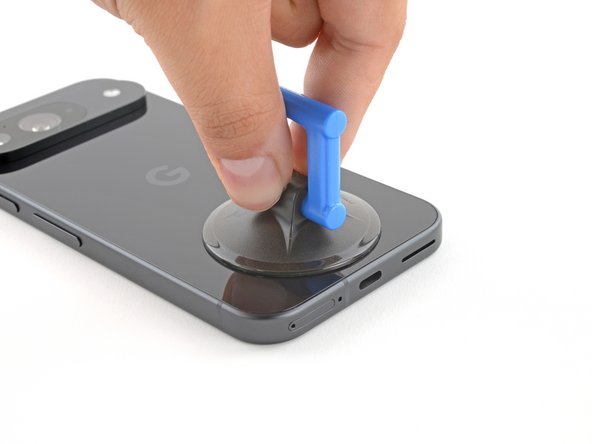
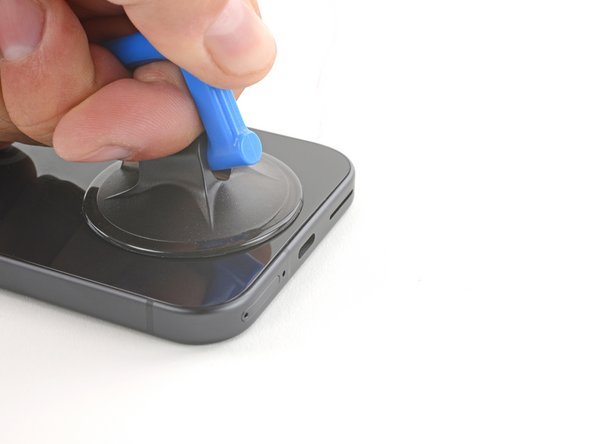
Place a suction handle at the bottom edge of the back glass, as close to the edge as possible.
-
Push down to attach the suction cup.
-
-
-
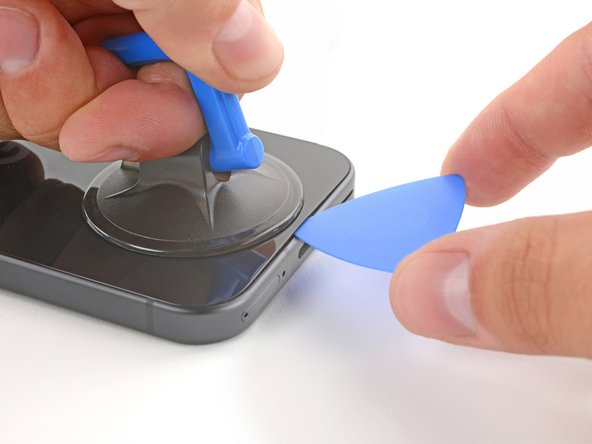
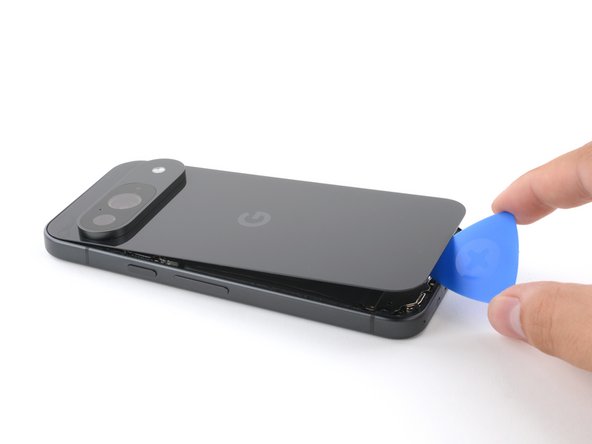
Pull up on the suction handle with strong, steady force to create a small gap under the back glass.
-
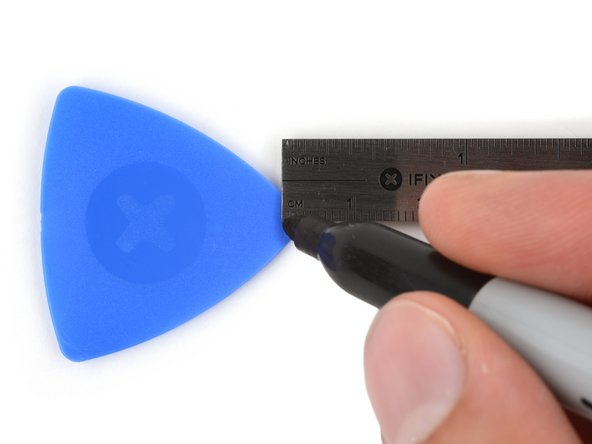
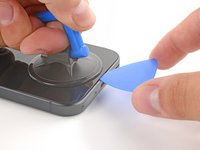
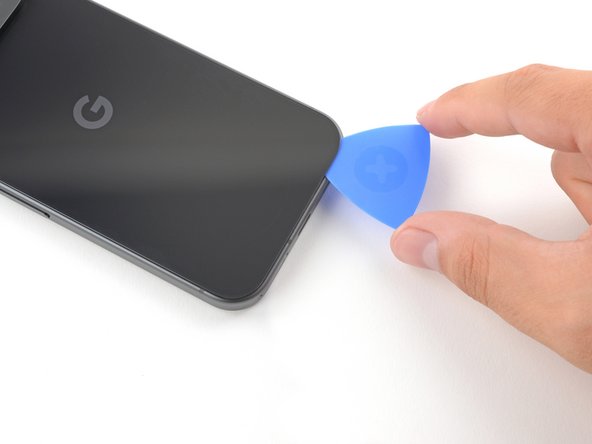
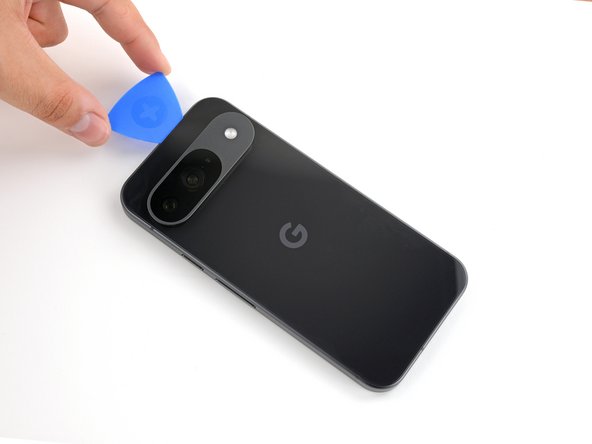
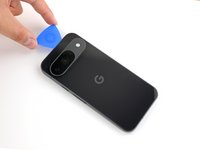
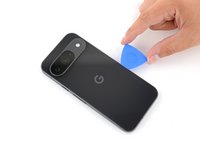
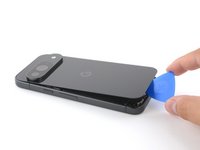
Insert the tip of an opening pick into the gap.
-
-
-
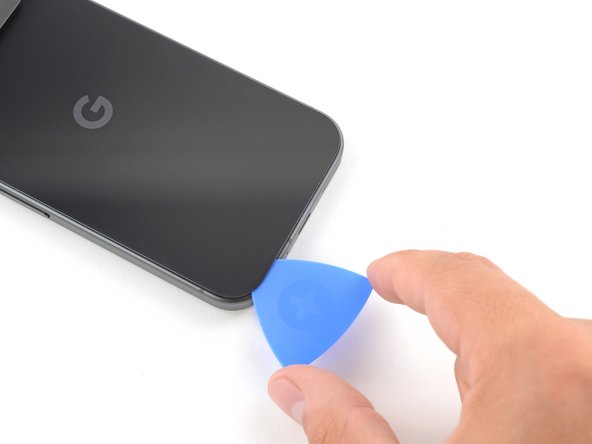
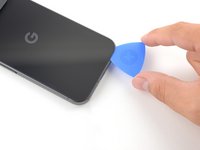
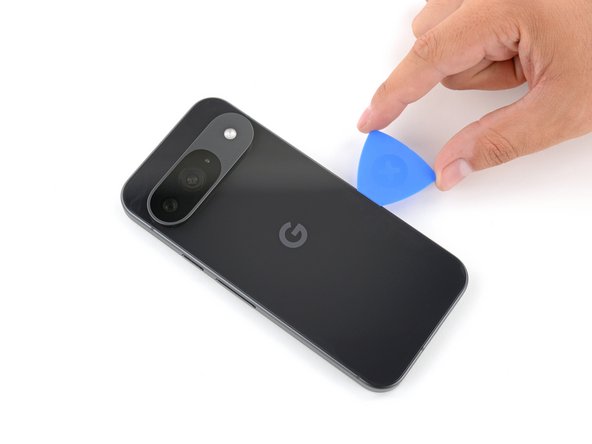
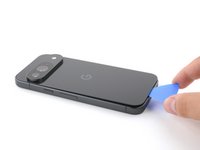
Slide the opening pick back and forth along the bottom edge to separate the adhesive securing it.
-
-
-
-
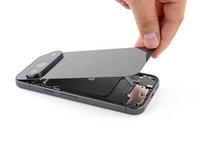
Remove the back glass.
-
Now is a good time to test your phone before sealing it up. Power it on and check that it works. Power it back down before you continue reassembly.
-
Follow this guide to apply new adhesive and install your back glass.
-
-
Bu adımda kullanılan alet:FixMat$36.95
-
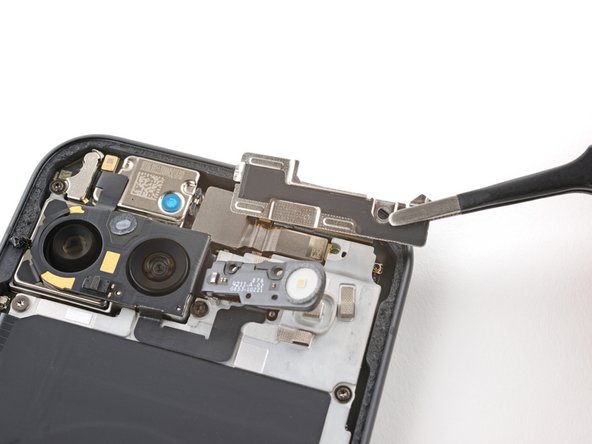
Use a 3IP Torx Plus driver to remove the single 5.4 mm‑long screw securing the upper board cover.
-
-
-
Use a 3IP Torx driver to remove the five screws securing the midframe and wireless charging coil:
-
Four 5.4 mm-long screws
-
One 2.2 mm-long screw
-
-
-
Use a pair of tweezers to peel the flash cable off of the metal midframe.
-
-
-
Use the tip of a spudger to pry up and disconnect the battery connector.
-
-
-
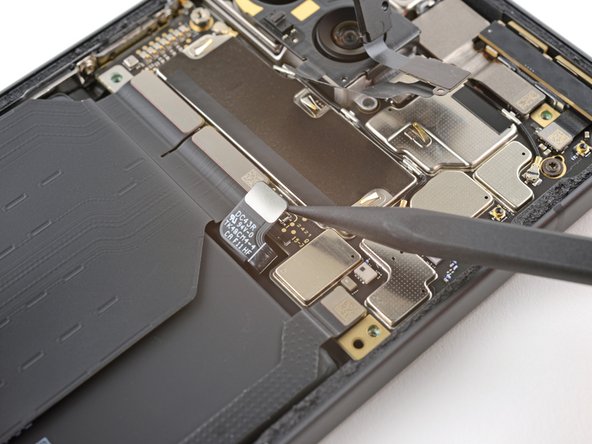
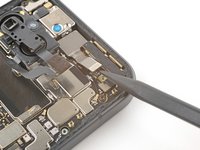
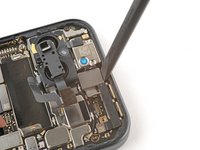
Use the tip of a spudger to pry up and disconnect the front camera's press connector.
-
-
-
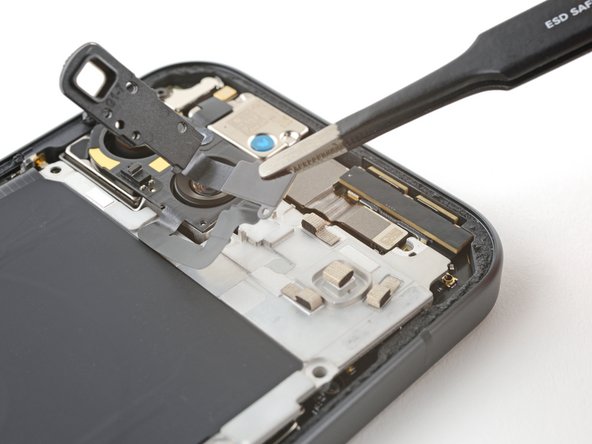
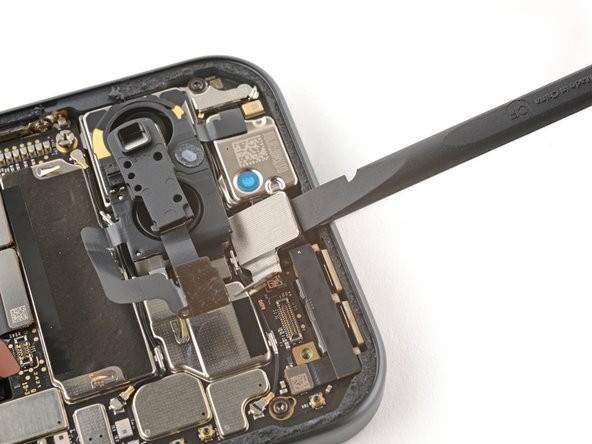
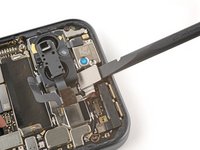
Insert the flat end of a spudger between the top edge of the front camera and the frame.
-
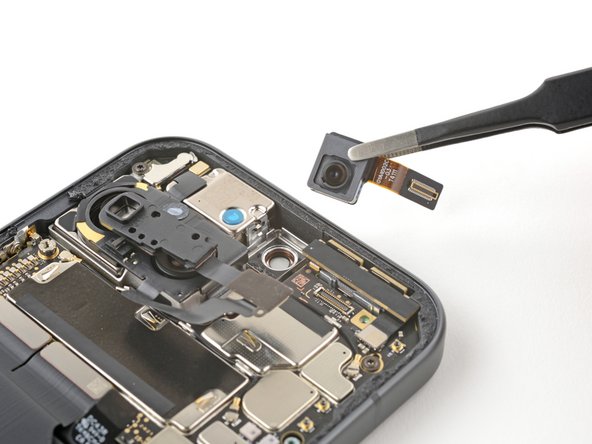
Pivot the spudger down, against the frame to pry the front camera up and out of its recess.
-
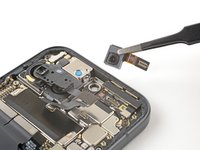
Remove the front camera.
-
-
-
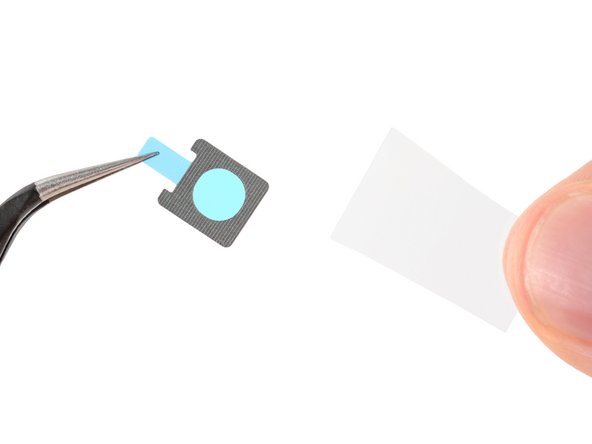
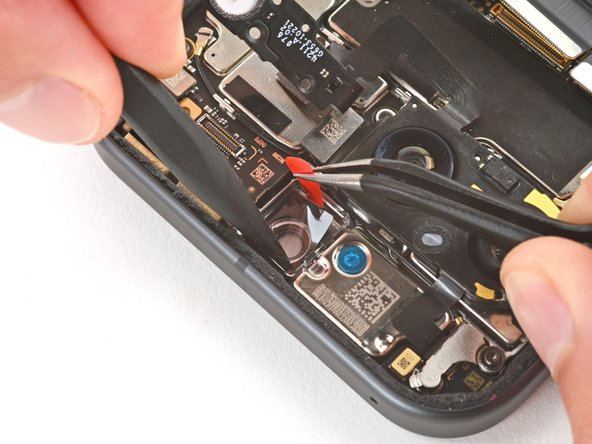
Use tweezers to remove the old front facing camera adhesive from the frame.
-
Remove the larger clear liner from the front facing camera adhesive.
-
Use tweezers to carefully place the adhesive into the front facing camera recess.
-
Use a spudger to press the adhesive into place, securing it to the frame.
-
Remove the remaining liner from the adhesive.
-
-
-
Remove any protective caps or liners from your replacement front facing camera.
-
With the cable facing the right edge, press the front facing camera into its recess to secure it with the adhesive.
-
To reassemble your device, follow these instructions in reverse order starting with this step.
To run a diagnostics test with the built-in Pixel Diagnostic tool, click here.
Take your e-waste to an R2 or e-Stewards certified recycler.
Repair didn’t go as planned? Try some basic troubleshooting, or ask our Pixel 9 Answers Community for help.


