Ana içeriğe geç
Onarım Topluluğuna Katılın - Hesap Oluşturun

JBL Flip 5 Battery Replacement

Neye ihtiyacın var

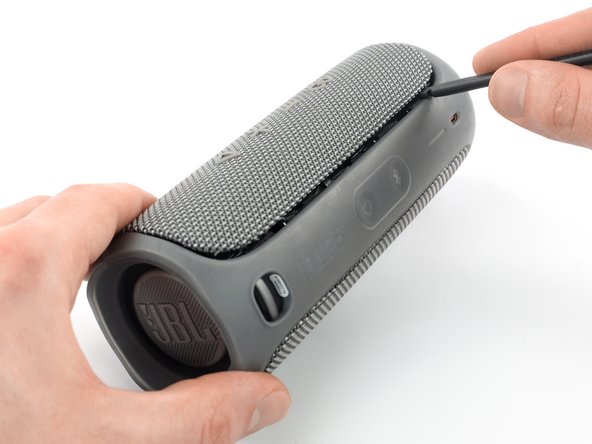
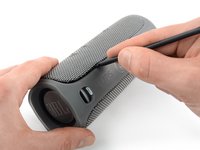
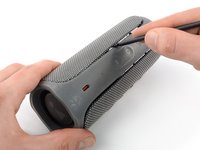
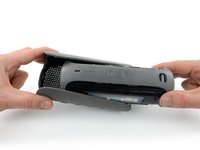
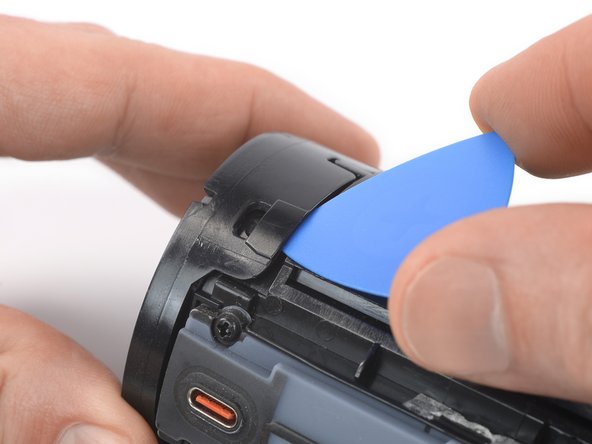
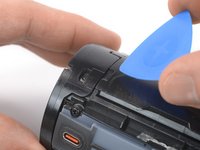
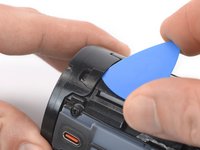
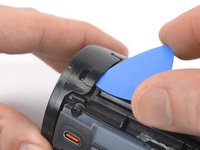
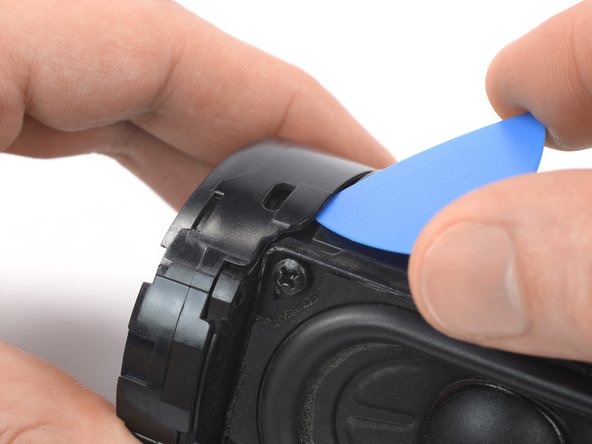
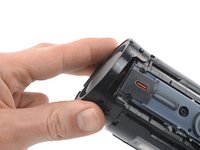
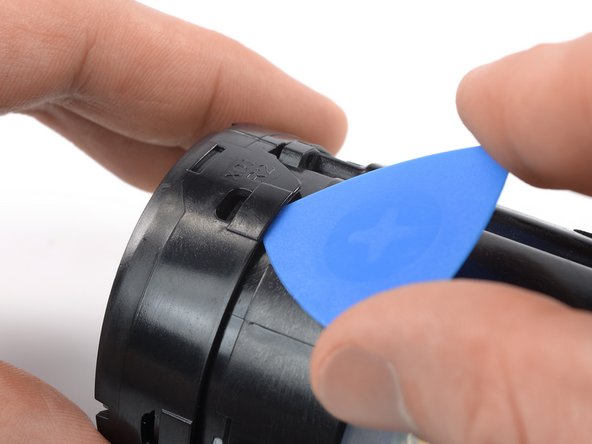
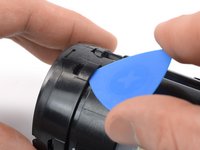
  1. JBL Flip 5 Battery Replacement, Pry up the fabric cover: adım 1, 3 resimden 1. JBL Flip 5 Battery Replacement, Pry up the fabric cover: adım 1, 3 resimden 2. JBL Flip 5 Battery Replacement, Pry up the fabric cover: adım 1, 3 resimden 3.
    • Before starting repairs, turn off your device and unplug any cables.

    • The fabric cover of the JBL Flip 5 is secured by plastic clips.

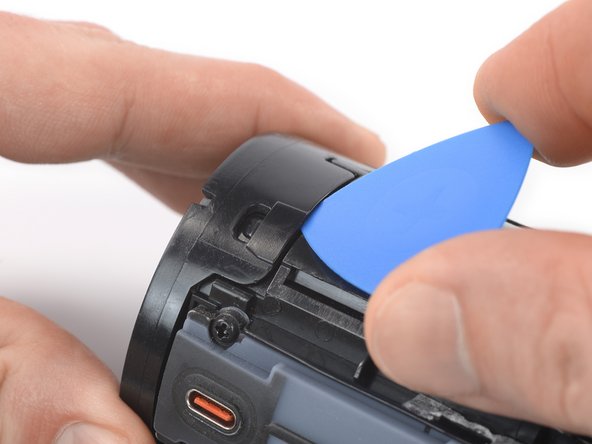
    • Insert the flat end of a spudger underneath a corner of the fabric cover.

    • Pry up to release the plastic clips securing the fabric cover.

    FixBot'a Sor
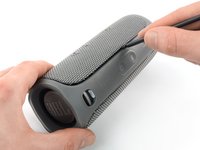
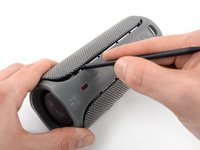
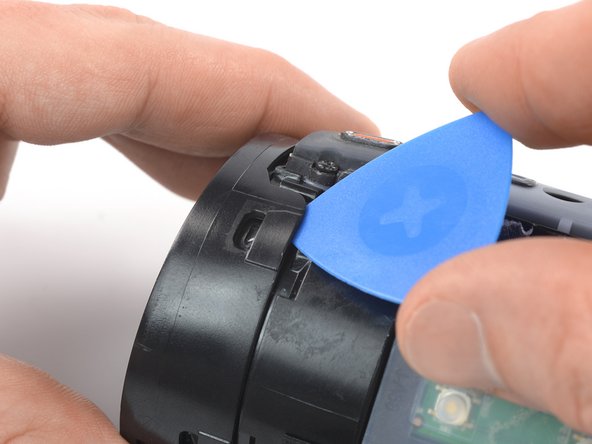
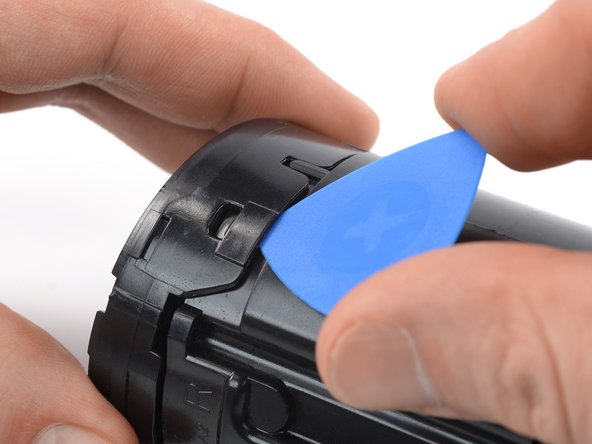
  2. JBL Flip 5 Battery Replacement, Release the plastic clips: adım 2, 3 resimden 1. JBL Flip 5 Battery Replacement, Release the plastic clips: adım 2, 3 resimden 2. JBL Flip 5 Battery Replacement, Release the plastic clips: adım 2, 3 resimden 3.
    • Slide the spudger along the edge of the fabric cover while prying up to continue to separate the plastic clips.

    FixBot'a Sor
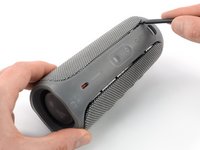
  3. JBL Flip 5 Battery Replacement, Loosen the fabric cover edge: adım 3, 3 resimden 1. JBL Flip 5 Battery Replacement, Loosen the fabric cover edge: adım 3, 3 resimden 2. JBL Flip 5 Battery Replacement, Loosen the fabric cover edge: adım 3, 3 resimden 3.
    • Release the remaining plastic clips to fully separate the fabric cover.

    FixBot'a Sor
  4. JBL Flip 5 Battery Replacement, Release the plastic clips: adım 4, 3 resimden 1. JBL Flip 5 Battery Replacement, Release the plastic clips: adım 4, 3 resimden 2. JBL Flip 5 Battery Replacement, Release the plastic clips: adım 4, 3 resimden 3.
    • Repeat the previous steps to release the plastic clips and to fully separate the opposite edge of the fabric cover.

    FixBot'a Sor
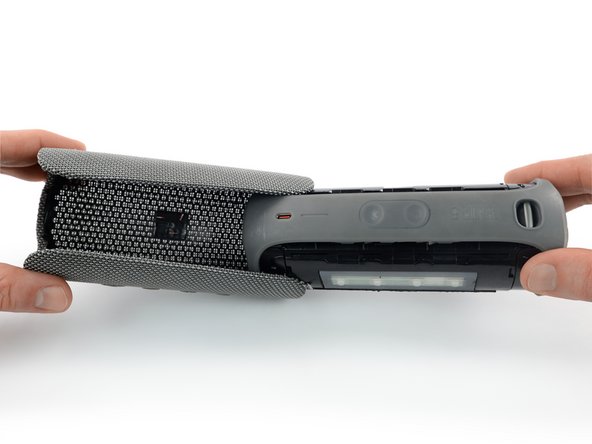
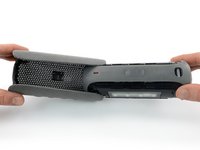
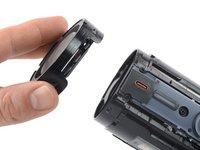
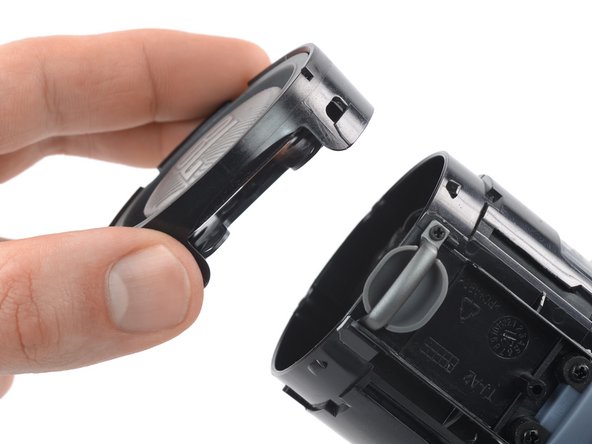
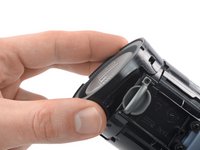
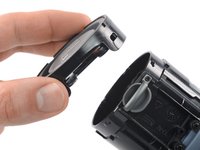
  5. JBL Flip 5 Battery Replacement, Remove the fabric cover: adım 5, 3 resimden 1. JBL Flip 5 Battery Replacement, Remove the fabric cover: adım 5, 3 resimden 2. JBL Flip 5 Battery Replacement, Remove the fabric cover: adım 5, 3 resimden 3.
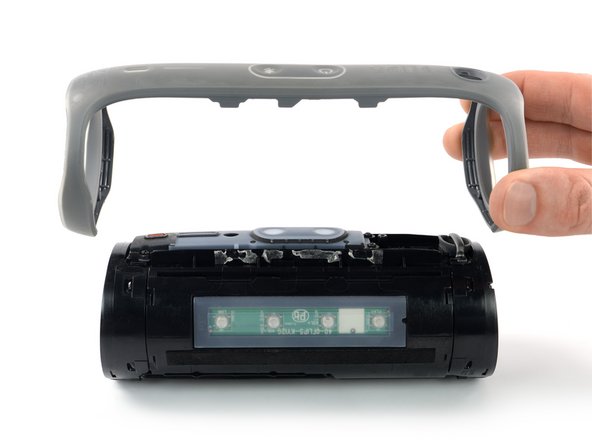
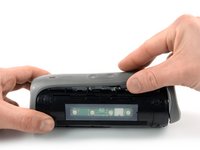
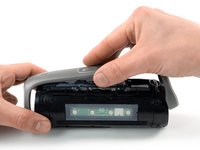
    • Use one hand to spread the edges of the fabric cover apart and your other hand to pull the speaker assembly away from the cover.

    • Remove the fabric cover.

    • During reassembly, this is a good point to power on your device and test your repair before reinstalling the fabric cover.

    FixBot'a Sor
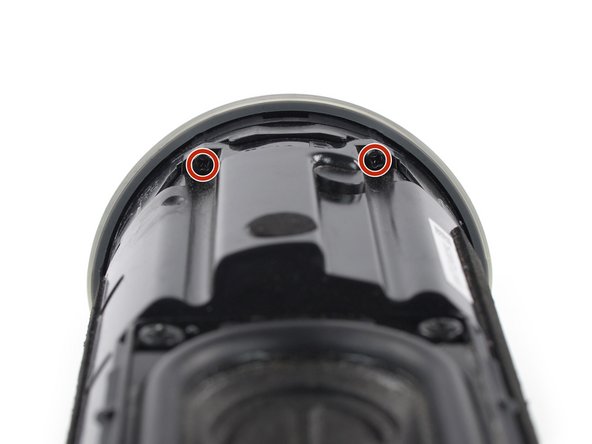
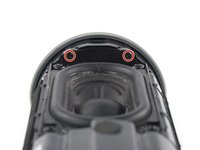
  6. JBL Flip 5 Battery Replacement, Unfasten the passive radiator bracket: adım 6, 2 resimden 1. JBL Flip 5 Battery Replacement, Unfasten the passive radiator bracket: adım 6, 2 resimden 2.
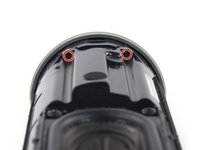
    • Use a Phillips screwdriver to remove the four 17 mm-long screws securing the passive radiator brackets.

    FixBot'a Sor
  7. JBL Flip 5 Battery Replacement, Remove the passive radiator bracket: adım 7, 3 resimden 1. JBL Flip 5 Battery Replacement, Remove the passive radiator bracket: adım 7, 3 resimden 2. JBL Flip 5 Battery Replacement, Remove the passive radiator bracket: adım 7, 3 resimden 3.
    • The passive radiator bracket is held in place by mild adhesive around its center. If you‘re having trouble removing it, you can prepare an iOpener and apply it to the bracket for one minute to soften the adhesive.

    • Peel the passive radiator bracket off of the speaker assembly and remove it.

    FixBot'a Sor
  8. JBL Flip 5 Battery Replacement, Unclip the left passive radiator: adım 8, 3 resimden 1. JBL Flip 5 Battery Replacement, Unclip the left passive radiator: adım 8, 3 resimden 2. JBL Flip 5 Battery Replacement, Unclip the left passive radiator: adım 8, 3 resimden 3.
    • The passive radiators are secured by plastic clips.

    • Insert an opening pick into the cutout next to the left passive radiator housing.

    • Push the opening pick underneath the passive radiator housing.

    • Pry upwards to release the plastic clip securing the passive radiator.

    FixBot'a Sor
  9. JBL Flip 5 Battery Replacement: adım 9, 3 resimden 1. JBL Flip 5 Battery Replacement: adım 9, 3 resimden 2. JBL Flip 5 Battery Replacement: adım 9, 3 resimden 3.
    • Repeat the prying procedure for the three remaining plastic clips securing the left passive radiator.

    FixBot'a Sor
  10. JBL Flip 5 Battery Replacement, Remove the left passive radiator: adım 10, 2 resimden 1. JBL Flip 5 Battery Replacement, Remove the left passive radiator: adım 10, 2 resimden 2.
    • Remove the left passive radiator.

    FixBot'a Sor
  11. JBL Flip 5 Battery Replacement, Unclip the right passive radiator: adım 11, 3 resimden 1. JBL Flip 5 Battery Replacement, Unclip the right passive radiator: adım 11, 3 resimden 2. JBL Flip 5 Battery Replacement, Unclip the right passive radiator: adım 11, 3 resimden 3.
    • Repeat the prying procedure for the four plastic clips securing the right passive radiator.

    FixBot'a Sor
  12. JBL Flip 5 Battery Replacement, Remove the right passive radiator: adım 12, 2 resimden 1. JBL Flip 5 Battery Replacement, Remove the right passive radiator: adım 12, 2 resimden 2.
    • Remove the right passive radiator.

    FixBot'a Sor
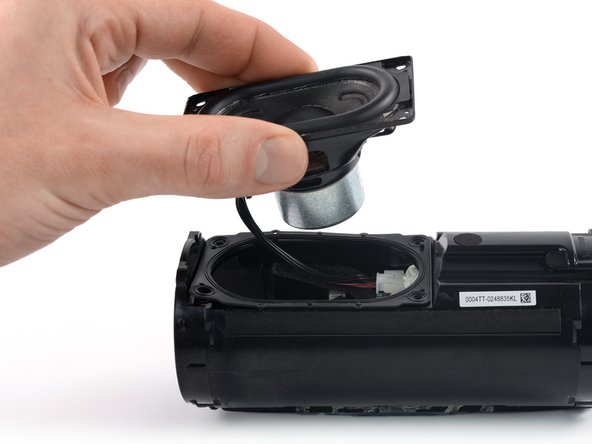
  13. JBL Flip 5 Battery Replacement, Unfasten the woofer: adım 13, 1 resimden 1.
    • Use a Phillips screwdriver to remove the four 9.6 mm-long screws securing the woofer.

    FixBot'a Sor
  14. JBL Flip 5 Battery Replacement, Move the woofer: adım 14, 3 resimden 1. JBL Flip 5 Battery Replacement, Move the woofer: adım 14, 3 resimden 2. JBL Flip 5 Battery Replacement, Move the woofer: adım 14, 3 resimden 3.
    • Don't try to remove the woofer all the way yet, as it‘s still connected to the motherboard.

    • The woofer cables are long enough allowing you to place the woofer outside the speaker assembly, but avoid straining or sharply folding the cables when you lift the woofer out of its recess.

    • Lift the woofer out of its recess and place it next to the speaker assembly.

    FixBot'a Sor
  15. JBL Flip 5 Battery Replacement, Disconnect the woofer: adım 15, 2 resimden 1. JBL Flip 5 Battery Replacement, Disconnect the woofer: adım 15, 2 resimden 2.
    • Use the tip of a spudger to push the woofer JST connector straight out of its socket to disconnect it.

    FixBot'a Sor
  16. JBL Flip 5 Battery Replacement, Remove the woofer: adım 16, 1 resimden 1.
    • Remove the woofer.

    FixBot'a Sor
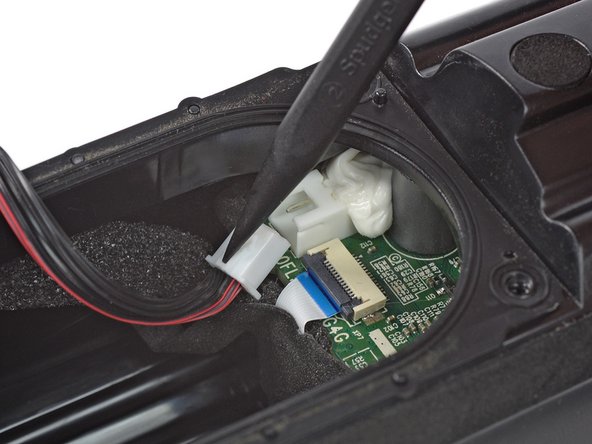
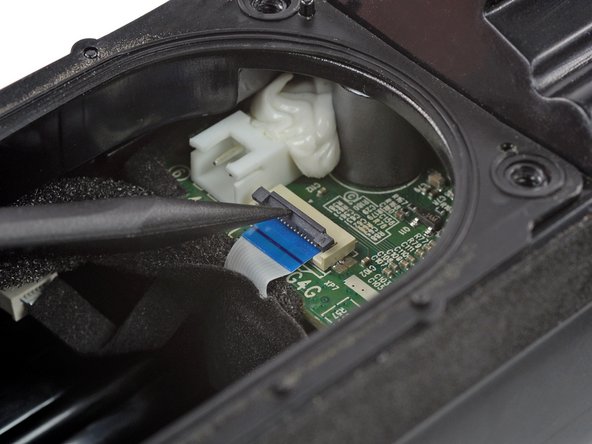
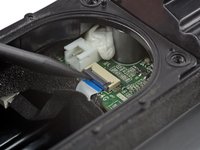
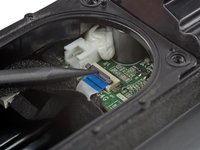
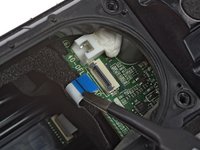
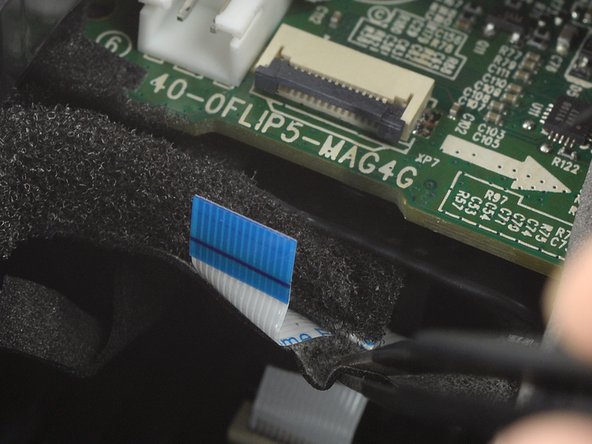
  17. JBL Flip 5 Battery Replacement, Unlatch the power button cable ZIF connector: adım 17, 2 resimden 1. JBL Flip 5 Battery Replacement, Unlatch the power button cable ZIF connector: adım 17, 2 resimden 2.
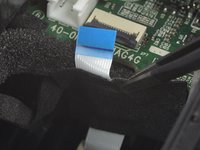
    • Use the tip of a spudger or your fingernail to flip up the small, hinged locking flap on the power button cable's ZIF connector.

    FixBot'a Sor
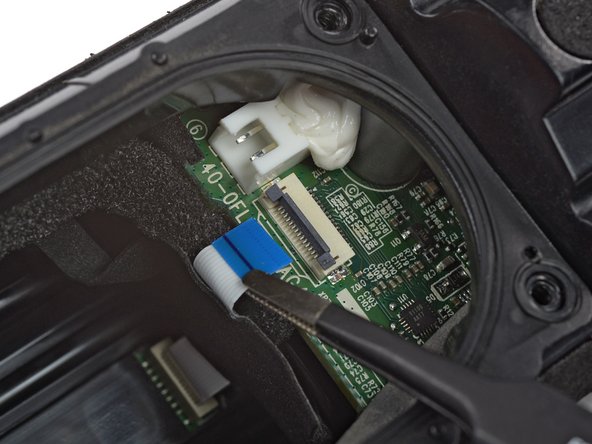
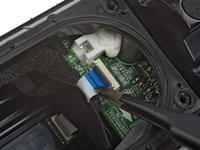
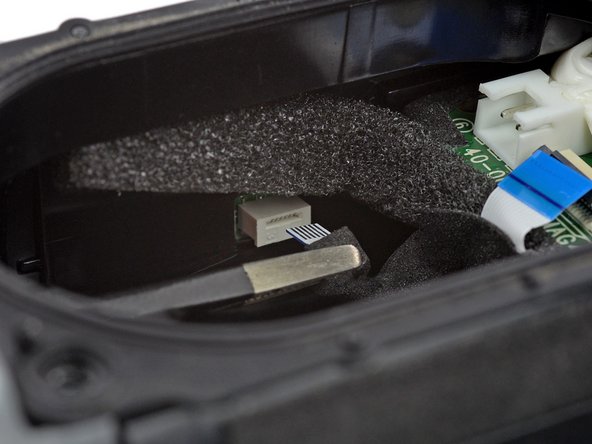
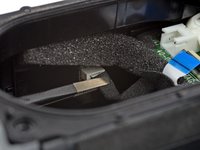
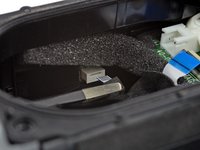
  18. JBL Flip 5 Battery Replacement, Disconnect the power button cable: adım 18, 2 resimden 1. JBL Flip 5 Battery Replacement, Disconnect the power button cable: adım 18, 2 resimden 2.
    Bu adımda kullanılan alet:
    Tweezers
    $4.99
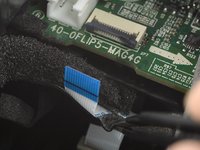
    • Use a pair of blunt nose tweezers to pull the power button cable straight out of the ZIF connector.

    FixBot'a Sor
  19. JBL Flip 5 Battery Replacement, Disconnect the volume button cable: adım 19, 2 resimden 1. JBL Flip 5 Battery Replacement, Disconnect the volume button cable: adım 19, 2 resimden 2.
    • Use a pair of blunt nose tweezers to pull the volume button cable straight out of its connector to disconnect it.

    FixBot'a Sor
  20. JBL Flip 5 Battery Replacement, Disconnect the charging cable: adım 20, 2 resimden 1. JBL Flip 5 Battery Replacement, Disconnect the charging cable: adım 20, 2 resimden 2.
    • Use a spudger to push the charging cable connector straight out of its socket and disconnect it.

    FixBot'a Sor
  21. JBL Flip 5 Battery Replacement, Detach the power button cable: adım 21, 2 resimden 1. JBL Flip 5 Battery Replacement, Detach the power button cable: adım 21, 2 resimden 2.
    • The power button cable is lightly adhered to the motherboard with tape.

    • Use a pair of blunt nose tweezers to peel the fabric tape securing the power button cable off the motherboard‘s edge.

    FixBot'a Sor
  22. JBL Flip 5 Battery Replacement, Move the motherboard: adım 22, 2 resimden 1. JBL Flip 5 Battery Replacement, Move the motherboard: adım 22, 2 resimden 2.
    • The antenna cable is still connected to the motherboard, and the volume button cable is adhered to the speaker housing. Avoid straining or tearing them in the following step.

    • Push the motherboard out of the speaker assembly until you get free access to the battery connector.

    FixBot'a Sor
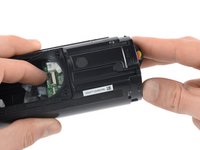
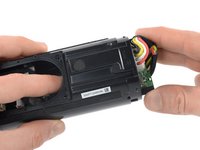
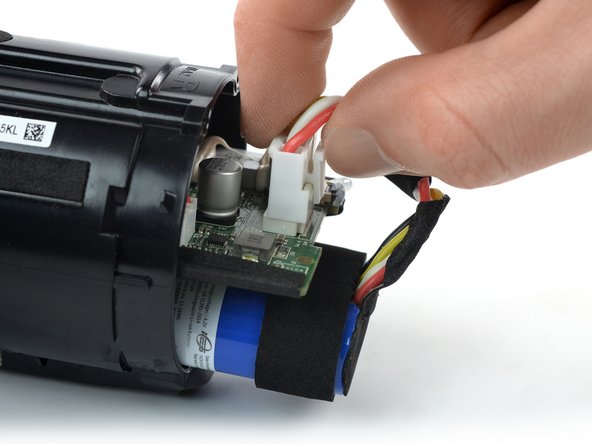
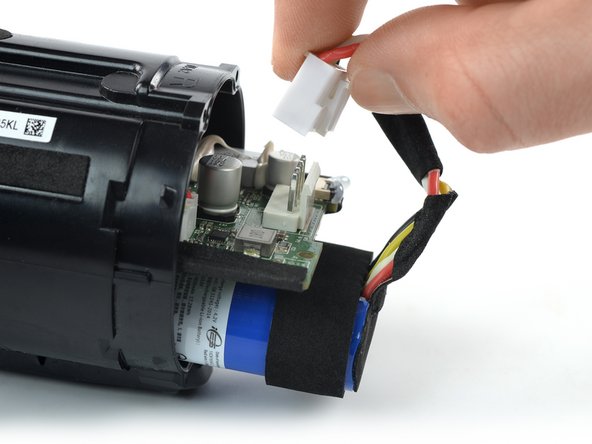
  23. JBL Flip 5 Battery Replacement, Disconnect the battery: adım 23, 3 resimden 1. JBL Flip 5 Battery Replacement, Disconnect the battery: adım 23, 3 resimden 2. JBL Flip 5 Battery Replacement, Disconnect the battery: adım 23, 3 resimden 3.
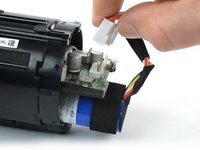
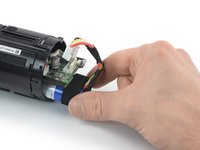
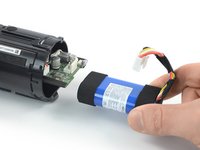
    • Squeeze the tab against the power cable connector, and pull the connector straight up from its socket to disconnect the battery.

    FixBot'a Sor
  24. JBL Flip 5 Battery Replacement, Remove the battery: adım 24, 3 resimden 1. JBL Flip 5 Battery Replacement, Remove the battery: adım 24, 3 resimden 2. JBL Flip 5 Battery Replacement, Remove the battery: adım 24, 3 resimden 3.
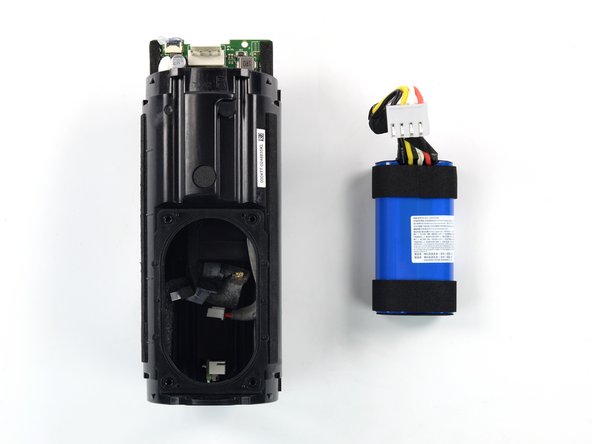
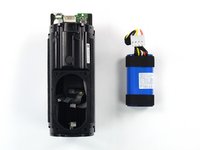
    • Pull the battery out of the speaker assembly and remove it.

    FixBot'a Sor
Sonuç

If possible, power on your device and test your repair before reassembly. For optimal performance, calibrate your newly installed battery after completing this guide.

To reassemble your device, follow these instructions in reverse order.

Take your e-waste to an R2 or e-Stewards certified recycler.

Repair didn’t go as planned? Try some basic troubleshooting, or ask our Answers community for help.

13 farklı kişi bu kılavuzu tamamladı.

Dominik Schnabelrauch

Üyelik tarihi: 11/23/16

258.496 İtibar

682 adet Kılavuz yazıldı

Ekip

iFixit iFixit üyesi

Staff

123 Üyeler

25.720 adet Kılavuz yazıldı

5Kılavuz Yorumları

Excellent instructions! Nice clean photos. I had no problem at all getting the new battery put in. Well done!

Timmy Langdon - Yanıt Paylaş
Hilfreich wäre zusätzlich Angabe welche Akku- Zellen (Typ / Größe + mAh + U) verwendet werden.
Manche haben bereits solche Zellen und können auch löten.

Die Kabel anzulöten geht deutlich schneller und preiswerter als Originalakku zu bestellen...

PS: Ist vermutlich 2 x 18650? Und 2 von den 4 Kabel sind vermutlich für Temperatursensor?

Gast - Yanıt Paylaş
PS: die angebotenen Ersatzakkus werden mit 3,7 V und ab ca. 5200 mAh angegeben.

Das bestätigt die Annahme das es 2 Stück 18650 LIPO Zellen in Parallelschaltung sind.

U+ ist roter Kabel. U- ist schwarzer Kabel. Nur die müssten gelötet werden.
Und an dieser Stelle möchte ich auch die sehr gute Austauschanleitung loben.

Gast - Yanıt Paylaş

Je n'ai jamais vu de tuto d'aussi bonne qualité. C'est mieux qu'une vidéo. L'idée des photos pour chaque phase est géniale. Franchement je suis bluffé. Bravo au rédacteur.

JG MORVAN - Yanıt Paylaş

Ce tutoriel est impeccable ! Merci !

David Courchesne - Yanıt Paylaş

Yorum Ekle

İstatistikleri Görüntüle:

Son 24 Saat: 22

Son 7 gün: 166

Son 30 gün: 705

Her zaman: 23,590