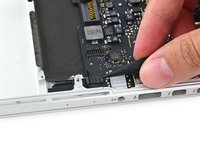
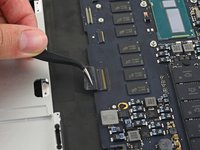
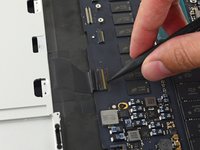
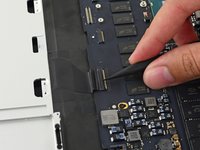
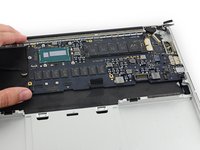
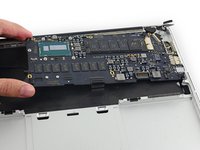
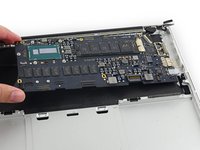
Giriş
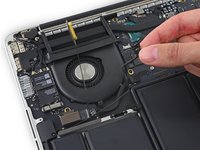
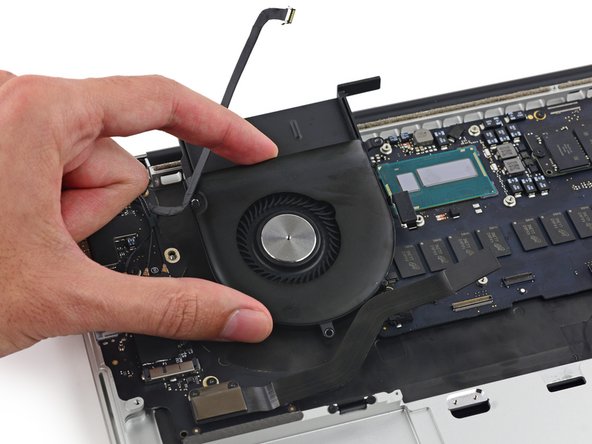
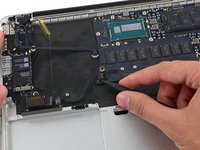
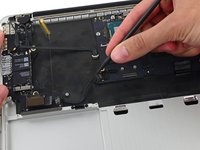
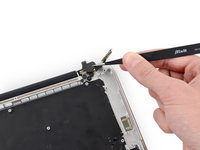
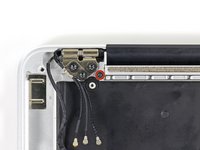
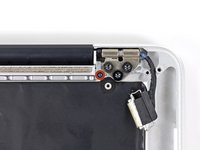
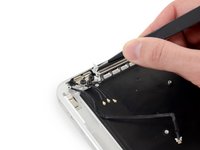
Use this guide to replace the upper case. This procedure involves using adhesive remover to remove the battery. Do not reuse the battery after it has been removed, as doing so is a potential safety hazard. Replace it with a new battery.
iFixit adhesive remover is highly flammable. Perform this procedure in a well-ventilated area. Do not smoke or work near an open flame during this procedure.
To minimize risk of damage, turn on your MacBook and allow the battery to fully discharge before starting this procedure. A charged lithium-ion battery can create a dangerous and uncontrollable fire if accidentally punctured. If your battery is swollen, take extra precautions.
Some replacement upper case assemblies may include the trackpad and battery as well. In this case, skip steps 18 through 44.
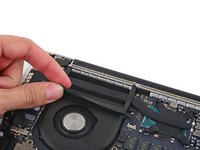
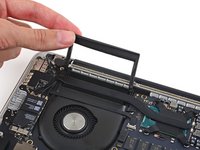
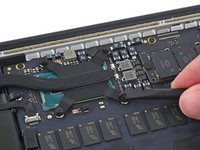
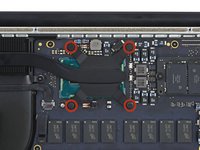
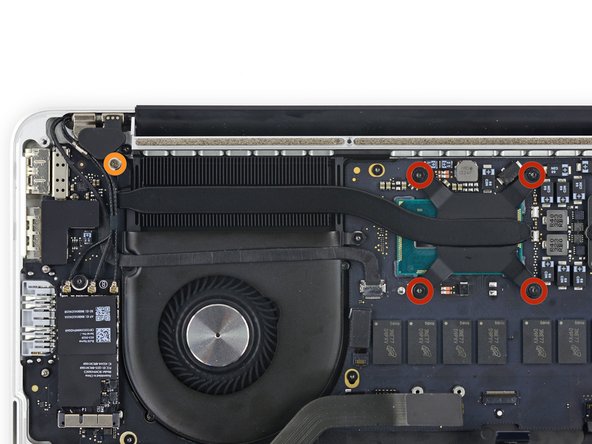
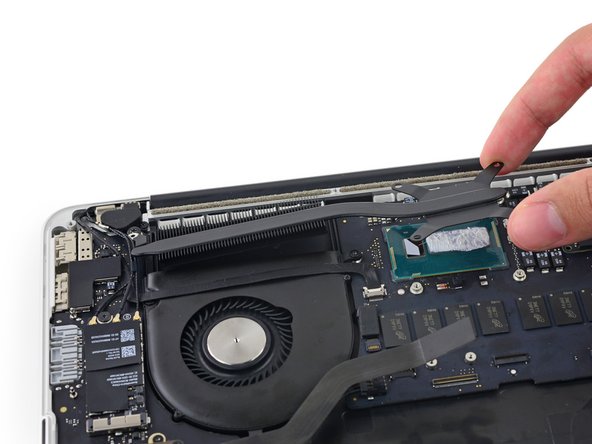
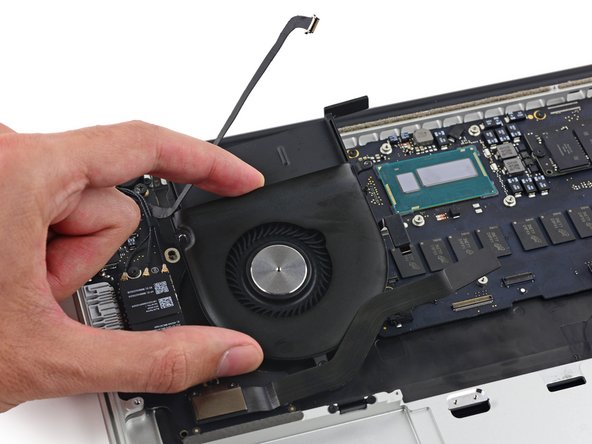
This guide requires the removal of the heat sink. Don't forget to follow our thermal paste application guide before you reinstall your heat sink.
Neye ihtiyacın var
-
Bu adımda kullanılan alet:Magnetic Project Mat$16.96
-
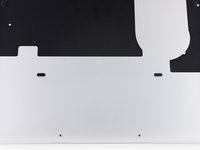
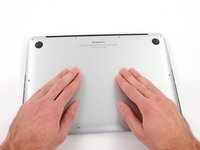
Remove the following ten screws securing the lower case to the upper case:
-
Two 2.3 mm P5 Pentalobe screws
-
Eight 3.0 mm P5 Pentalobe screws
-
-
-
Remove the two 2.1 mm T5 Torx screws securing the logic board end of the I/O board cable bracket.
-
-
-
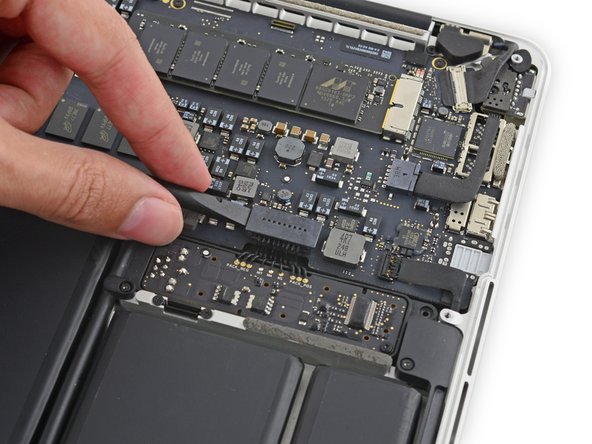
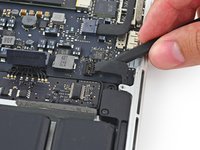
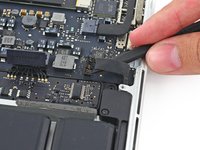
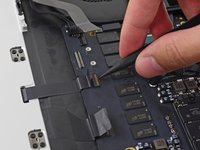
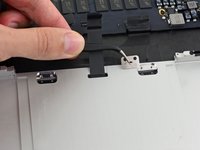
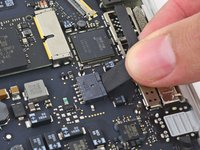
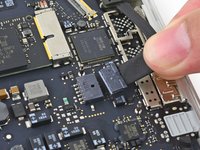
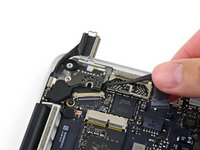
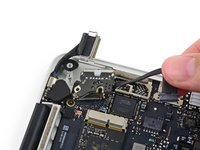
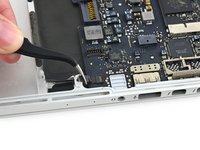
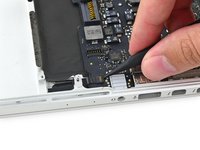
Insert the tip of a spudger under the left speaker cable near the connector and lift it up out of its socket on the logic board.
-
-
-
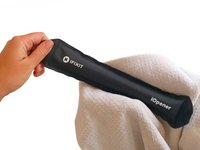
Fill a pot or pan with enough water to fully submerge an iOpener.
-
Heat the water to a boil. Turn off the heat.
-
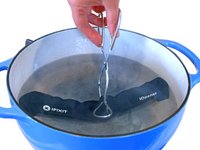
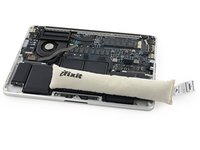
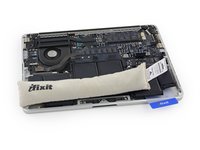
Place an iOpener into the hot water for 2-3 minutes. Make sure the iOpener is fully submerged in the water.
-
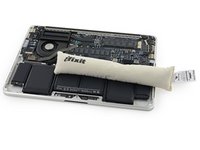
Use tongs to extract the heated iOpener from the hot water.
-
Thoroughly dry the iOpener with a towel.
-
Your iOpener is ready for use! If you need to reheat the iOpener, heat the water to a boil, turn off the heat, and place the iOpener in the water for 2-3 minutes.
-
-
-
Remove the five 3.7 mm T5 Torx screws securing the battery to the upper case.
-
-
-
Alternatively, if you are using the hot iOpener method, skip the following three steps.
-
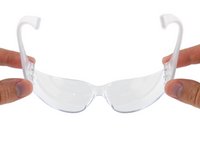
Wear eye protection when handling and applying the adhesive remover. (Eye protection is included in your kit.)
-
Do not wear contact lenses without eye protection.
-
Protective gloves are also included in your kit. If you are concerned about skin irritation, put your gloves on now.
-
-
Bu adımda kullanılan alet:Plastic Cards$2.99
-
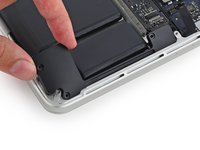
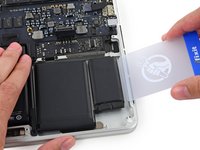
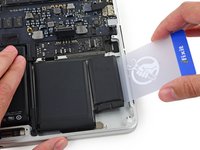
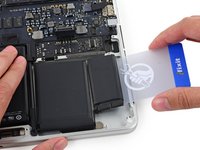
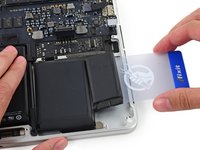
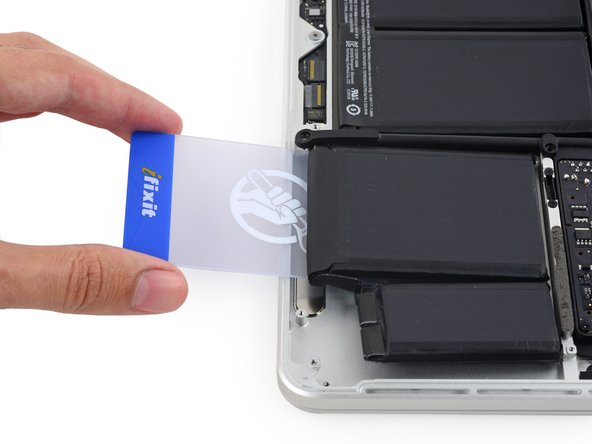
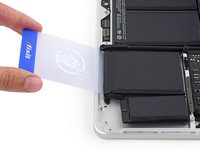
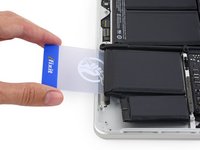
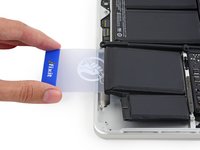
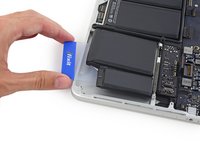
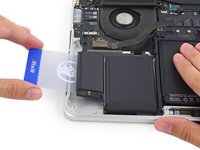
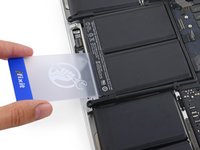
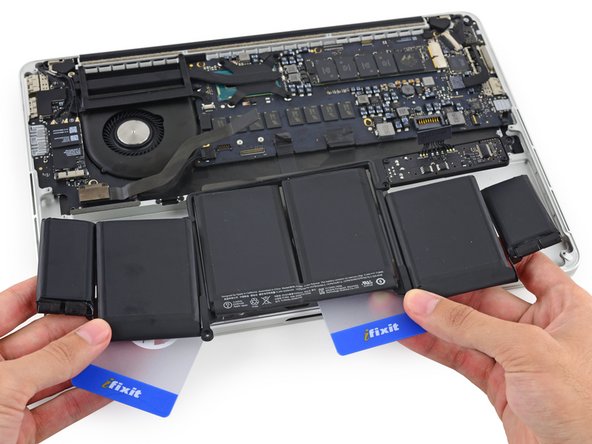
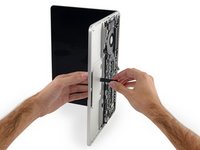
Push a plastic card between the right-most battery cell and the upper case, cutting the adhesive between the two.
-
When using the hot iOpener method, if you encounter significant resistance to prying, stop and use the iOpener to reheat the section you're working on.
-
-
-
-
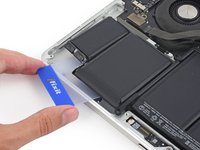
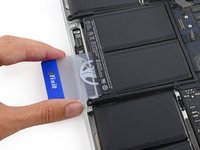
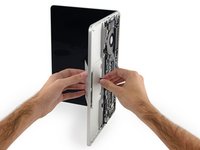
Repeat this procedure with the adjacent battery cell:
-
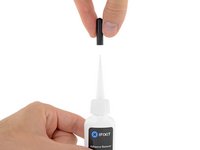
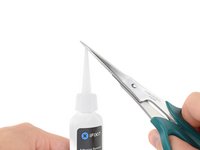
Apply a small amount of liquid adhesive remover under the battery cell, and wait 2-3 minutes for it to penetrate and soften the adhesive.
-
Alternatively, re-heat this section with your iOpener if needed.
-
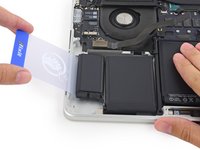
Push a plastic card about an inch between the battery cell and the upper case, and slowly pry the cell up to separate all of the adhesive.
-
-
-
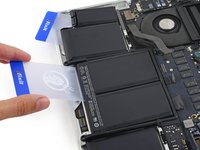
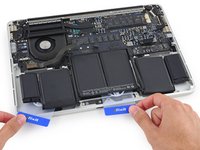
Repeat the above procedure to separate the two leftmost battery cells from the upper case.
-
Remember to apply a small amount of adhesive remover to each battery cell, and wait 2-3 minutes for it to penetrate and soften the adhesive.
-
Use a second plastic card to separate the two leftmost battery cells from the upper case.
-
-
-
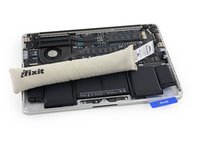
To separate the adhesive securing the final two, middle battery cells, apply a few more drops of liquid adhesive remover (or your iOpener) to each cell.
-
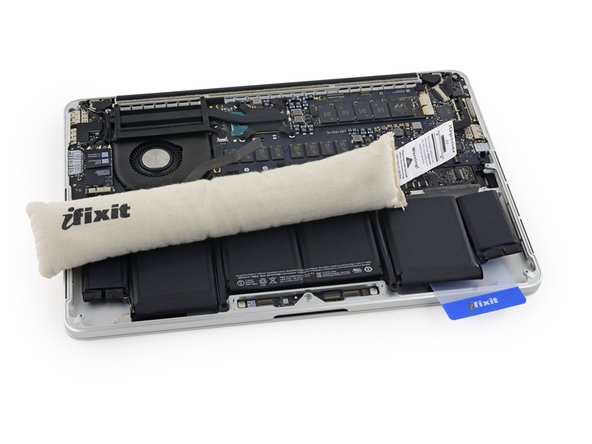
It may help to elevate one side of your MacBook Pro a few inches so that the adhesive remover flows in the correct direction, underneath the battery cells. You can use a sturdy book or foam block to prop up one side of your MacBook Pro while you work.
-
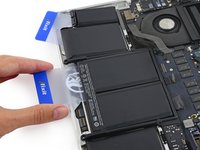
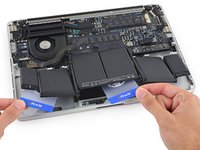
Insert the card about an inch between the left-center battery cell and the upper case, separating the adhesive between the cell and the case.
-
-
-
Remove the battery.
-
With a little luck, you can slowly pull out each strip of adhesive with your fingers.
-
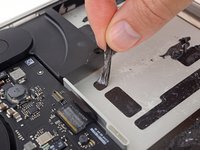
Otherwise, soak each section of adhesive with a bit of adhesive remover for 2-3 minutes, and then scrape it out with an opening pick or one of the other tools in your kit. This can take quite a bit of work, so be patient.
-
Mop up any remaining adhesive remover and give your MacBook Pro a few minutes to air dry.
-
Calibrate your newly installed battery: charge it to 100%, and keep charging it for at least 2 more hours. Unplug and use it normally to drain the battery. When you see the low battery warning, save your work, and keep your laptop on until it goes to sleep due to low battery. Wait at least 5 hours, then charge your laptop uninterrupted to 100%.
-
-
-
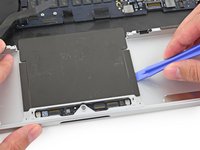
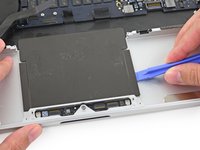
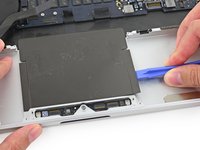
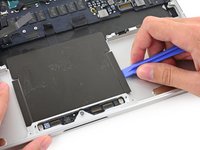
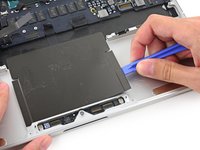
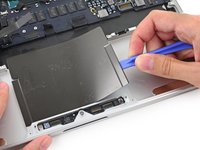
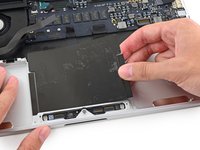
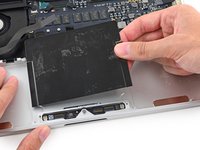
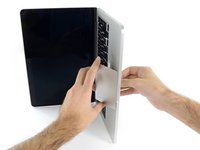
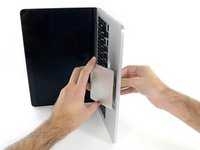
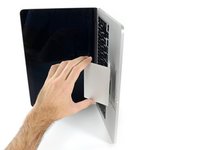
Place a reheated iOpener over the trackpad cover plate to soften the adhesive securing it to the upper case.
-
-
-
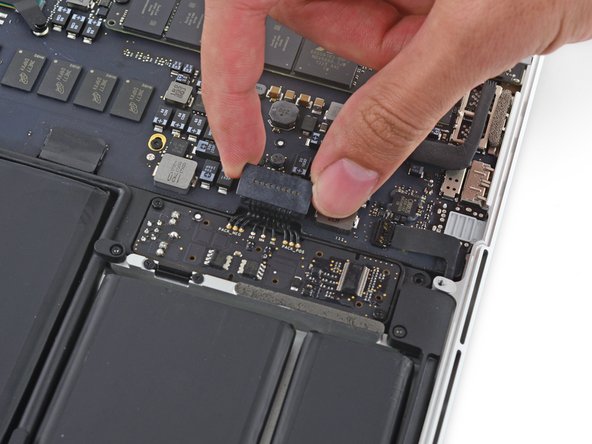
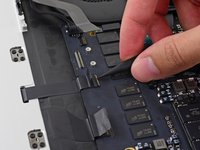
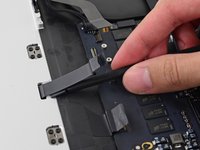
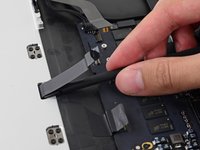
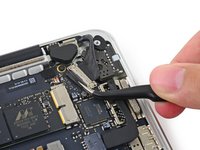
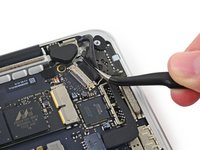
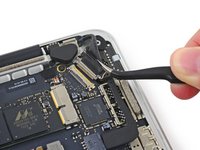
Grab the black plastic tab to flip the display cable connector open and pull it straight out of its socket on the logic board.
-
Pull in the direction of the cable, parallel to the logic board. Do not pull up.
-
-
-
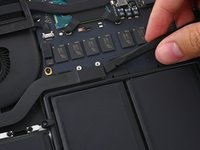
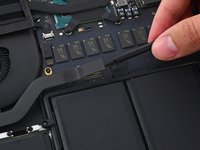
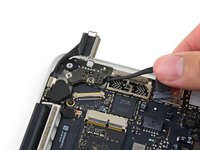
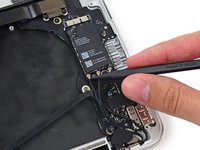
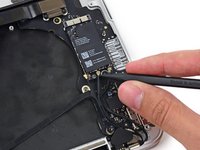
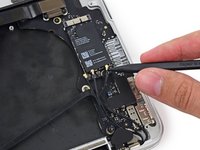
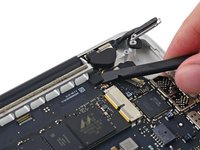
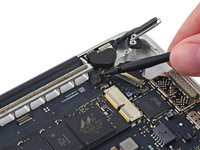
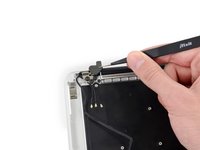
Insert the tip of a spudger under each of the antenna cables near their connectors and pry up to disconnect them from the AirPort board.
-
Connect the long-sleeved cable to the center socket.
-
The short-sleeved cable connects next to the screw.
-
The remaining cable has no sleeve, and connects in the last empty socket, next to the fan.
-
To reassemble your device, follow these instructions in reverse order.
İptal et: Bu kılavuzu tamamlamadım.
18 farklı kişi bu kılavuzu tamamladı.
2Kılavuz Yorumları
This is fantastic. I had no difficulty taking my machine apart. I would suggest, however, that we also start doing reassembly guides. I'm pretty good at taking things apart. Putting them back together is a different matter entirely. I'd do one myself if I were able. Many thanks ! Sara
I’m just finished this guide/procedure for the very first time. I didn’t remove the heat sink (step 55 to 57) with a lot of patience and with extreme caution, I remove the logic board with the heat sink attached on a single part, very carefully with the fan and the I/O board, so, it’s possible but not recommend, before this steps remove the MagSafe board first, the full procedure took 3 hours.
thank for this amazing guide!


