Giriş
Use this guide to safely remove the glued-in battery from your MacBook Pro with the help of an iFixit battery replacement kit. The adhesive remover in your kit will dissolve the adhesive securing the battery, allowing you to remove it with ease.
iFixit adhesive remover is highly flammable. Perform this procedure in a well-ventilated area. Do not smoke or work near an open flame during this procedure.
To minimize risk of damage, turn on your MacBook and allow the battery to fully discharge before starting this procedure. A charged lithium-ion battery can create a dangerous and uncontrollable fire if accidentally punctured. If your battery is swollen, take extra precautions.
Note: The solvent used to dissolve the battery adhesive will damage your speakers if it comes in contact with the plastic speaker enclosures. This guide instructs you to remove the speakers before proceeding to the battery.
If you're using the old-style iFixit adhesive remover with separate bottle and syringe (no longer sold), click here for a slightly modified set of instructions.
Neye ihtiyacın var
-
-
Remove the following P5 pentalobe screws securing the lower case to the MacBook Pro:
-
Eight 3.0 mm
-
Two 2.3 mm
-
-
Bu adımda kullanılan alet:Tweezers$4.99
-
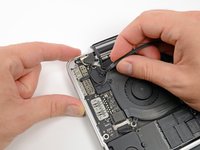
Use a spudger or tweezers to pry the three AirPort antenna cables straight up off of their sockets on the AirPort board.
-
-
-
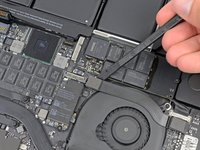
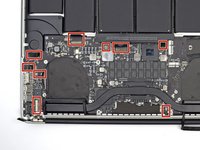
Using the flat end of a spudger, pry the I/O Board connector straight up out of its socket on the logic board.
-
In a similar fashion, remove the I/O Board cable connector from its socket on the I/O Board.
-
Remove the I/O Board cable from the MacBook Pro.
-
-
-
Remove the single 2.9 mm T5 Torx screw securing the AirPort card to the logic board.
-
-
-
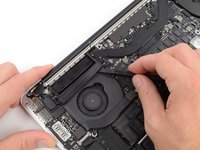
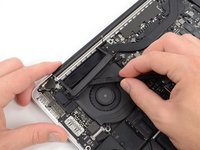
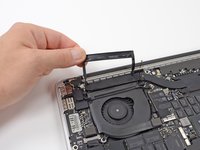
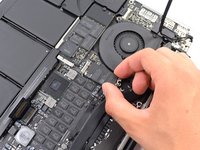
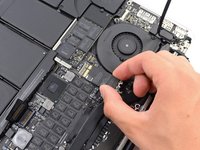
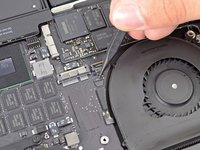
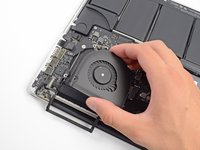
Use the flat end of a spudger to lift the rubber heat sink cover up off the left fan.
-
-
-
-
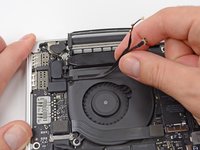
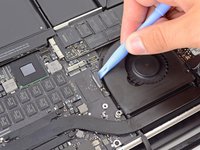
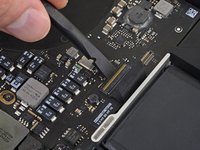
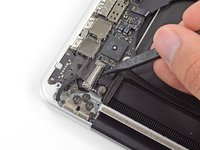
Use the tip of a spudger to flip up the I/O board data cable lock and rotate it toward the battery side of the computer.
-
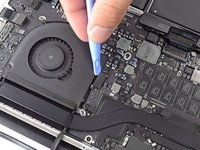
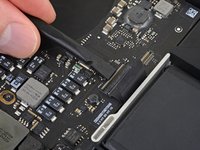
Use the flat end of a spudger to slide the I/O board data cable straight out of its socket on the logic board.
-
-
-
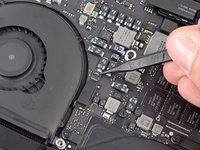
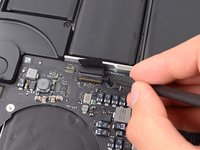
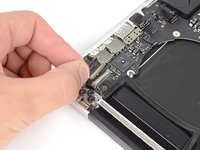
Use the flat end of a spudger to pry the headphone jack connector up from its socket on the logic board.
-
-
-
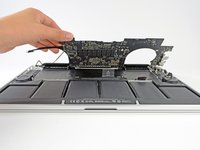
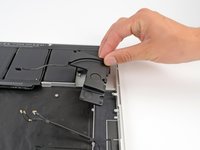
Lifting from the side nearest the battery, rotate the logic board toward the top of the MacBook Pro.
-
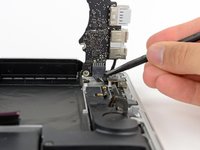
Using the flat end of a spudger, carefully push the MagSafe 2 connector out of its socket on the bottom of the logic board.
-
Clockwise from top: keyboard, trackpad, battery, right speaker, keyboard backlight, display, microphone, headphone jack, left speaker.
-
-
-
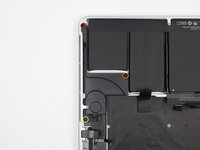
Remove the following three screws securing the left speaker to the upper case:
-
One 5.6 mm T5 Torx screw
-
One 6.9 mm T5 Torx screw
-
One 2.6 mm T5 Torx screw
-
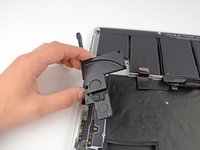
Lift the left speaker out of the upper case and set it aside.
-
-
-
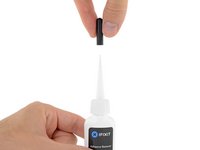
Now that your MacBook Pro is fully prepped, it's time to prep yourself.
-
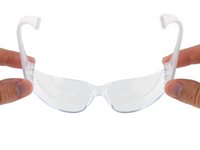
Wear eye protection when handling and applying the adhesive remover. (Eye protection is included in your kit.)
-
Do not wear contact lenses without eye protection.
-
Protective gloves are also included in your kit. If you are concerned about possible skin irritation, put your gloves on now.
-
-
Bu adımda kullanılan alet:Plastic Cards$2.99
-
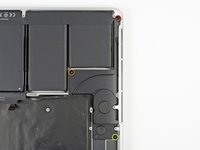
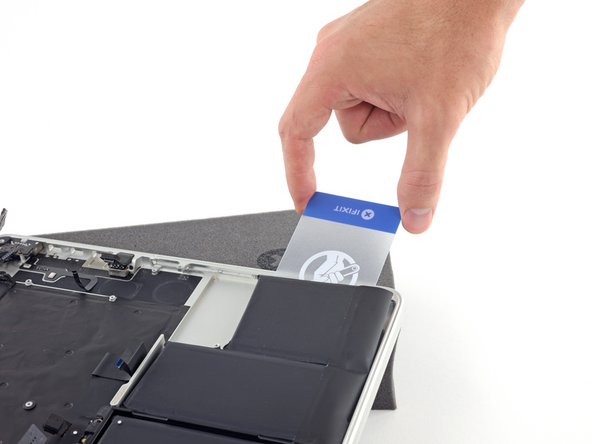
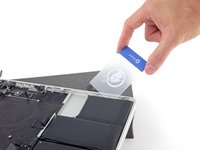
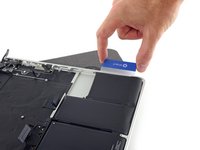
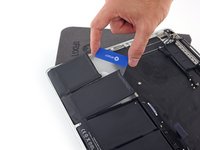
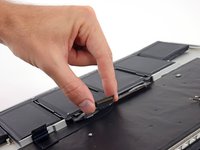
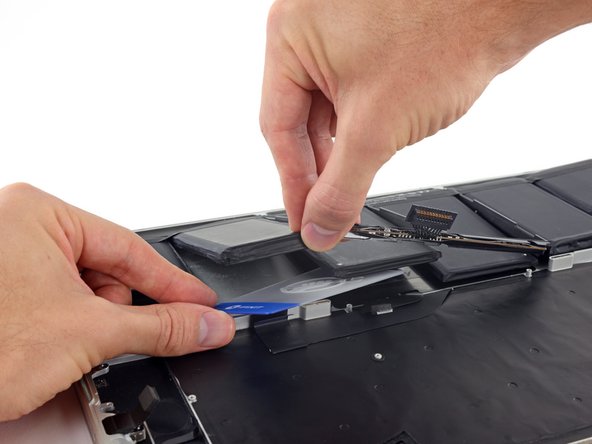
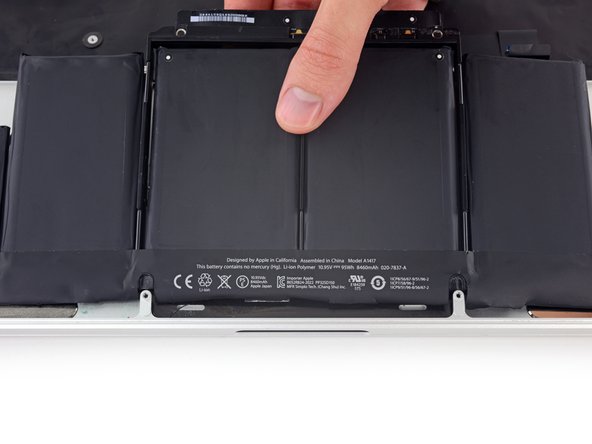
Slide one corner of a plastic card under the outer edge of the battery cell.
-
Slide the card farther underneath the battery cell to separate it from the adhesive securing it to the MacBook Pro's upper case.
-
-
-
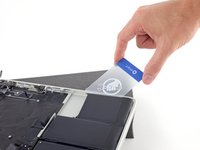
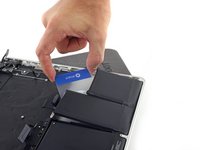
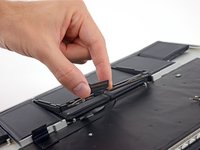
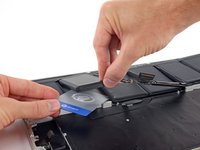
Slide one corner of your plastic card underneath the second battery cell.
-
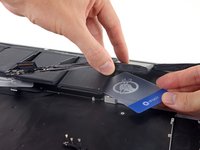
Push the card underneath the second battery cell, and slide it side to side to separate the adhesive underneath.
-
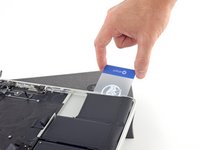
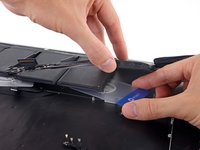
Leave the plastic card underneath both battery cells (or flip them over) to prevent them from re-adhering as you proceed to the next step.
-
-
-
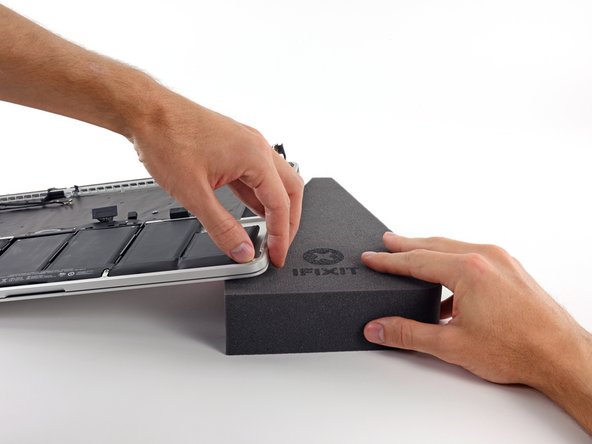
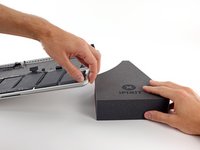
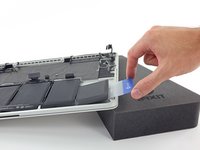
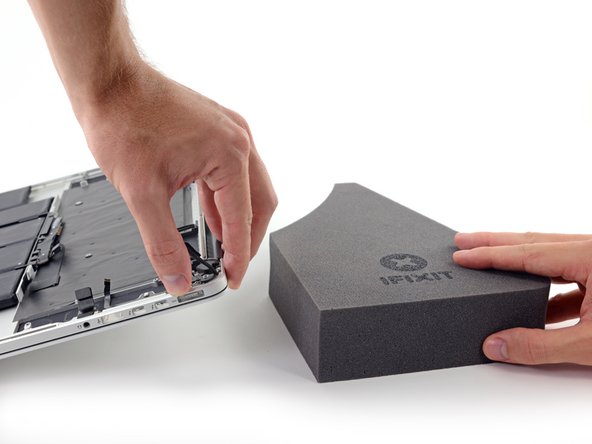
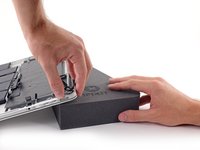
It's time to switch sides. Remove your book or foam block and place it under the opposite side of your MacBook Pro.
-
Repeat the procedure from the prior steps to separate the two battery cells on this side:
-
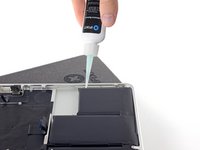
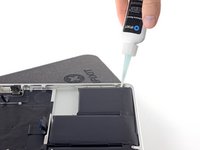
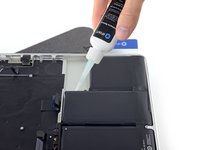
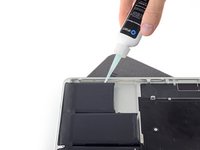
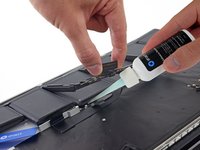
Apply your adhesive remover to the elevated edge of the outer battery cell, and wait 2-3 minutes for it to penetrate.
-
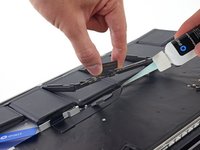
Work one corner of a plastic card underneath the battery cell, and slide the card fully underneath the battery cell to separate it.
-
Do the same for the adjacent cell.
-
Leave your plastic card in place or flip the battery cells over to prevent them from re-adhering during the following steps.
-
-
-
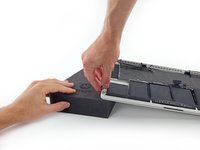
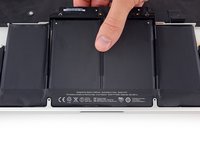
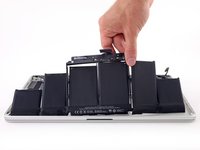
Lift and remove the battery.
-
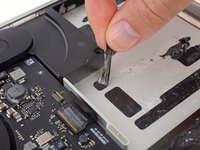
With a little luck, you can slowly pull out each strip of adhesive with your fingers.
-
Otherwise, soak each strip of adhesive with a bit of adhesive remover for 2-3 minutes, and then scrape it out with a plastic tool. This can take quite a bit of work, so be patient.
-
Mop up any remaining adhesive remover and give your MacBook Pro a few minutes to air dry.
-
Calibrate your newly installed battery: charge it to 100%, and keep charging it for at least 2 more hours. Unplug and use it normally to drain the battery. When you see the low battery warning, save your work, and keep your laptop on until it goes to sleep due to low battery. Wait at least 5 hours, then charge your laptop uninterrupted to 100%.
-


To reassemble your device, follow the above steps in reverse order.
Take your e-waste to an R2 or e-Stewards certified recycler.
Repair didn’t go as planned? Try some basic troubleshooting, or search our Answers forum for help.
To reassemble your device, follow the above steps in reverse order.
Take your e-waste to an R2 or e-Stewards certified recycler.
Repair didn’t go as planned? Try some basic troubleshooting, or search our Answers forum for help.
İptal et: Bu kılavuzu tamamlamadım.
152 farklı kişi bu kılavuzu tamamladı.


60Kılavuz Yorumları
Going straight for the battery will work, but the solvent will leave cosmetic damage if it touches your speakers (and maybe more than cosmetic damage if there's enough of it). It's pretty tough to get the solvent only under the battery while the speakers are still installed. Removing the logic board allows you to then remove the speakers, and at that point you have a nice clear path to the battery.
Note: Early 2013 Retina Macbook Pro TRACKPAD REPLACEMENT INSTRUCTIONS.
IFixit only has instructions for the 13” early 2013 retina trackpad, not the 15” and they are quite different. You have to remove the battery to replace the trackpad in the 15” retina.
When you remove the battery, you see a brown plate covering the trackpad and a single screw. Do not mess with the screw - that’s just the click adjustment. Simply pry off the plate with the spludger. Then you’ll see six tiny phillips silver screws - undo all of them and then push the touchpad plate out. It was pretty easy to put the new one back in. Then finally test the trackpad clickiness on the corners and middle and adjust the screw until it “feels right”
I found something that works well loosening that glue. Cyanoacrylate UN-CURE. The stuff used to un-glue crazy glue. Readily available on line. Works very fast - <5mins. It’s somewhat scary in that - who knows what it will do if you get it on the speakers - or the motherboard, if you try to replace the battery without removing it (as I did). But the combination of the UN-CURE and a plastic spudger - and I had the battery(ies) out in about 10 mins. No ill effects. I used regular 91% Isopropyl to get the residue off the case and the plate covering the trackpad because I didn’t want to spread that UN-CURE around, wantonly. Alcohol works - but not nearly as well as UN-CURE. Probably safer.