Ana içeriğe geç
Onarım Topluluğuna Katılın - Hesap Oluşturun
OnePlus 5T Battery Replacement

Neye ihtiyacın var

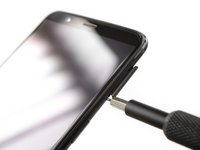
  1. OnePlus 5T Battery Replacement, Back Cover: adım 1, 2 resimden 1. OnePlus 5T Battery Replacement, Back Cover: adım 1, 2 resimden 2.
    • Before you begin, switch off your phone.

    • Remove the SIM card tray.

    FixBot'a Sor

    Yorum Ekle

  2. OnePlus 5T Battery Replacement: adım 2, 1 resimden 1.
    • Remove the two Torx T2 screws (2.5 mm length).

    • The OnePlus 5T doesn't use a lot of adhesive to secure the backcover, however the clamps are very strong and require some force during the opening procedure.

    FixBot'a Sor

    Yorum Ekle

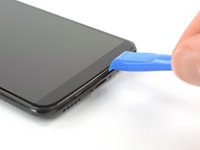
  3. OnePlus 5T Battery Replacement: adım 3, 3 resimden 1. OnePlus 5T Battery Replacement: adım 3, 3 resimden 2. OnePlus 5T Battery Replacement: adım 3, 3 resimden 3.
    • Insert an opening tool between the display and the backcover at the bottom end of the phone.

    • Use the opening tool to create a gap between back cover and display.

    • Insert an opening pick in the gap you created with the opening tool.

    FixBot'a Sor

    Yorum Ekle

  4. OnePlus 5T Battery Replacement: adım 4, 3 resimden 1. OnePlus 5T Battery Replacement: adım 4, 3 resimden 2. OnePlus 5T Battery Replacement: adım 4, 3 resimden 3.
    • Slide the opening pick to the bottom right corner of the phone.

    • Insert a second opening pick and slide it to the bottom left corner of the phone.

    FixBot'a Sor

    Yorum Ekle

  5. OnePlus 5T Battery Replacement: adım 5, 3 resimden 1. OnePlus 5T Battery Replacement: adım 5, 3 resimden 2. OnePlus 5T Battery Replacement: adım 5, 3 resimden 3.
    • Slide the opening pick around the bottom left corner and then up along the left edge of the phone to open the plastic clamps that secure the backcover.

    FixBot'a Sor

    Yorum Ekle

  6. OnePlus 5T Battery Replacement: adım 6, 3 resimden 1. OnePlus 5T Battery Replacement: adım 6, 3 resimden 2. OnePlus 5T Battery Replacement: adım 6, 3 resimden 3.
    • Slide the opening pick around the bottom right corner and then up along the right edge of the phone to open the plastic clamps that secure the backcover.

    FixBot'a Sor

    Yorum Ekle

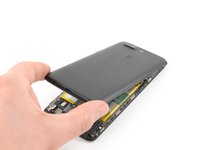
  7. OnePlus 5T Battery Replacement: adım 7, 3 resimden 1. OnePlus 5T Battery Replacement: adım 7, 3 resimden 2. OnePlus 5T Battery Replacement: adım 7, 3 resimden 3.
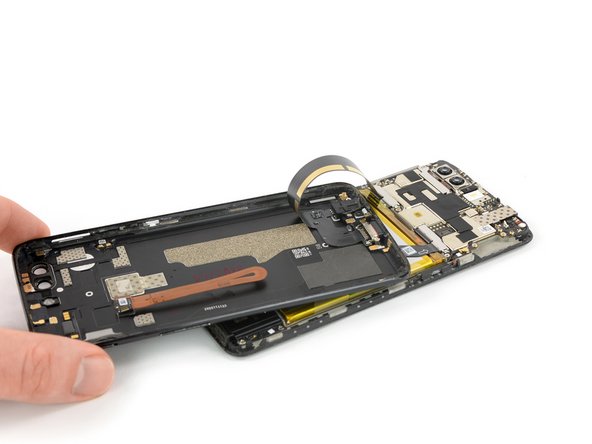
    • Try not to remove the backcover all the way yet. The fingerprint and the charging port and headphone flex cables are still connected to the motherboard.

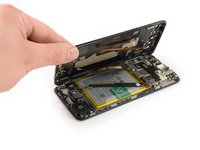
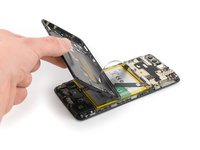
    • Flip your phone and carefully lift the bottom end of the backcover away from the phone assembly. Fold it to left and hold it at an 80° angle.

    FixBot'a Sor

    Yorum Ekle

  8. OnePlus 5T Battery Replacement: adım 8, 2 resimden 1. OnePlus 5T Battery Replacement: adım 8, 2 resimden 2.
    • Use a spudger to pry up and disconnect the fingerprint flex cable.

    FixBot'a Sor

    Yorum Ekle

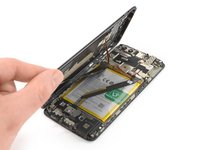
  9. OnePlus 5T Battery Replacement: adım 9, 3 resimden 1. OnePlus 5T Battery Replacement: adım 9, 3 resimden 2. OnePlus 5T Battery Replacement: adım 9, 3 resimden 3.
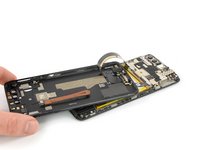
    • Twist the backcover around 180° and lay it down to align the bottom end of the backcover the top edge of the battery.

    FixBot'a Sor

    Yorum Ekle

  10. OnePlus 5T Battery Replacement: adım 10, 3 resimden 1. OnePlus 5T Battery Replacement: adım 10, 3 resimden 2. OnePlus 5T Battery Replacement: adım 10, 3 resimden 3.
    Bu adımda kullanılan alet:
    Tweezers
    $4.99
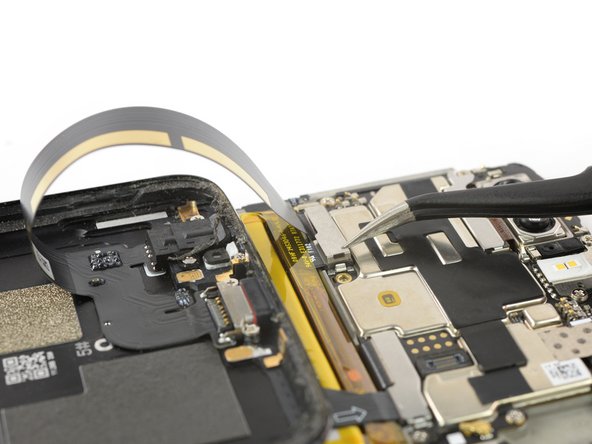
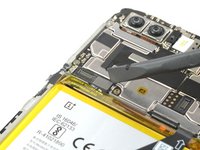
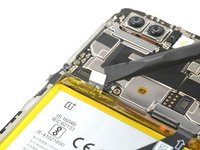
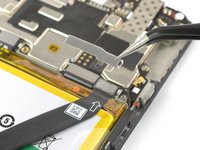
    • Use a pair of tweezers to remove the small metal shield which covers the battery and the charging port and headphone jack flex cable connectors.

    FixBot'a Sor

    Yorum Ekle

  11. OnePlus 5T Battery Replacement: adım 11, 2 resimden 1. OnePlus 5T Battery Replacement: adım 11, 2 resimden 2.
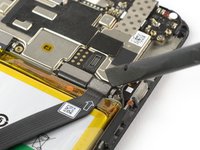
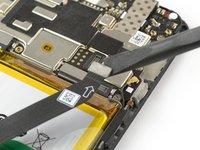
    • Use a spudger to pry up and disconnect the charging port and headphone jack flex cable.

    FixBot'a Sor

    Yorum Ekle

  12. OnePlus 5T Battery Replacement: adım 12, 2 resimden 1. OnePlus 5T Battery Replacement: adım 12, 2 resimden 2.
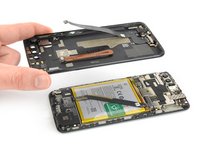
    • Remove the backcover.

    FixBot'a Sor

    Yorum Ekle

  13. OnePlus 5T Battery Replacement, Battery Disconnect: adım 13, 2 resimden 1. OnePlus 5T Battery Replacement, Battery Disconnect: adım 13, 2 resimden 2.
    • Use a spudger to pry up and disconnect the battery flex cable.

    FixBot'a Sor

    Yorum Ekle

  14. OnePlus 5T Battery Replacement, Upper Main Flex Connector Disconnect: adım 14, 3 resimden 1. OnePlus 5T Battery Replacement, Upper Main Flex Connector Disconnect: adım 14, 3 resimden 2. OnePlus 5T Battery Replacement, Upper Main Flex Connector Disconnect: adım 14, 3 resimden 3.
    Bu adımda kullanılan alet:
    Tweezers
    $4.99
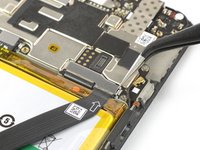
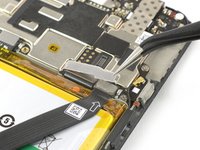
    • Use a pair of tweezers to unhinge and remove the small metal shield that covers the main and interconnect flex cable connectors.

    • The metal shield is held in place by mild adhesive. In case you're having trouble removing it, you can apply a heated iOpener to loosen the adhesive underneath.

    FixBot'a Sor

    Yorum Ekle

  15. OnePlus 5T Battery Replacement: adım 15, 2 resimden 1. OnePlus 5T Battery Replacement: adım 15, 2 resimden 2.
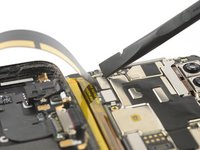
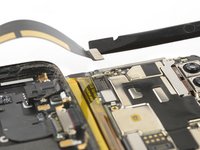
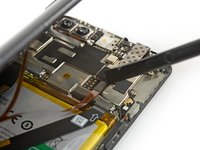
    • Use a spudger to pry up and disconnect the main flex cable.

    FixBot'a Sor

    Yorum Ekle

  16. OnePlus 5T Battery Replacement, Battery: adım 16, 2 resimden 1. OnePlus 5T Battery Replacement, Battery: adım 16, 2 resimden 2.
    • Fold the main flex cable out of your way to get better access to the battery.

    FixBot'a Sor

    Yorum Ekle

  17. OnePlus 5T Battery Replacement: adım 17, 2 resimden 1. OnePlus 5T Battery Replacement: adım 17, 2 resimden 2.
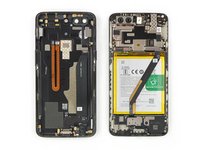
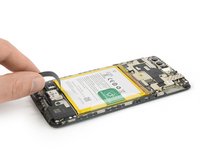
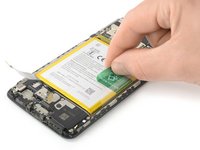
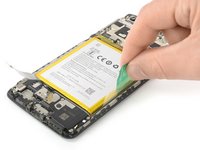
    • Peel the green adhesive strip off the battery.

    FixBot'a Sor

    Yorum Ekle

  18. OnePlus 5T Battery Replacement: adım 18, 3 resimden 1. OnePlus 5T Battery Replacement: adım 18, 3 resimden 2. OnePlus 5T Battery Replacement: adım 18, 3 resimden 3.
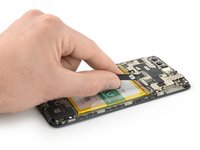
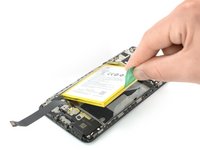
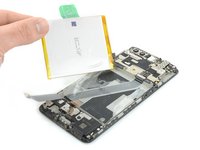
    • Pull up the green adhesive strip to lift the battery out of its recess.

    • Although this kind of adhesive tab is supposed to make the battery removal easier, it may require some force. In case you're having trouble removing the battery, you can apply a heated iOpener to the center of the display, to loosen the adhesive underneath.

    • Swing the battery up to an upright position.

    • Peel the battery off the remaining adhesive.

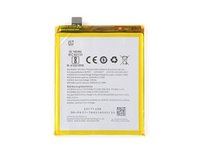
    • Remove the battery.

    • During re-assembly, temporarily re-connect the battery to the motherboard to help align it correctly. Disconnect the battery after it is seated.

    FixBot'a Sor

    Yorum Ekle

  19. OnePlus 5T Battery Replacement: adım 19, 2 resimden 1. OnePlus 5T Battery Replacement: adım 19, 2 resimden 2.
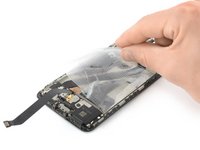
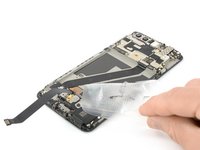
    • Peel the battery's adhesive sticker off the midframe.

    • Although it isn't mandatory to remove the adhesive sticker it is highly recommended to use a fresh one, when installing a new battery.

    FixBot'a Sor

    Yorum Ekle

Sonuç

To reassemble your device, follow these instructions in reverse order. Apply new adhesive where necessary after cleaning the relevant areas with isopropyl alcohol (>90%).

For optimal performance, calibrate your newly installed battery: Charge it to 100%, and keep charging it for at least two more hours. Then, use it until it shuts off due to low battery. Finally, charge it uninterrupted to 100%

Take your e-waste to an R2 or e-Stewards certified recycler.

Repair didn’t go as planned? Check out our Answers community for troubleshooting help.

İptal et: Bu kılavuzu tamamlamadım.

73 farklı kişi bu kılavuzu tamamladı.

Dominik Schnabelrauch

Üyelik tarihi: 11/23/16

261.073 İtibar

682 adet Kılavuz yazıldı

29Kılavuz Yorumları

my flex cable is stuck to the top of the metal protector wtf

Audrion Bird - Yanıt Paylaş
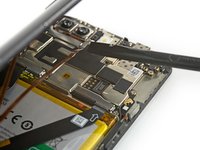
My was stuck too, but with little bit of trying and patience, I was able to separate them by holding metal with pair of tweezers and gently prying it with very thin flat screwdriver bit.

Tomas Palider - Yanıt Paylaş

Any place to get the battery adhesive sticker in order to replace it?

Nothing Else - Yanıt Paylaş

I removed the adhesive sticker. Is it dangerous to use the phone without one?

E S - Yanıt Paylaş

Hi E S,

are you talking about the battery adhesive? If that is the case i can say - this sticker holds the battery in place and prevents it from moving around. If there is no sticker you might hear some noice when shaking the phone because the battery is moving. However it is unlikely that the battery disconnects because of that since the connector sits under a small metal shield. Depending on the phone movement theres a tiny chance that the battery or its cable deforms or gets damaged from moving around over time. It is not necessary to replace the adhesive with an original one, however i recommend using any double sided tape or similar rather than nothing.

Dominik Schnabelrauch - Yanıt Paylaş

Yorum Ekle

İstatistikleri Görüntüle:

Son 24 Saat: 7

Son 7 gün: 42

Son 30 gün: 193

Her zaman: 62,491