
Rotor Riot Direction Pad Replacement

Giriş
1. adıma gitUse this guide to replace the direction pad on your Rotor Riot controller.
Neye ihtiyacın var


-
-
Use your fingers to remove the screw on the back side of the controller securing the iPhone mount.
-
Remove the iPhone mount.
-
-
-
Use a T6 Torx screwdriver to remove the eight 9.2 mm-long screws securing the back cover.
-
-
-
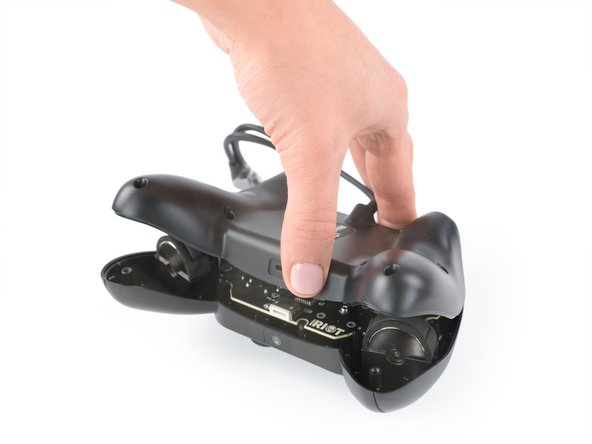
Lift up the back cover of the controller.
-
Lift the back cover to a 45 degree angle and place it next to the controller.
-
-
-
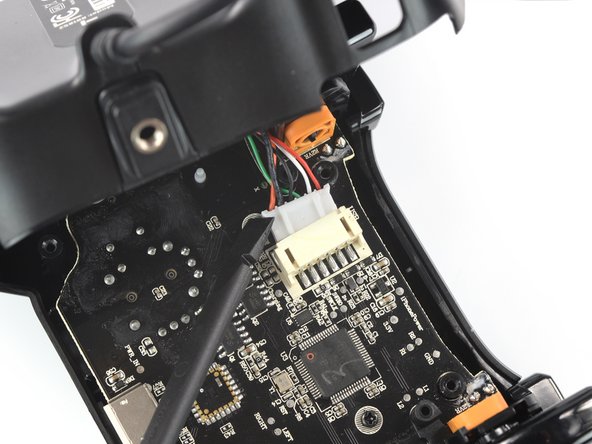
Use a spudger to disconnect the phone connector cable from the mainboard.
-
-
-
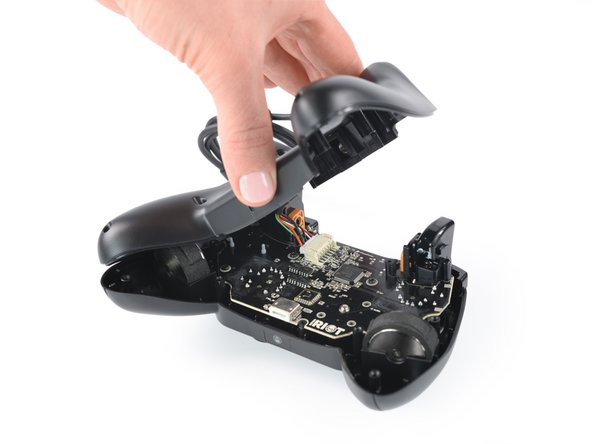
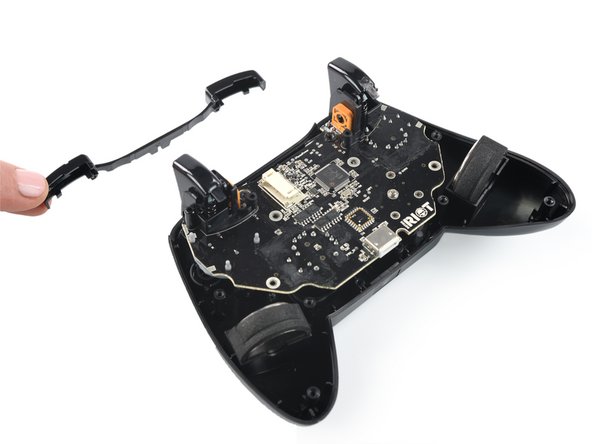
Remove the shoulder buttons by lifting them out of the case.
-
-
-
Use a Phillips screwdriver to remove the four 7.0 mm-long screws securing the mainboard.
-
-
-
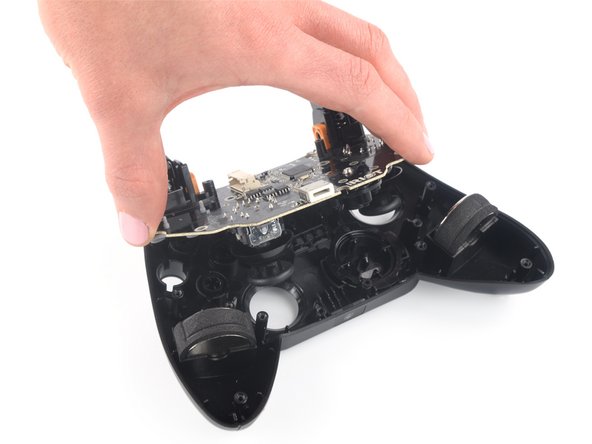
Flip over the mainboard and place it above the controller housing.
-
-
Bu adımda kullanılan alet:Tweezers$4.99
-
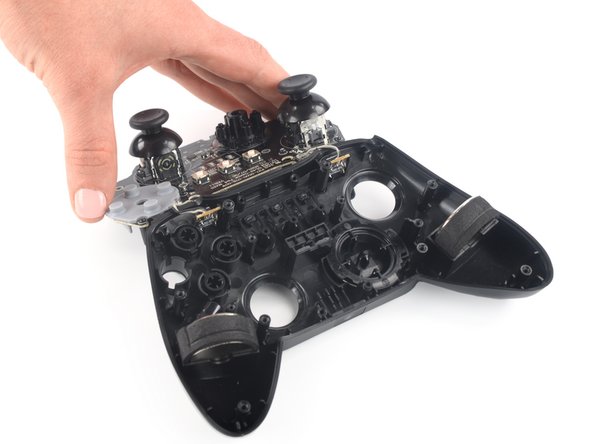
Use a pair of blunt nose tweezers to remove the left trigger button from the controller housing by lifting it straight out of its recess.
-
Repeat this procedure for the right trigger button.
-
-
-
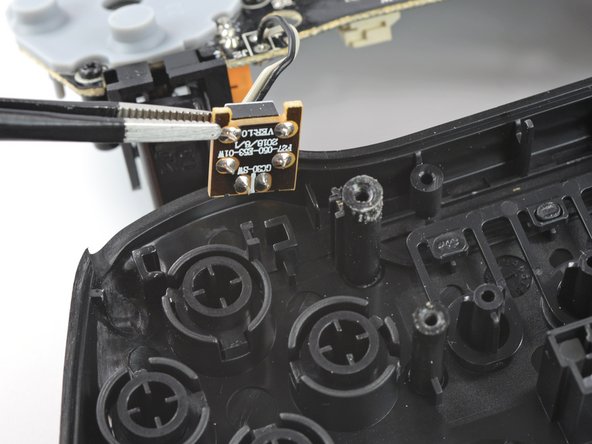
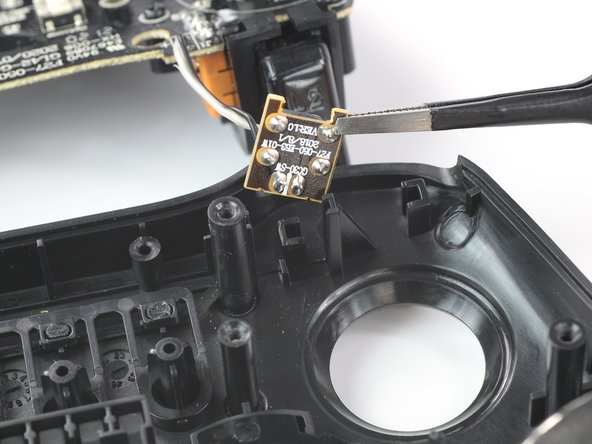
Use a Phillips screwdriver to remove the 7.25 mm-long screw on the mainboard securing the direction pad.
-
-
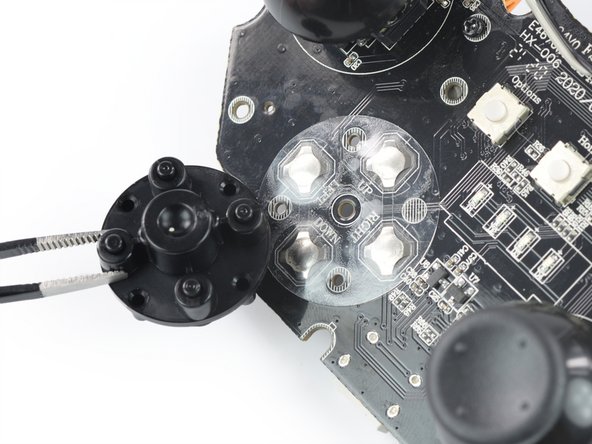
Bu adımda kullanılan alet:Tweezers$4.99
-
Use a pair of blunt nose tweezers to remove the direction pad.
-


To reassemble your device, follow these instructions in reverse order.
Take your e-waste to an R2 or e-Stewards certified recycler.
Repair didn’t go as planned? Try some basic troubleshooting, or ask our Answers community for help.
To reassemble your device, follow these instructions in reverse order.
Take your e-waste to an R2 or e-Stewards certified recycler.
Repair didn’t go as planned? Try some basic troubleshooting, or ask our Answers community for help.

